Thursday, 12 July 2018

891 AD, the Battle of Leuven.


During the latter half of the 9th century the empire of Charlemagne would evolve into two political entities known as the Western and Eastern Frankish kingdoms. Both were beset by Viking incursions, but the eastern half experienced further invasions by the Magyars, Slavs, and the Lombards. To counter these external threats, ‘marches’ or frontier provinces were established to maintain order within its borders, raise levies for its defence and ease the collection of tribute. The marcher lords held a degree of autonomy within their respective territory, but campaigns requiring a larger force were often led in person by the king. In November of 891, King Arnulf assembled an army of eastern Franks to meet the Heathen Army encamped on the River Dyle near Leuven in modern day Belgium.

“A.D. 891. This year went the army eastward; and King Arnulf fought with the land-force, ere the ships arrived, in conjunction with the eastern Franks, and Saxons, and Bavarians, and put them to flight”.
From the Anglo-Saxon Chronicle:


The Battlefield.
Lovan (Leuven) is located east of modern day Brussels and rests on the Dyle River. For the most part this is now a canal, but it formed a tributary of Scheldt River coursing its way from Leuven to Mechelen to empty into the Scheldt River just south of Antwerp.  It is disputed if the battle took place in September or November, but in either case Reuter mentions the Great Army was prepared to ‘winter’ at Lovan (Leuven) making November a logical choice .

Our battlefield is constructed from a 13th century medieval map showing the village of Leuven, the Dyle River and the surrounding countryside. Just east of the town are rolling hills that could easily mask the approach of a Frankish force.  

The terrain items should have two ploughs (compulsory), a BUA (hamlet), river and one gentle hill. For this scenario, the BUA (minimum 3BW x 4BW) should be placed in centre of the board with its western side resting on the Dyle River (Class II). The placement of two plough (2 or 3BW x 4BW) and a gentle hill should follow the same procedure as per rule book.

The Armies.
Use Book III/40b list for the Great Army; this gives the Viking player eleven blade and a choice of either berserkers (3Wb) or skirmishers (Ps).

The East Franks are taken from Book III/53 giving the Frankish player a sizable number of knights supported by spear and few archers. The Bavarians are mentioned as present with Arnulf’s command therefore two elements of Bavarian knights may dismount as blade.

Viking setup.
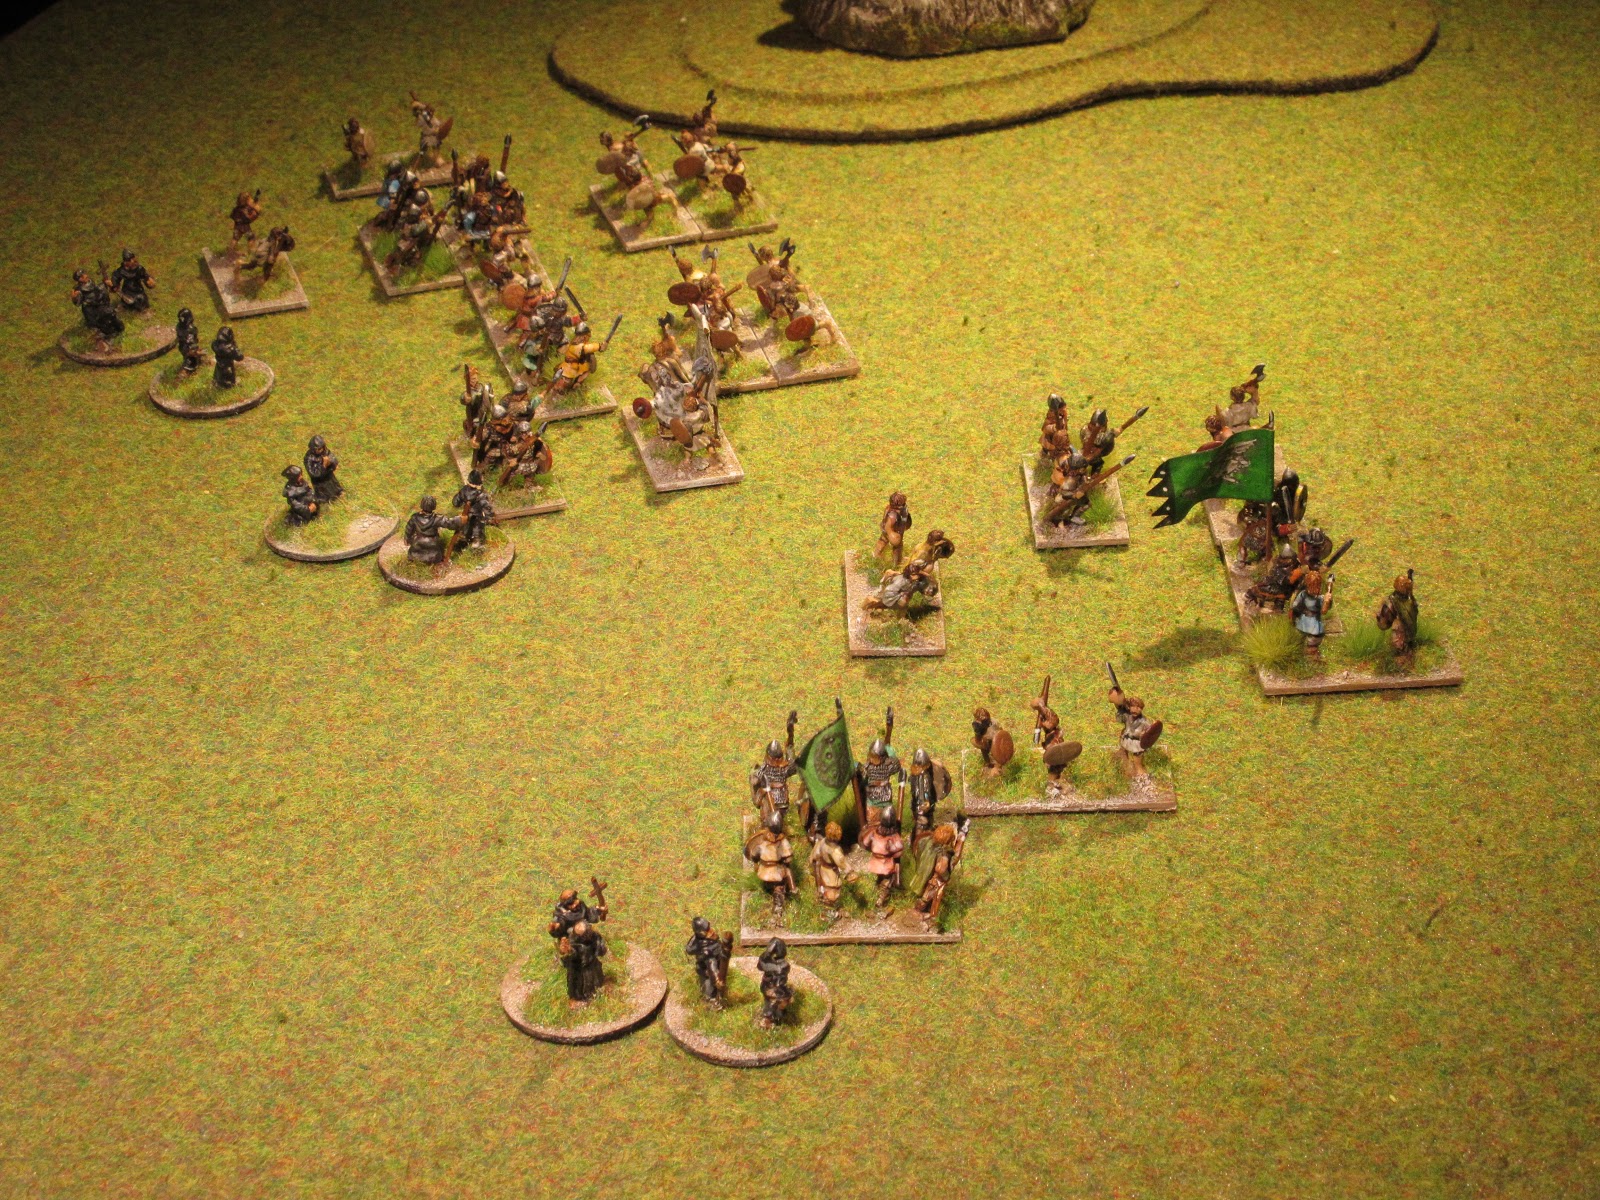
Three elements serve as sentries and are placed adjacent to the hamlet on its perimeter. The remaining nine elements (including the general) are encamped in the town and are placed as three columns of three elements each. The Vikings are the defender so move first.  

East Frankish setup.
As the attacker, the East Franks have two deployment areas; one east of Leuven and the other north of the town. Troops deployed in either area positioned 6BW from the Viking sentries. The choice of a second deployment area is based on recent archaeological findings and studies done by Belgian historians.


Annals of Fulda, vol. II, Manchester University Press.
Anglo-Saxon Chronicle, Project Gutenberg (e-book).

Tuesday, 10 July 2018

881 AD, refighting the Battle of Conwy

Rhodri the Great died in 878 and the rule of northern Wales passed to his surviving sons; Anarawd ruled Gwynedd, Cadell controlled Ceredigion and Merfyn received Powys. During the period of rule of Rhodri much time was spent repelling incursions by Vikings and the neighbouring Saxon kingdom of Mercia; his sons now face similar prospects.

In 881, Aethelred, asserted Mercian hegemony by forcing the southern Welsh kingdoms of Glywsing and Gwent to submit to Saxon overlordship. This programme of ‘subjugation’ was met with resistance from the kingdom of Gwynedd forcing Aethelred to respond with force.  

Following the harvest season Aethelred gathered a sizeable force of Mercian fyrd and crossed the frontier. The army continued their march along the Conwy River until scouts reported the presence of the Welsh army near the town of Conwy.

The site of battle was a wide valley offering ample room to deploy. Aethelred formed his infantry in an extended line and reinforced its flanks extra spearmen. The small unit of scouts (Ps) was posted to the right flank.


Departing the narrow valley to confront the Saxons, the Welsh formed several deep columns giving the impression of having a smaller number of troops.


What the Welsh lacked in numbers, they compensated with their speed and quickly covered the open ground between the two armies. Welsh skirmishers could be seen scrambling over the slopes of the nearby hill and to counter the threat the Mercian battle line left wheeled forcing the Welsh to adjust their approach.


The Welsh did adjust the battle line by forming two groups. Anarawd led group on the right while the left wing contained troops from Ceredigion and Powys led by his brothers, Cadell and Merfyn.


Cadell and Merfyn were the first to be struck by the Mercians led by Aethelred. Outnumbered two to one, the Welsh fought desperately against a frontal and flank attack by Mercian skirmishers.


Fortune smiled on the Welsh allowing them to beat back the first assault but a second attack did cause casualties to both sides (1 – 1).


The battle on the Mercian right degenerated into small desperate combats, even Aethelred and his Huscarls were surrounded briefly but the Welsh were beaten back. On the Welsh right, Anarawd swarmed over his opposition breaking a shield wall and destroyed a unit Huscarls (4Bd). The gap between both wings grew wider at this point bringing alarm to both commanders. Clusters of black robed priests were seen praying for divine intervention (3 – 1).


Aethelred’s Huscarls had done their job well repelling their opposition such that they now looked for easier game. and these were found on the Mercian right. Noting the thinning of enemy opposing Aethelred looked to his rear to see both his flanks covered by swarms of Welsh. Calling for a general retreat, Aethelred departed the field (4 – 1).


Design notes:
After a number of test games resulting in decisive victories for the Welsh, we concluded that this was one battle that would be difficult to adjust for play balance. The Welsh had much in their favour; geography, troop types that performed well in that terrain and a burning desire to defeat the Mercian army and avenge Rhodri. Yet, if one could claim some minor consolation from a defeat, perhaps the extent of losses inflicted on the Welsh before calling a general retreat. A 4 – 3 victory for the Welsh would seem less impressive than 5 – 0, which was the actual result of the first test game.

Their determination to defeat the Mercian army was evident as the chroniclers record all three brothers were present at the battle. Historically, the Welsh did not seek a campaign of conquest following their victory but did continue their forays into Mercian lands.

Looking at the basic combat factors, the Mercian have a number of advantages; spearmen can increase their factor by + 1 using flank support, secondly, they do not pursue so their line can remain unbroken and lastly even scores in combat will mean ‘fast’ troop types recoil. A likely deployment will have at least eleven elements placed in a single line easily out flanking the Welsh on either side. The lone psiloi hovering on the flank or positioned as a reserve in centre and this was the case as we selected the second battlefield for this refight.  

In contrast, the Welsh gain a +1 for a second rank in support and destroy their opponent with a combat result of ‘better than’ is achieved. The threat of being out flanked was always present, so the Welsh must use their speed to their advantage.

Luck does play a role, but both sides experienced an equal share of poor and excellent pip scores, even during combat.  

Thursday, 5 July 2018

881 AD, The Battle of Conwy

The Battle of the Conwy in 881 was fought between the northern Welsh Kingdom of Gwynedd and a Mercian army almost certainly led by Aethelred, Lord of the Mercians. The Welsh were victorious ending a period of Mercian domination over the western kingdoms. Some historians suggest this setback moved Æthelred to accept the lordship of King Alfred the Great of Wessex and set in motion the eventual unification of the kingdom of England a step closer. Following the battle, King Anarawd had courted a brief alliance with the Norse but abandoned this to ally himself with King Alfred.


The Battlefield
The battle took place deep in the kingdom of Gwynedd near the town of Conwy located on the river of the same name. This is the sole scrap of information known of the battle and the fact that the Welsh were victorious. Looking at modern terrain maps of the area, we note west of the town a number of possible battle sites while on the opposite bank the terrain seems too rugged to offer a safe passage to Conwy. The best approach passes through a series of wide valleys, each scored with a number of small streams. In broad terms, the terrain follows the DBA list for hilly terrain giving a defender two difficult hills as compulsory, a BUA (hamlet) and an extra difficult hill. One possible option is to replace the extra difficult hill with either a river or wood. The BUA should not be large (2BW x 3BW) so as to represent a small farm community and not the town of Conwy. If using the optional river (stream) this must flow into the river (defender’s board edge). The defender’s board edge is the River Conwy so there is no need to place a waterway. 

Players may wish to use a second battle site which is located further west. Here the valley floor opens more offering both sides ample room to deploy and to manoeuvre. Terrain pieces used should comprise of two difficult hills, a river and two woods (a small hamlet may replace one wood).


The Armies
The Welsh use the Book III/19a sub-list which gives them one general (3Bd), nine warriors (3Wb) and two javelinmen (Ps).

The army of Mercia use Book III/24b which allow three hird including general (4Bd), eight select fyrd (Sp) and one archer (Ps). It seems unlikely the select fyrd (7Hd) would leave Mercian lands to fight but these may replace two select fyrd.


The Setup
The Welsh are defending and face east with difficult hills on either flank. The valley floor is 7BW wide at the Welsh deployment area and opens to 9BW on reaching the Mercian side. The Welsh deploy first and the Mercian army must deploy opposite the Welsh. The River Conwy is off board and behind the Welsh deployment area. 

Using the second battlefield, the difficult hills are positioned further apart giving both sides an additional 2 - 3BW space to deploy. This will allow the Mercian player to extend fully in line clearly overlapping the Welsh army. 


Recommended Reading
The Anglo-Saxon Chronicle 


Tuesday, 3 July 2018

851 AD, refighting the Battle of Aclea


After sacking Canterbury, the Danish host turned west intent on plundering the churches and monastery at Titsey. Approaching the hamlet of Ock, banners and crosses could be seen above the heads of troops lining the west bank of the river of the same name. The West Saxons have arrived.

The Danes had dismounted and prepared for battle by forming up under the banners of their Jarls. At the rear of the column wagons and carts were collected to form a lager and the horses were tethered behind the impromptu camp. Each were allocated a guard as the wagons were full with plunder and the horses were too valuable to let roam free.

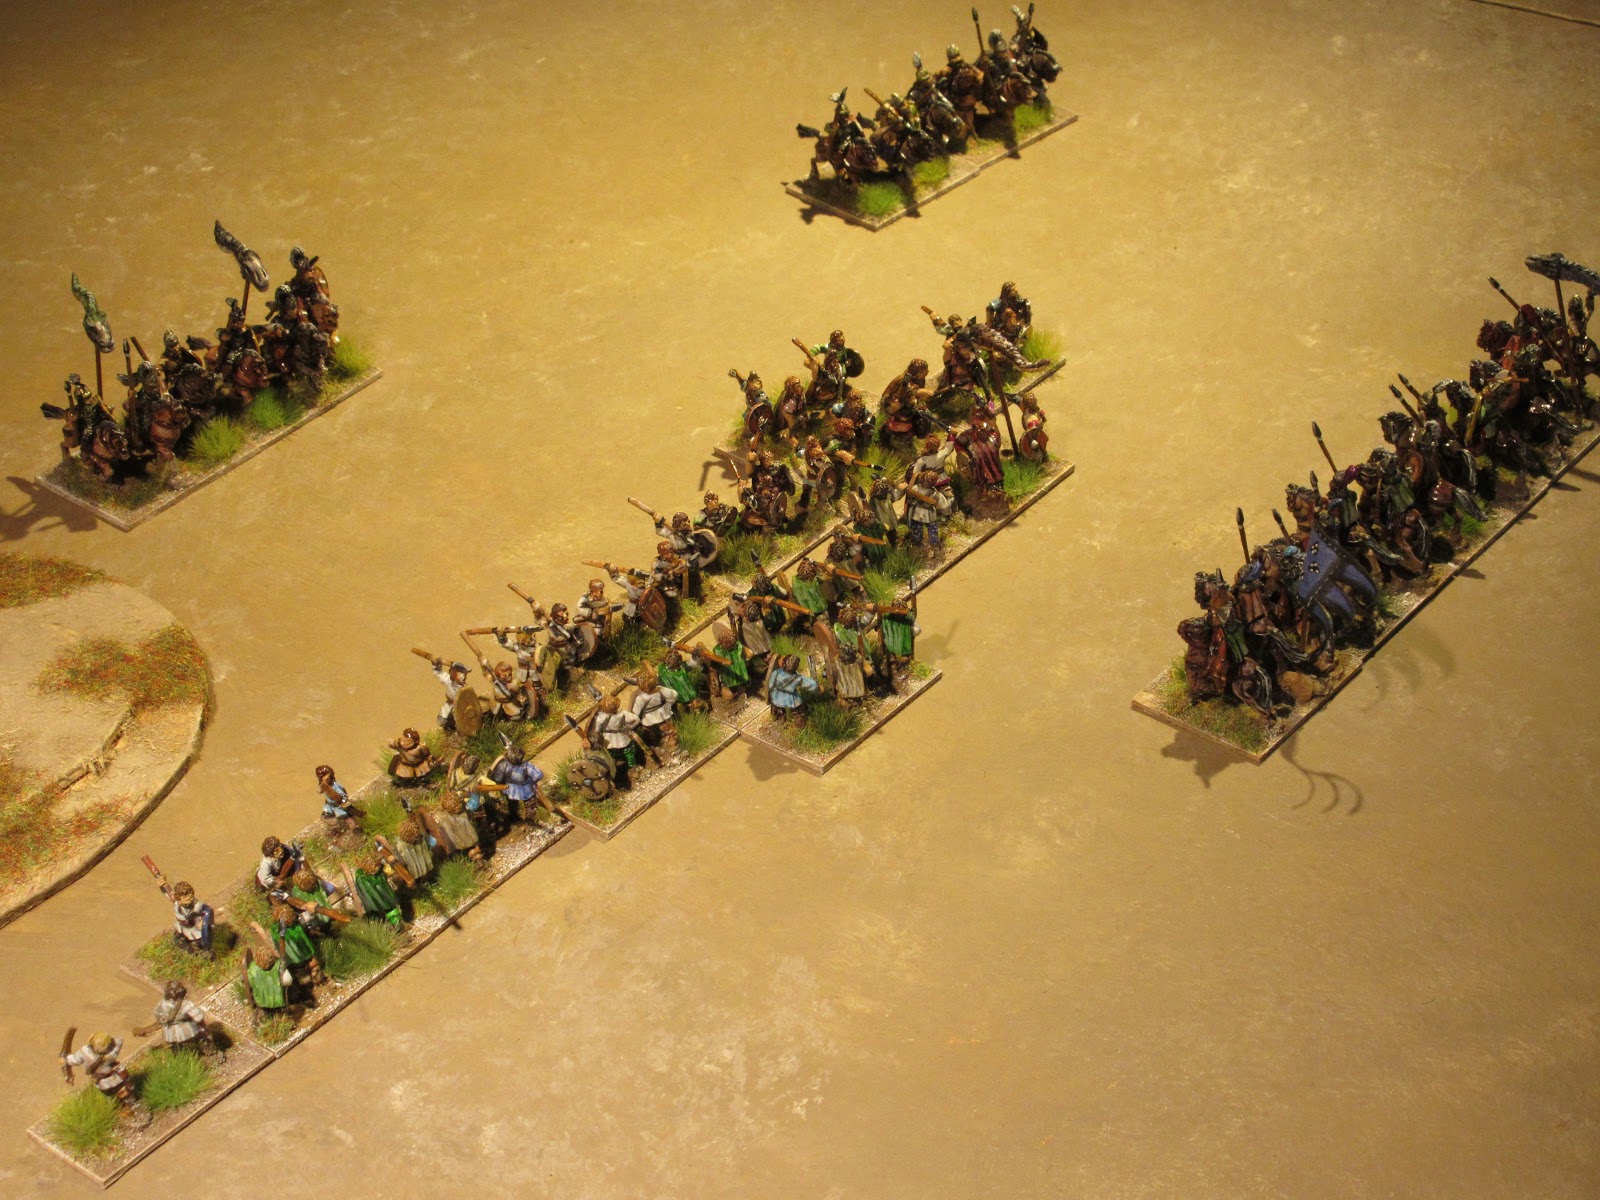
The Danish host now deployed about 500 paces from the Saxon line, but due to the restrictive nature of the ground, the Danes had formed several deep columns. In contrast, the army of Wessex had ample room to deploy and could extend their line beyond that of the Danes. In the centre of the Saxon line, the white dragon of Wessex could clearly be seen and it was here that the Danish king would focus their assault.


Advancing toward the river Ock, the Danes wheeled their line so as to square up with the Saxon centre. As the Danish cautiously moved forward, the Saxons used the time to adjust their line behind the River Ock.


Noticing that the River Ock formed several bends, the left wing of the Danish host was despatched to attack the Saxon right flank and doing so would hopefully draw off reserves or thin the centre.


After a long struggle, the Danish left were able to push the Saxons back from their position on the Ock. Without hesitation horns signalled the general advance for the main body. Seeing the Danish host move forward, the Saxons could only pray that their right flank would hold.


Through a mis-communication in signals (low pip scores) the main assault lost its cohesion and with this delay let the advantage of the moment slip by. The Saxons sensed this too and redoubled the efforts. Those on the right flank succeeded in sending the Danes back across the river. Casualties on both sides were heavy bringing an even score of 2 – 2.


Catching their wind, the Danes redoubled their effort to push the Saxon right away from the river bank, while in the centre, the Danes wrecked havoc crumbling the Saxon. Unfortunately, due to the limited room any change of direction was greatly hampered forcing both sides to move forward or recoil back.

In a moment of frenzy, the berserkers launched themselves at the Saxon king guaranteeing them their place in Valhalla. King Æthelwulf sensing the moment right for a counter-stroke, ordered his son Aethelbald to cross the Ock River downstream. From this position he would attack the Danish reserves and delay their support in the action taking place in the centre.  Wessex was gaining the upper hand (3 – 2). 


Further losses on the Danish left and the momentum in the centre evaporating, Danish resolve collapsed forcing them to retreat back to their camp. Hesitant to continue the fight beyond dusk, Wessex would discover the following morning that Danes had slipped away during the night to return to their ships.


Chroniclers would record this as a great victory but history would record this as a footnote in the long history of the Danish presence in Britain.


Design note;
This final version is the result of many test games, each fought over slightly different terrain. After four successive Danish victories, I looked further to the Ordnance Survey maps and concluded a river may have played a part in delivery a Saxon victory at Aclea. Woods and difficult hills did narrow the battlefield but the Danes were able to overcome the constricted terrain eventually grind their way through the Saxon defence.

The selection of a river as an additional feature did give the Saxons a boost, but further fine tuning was required. To balance the game I reduced the number of Danes as it seemed logical following two engagements at London and Canterbury. Designating two elements to guard the camp and horses seemed plausible. The river classification was selected as a compromise as this did reduce the movement distance to cross and its banks would aid defence. However, the class II river would allow group movement which helped the Danes. Further testing resulted in reaching my goal as this gave a victory for both sides.

Thursday, 28 June 2018

851 AD, the Battle of Aclea


The Battle of Aclea occurred in 851 between the West Saxons led by Æthelwulf, King of Wessex and the Danish Vikings. Preceding this battle, the Danes successfully defeated King Beorhtwulf of Mercia near London. Crossing the Thames, they sacked Canterbury. Turning westward, they met the West Saxon army of Aethelwulf near Aclea (Oak Field) where they incurred a major defeat. Very little is known about the battle and the most important source of information comes from the Anglo-Saxon Chronicle which recorded that:

"350 [Viking] ships came into the Thames and stormed Canterbury and London and put to flight Beorhtwulf, King of Mercia with his army, and then went south over the Thames to Surrey and King Aethelwulf and his son Aethelbald with the West Saxon army fought against them at Oak Field [Aclea], and there made the greatest slaughter of a heathen raiding-army that we have heard tell of up to the present day, and there took the victory."

Possible locations for the battle site include Ockley and Oakley Wood, near Merstham, both in Surrey.


The Battlefield
Our only reference to a battle site is based on the translated passage mentioning Aclea or Oak Field. The region is full of oak trees, so singling one particular wood is rather dicey but based on a number of studies following Pilgrim’s Way as the most likely route of flight, we can trace our way back to a possible battlefield. Travel along Pilgrim’s Way and the countryside is hilly and heavily forested. The route also crosses a number of little rivers such as the Ock or Oke which flow into the River Stour. The region is arable so terrain features should comprise a BUA (Oakley hamlet), the Ock River, and one difficult hill. If using a larger game board (80cm x 80cm) add a second wood and difficult hill.


The Armies
Given the date of the battle players would use the Viking list of Book III/40b which begins in 850 AD. As this is the third engagement after London and Canterbury we can expect some casualties have been incurred by the Vikings. This is represented as one element of blade guarding the camp with plunder. As an option, may call a general retreat after three elements lost as ‘casualties’ are already present in camp.

The Anglo-Saxon army are taken from Book III/24b comprising of three Huscarls (4Bd), eight spearmen (Sp) and an element of skirmishers (Ps); no allies are allowed. Break point remains unchanged at four elements.


The Setup
The Vikings are defending and therefore move first. One element of blade is placed in camp guarding the plunder gathered from previous expeditions. The distance between difficult hills will allow the placement of seven elements with the remainder forming a second line.


The Anglo-Saxon army deploy behind the river Ock. There is enough open ground to deploy nine elements with the remainder forming a second rank. The river is class II which allows group moves at a reduced rate and banks add a + 1 for the defender.   


Recommended Reading

Friday, 15 June 2018

Dark Age Scenarios


Upon completion of the DBA Middle Anglo-Saxons and Vikings I had reached a crossroad offering a number of directions I could take with the collection. Two possibilities came immediately to mind; do more historical matches or a campaign. After some thought I ruled out the former as this would require many new enemies that would need to be bought and painted and the second idea had less appeal as a Merovingian period campaign had recently been  played out. That left a possible third option.  

Researching information for conflicts of the 9th and 10th century, I did come across many battles that would make interesting historical scenarios for a standard size DBA game. These held my interest for their unique location of the battlefield and others because they are seldom found on the game board; the Rus, Early Polish, Slavs, Welsh and Abbasid to name a few. 

There is a downside to taking this direction, as with all the Dark Age conflicts, they lack the essential information to construct a well crafted scenario, such as the number of combatants involved or the location of the battlefield. We should deem ourselves fortunate if a chronicler gives a date or mentions a nearby town or waterway.

During the past week I have bookmarked about forty battles which for the most part took place in Western Europe and that include Britain, some in Eastern Europe and some in the Middle East. All took place during the years 880 to 950 AD. At the moment I am gleaning through them all and will select six or eight battles that can be reasonably constructed to give a game for both sides.

Each of the scenarios will be tested with the best example appearing at the blog. However, readers should be aware that those presented should be viewed as ‘Works in Progress and not a finished product. They are meant to stimulate debate or prompt further research to offer an alternative direction. The preliminary selection of forty battles came from two books; ‘Dark Ages’ by Sir Charles Oman, which offers a great overview from the Fall of Rome to the rise of the East Frankish Empire under Otto I and ‘Germany in the Middle Ages 800 – 1056’ by Timothy Reuter.  Also invaluable are a number of translations of medieval chroniclers which are available as e-books from online libraries or Project Gutenberg. 

Cheers,  


Map: Central Europe at the time of the Carolingians, Putzger Historischer Weltatlas, Leipzig 1877 (from: Internet Archive). 

Tuesday, 5 June 2018

Historical Match up - Later Visigoths vs. the Middle Franks

Religious differences between the ruling Visigoths and the general population of Hispania came to a head in the early 6th century. The conflict soon escalated forcing the Merovingians to intercede on the behalf of the orthodox Christians. Not all the Visigothic nobility supported their monarch on religious issues and later dissatisfaction would later lead to civil unrest. 

In 531, Childebert marched with his army to confront King Amalaric of the Visigoths in Hispania. This was the first of a number of expeditions eventually leading to the possession of Pamplona (542) and the siege of Zaragoza. The majority of these campaigns took place in the fertile region of the Ebro valley. 

In this series, the Visigoths make use of their city militia (4Ax) which reduces the number of mounted elements. Further, the Franks are Austrasian which gives them a different ratio of spear and warband and they are assisted by Visigothic allies. This open demonstration of disloyalty would lead to the coming civil war between the Visigothic royal houses. 


Game 1
The Visigothic city militia and tribal warriors are positioned in centre with skirmishers on the right holding a gentle hill. Visigothic gardingi cover the open flank while in reserve we find the Visigothic noble cavalry. Across the field, Childebert placement of troops mirrored that of the Visigoths.


Both sides commit their infantry to open the battle.


Frankish warriors quickly disperse Visigothic skirmishers exposing the flank of their city militia leading to their subsequent destruction.


The Frankish cavalry and allies charge home to inflict more casualties on the opposite flank. Through a mix up in signals (low pip score), the Visigothic cavalry remained inert eventually fleeing the battlefield as all was lost. Score 4 – 2 for the Franks.


Game 2
The difficult hills, wood and village offered little area for the Visigoths to deploy in. If the Visigoths were to make use of their cavalry they would need to advance quickly to create room to maneuver. The Franks (to the left in photo) were of equal mind as they intended to restrict those Visigothic plans. 


The opening moves were spent adjusting the alignment of the two lines.


As the forces met, combat degenerated into much pushing and shoving with most units holding their ground. Only a unit of Visigothic skirmishers broke ranks to flee for cover.


The gap left by the skirmishers opened an opportunity for which the Frankish tribal infantry quickly seized on. Moments later new gaps in the Visigothic line soon appeared giving Frankish cavalry held in reserve an opportunity to deliver a decisive blow. Score 5 – 2 for the Franks.


Game 3
The final battle, both sides faced one another over ideal cavalry terrain. Despite the equal numbers of mounted troops, the Franks placed their horse in a reserve position behind their infantry line. The Visigoths gambled on an all out confrontation and so positioned their cavalry in front.   


The rough ground proved an inconvenience for the Franks as their battle line moved slowly forward to allow the tribal infantry to keep pace with the infantry on their right.


Visigothic militia held the Frankish tribal infantry in check opening a gap which the Visigoths were able to reciprocate and cripple the Frankish spearmen. By now all the Frankish cavalry were committed to battle, leaving no further option to Childebert but to join the battle.


Unfortunately, the losses incurred by the Frankish infantry became severe that a general retreat was called for. Score 4 – 2 for the Later Visigoths.