
Following the fall of the Abbasid Caliphate, the
Muslim held areas of the former Persian Empire came under control of the
Buyids, an Iranian Shia dynasty of Dailami origin. This large expanse of
territory comprised of the emirates of Baghdad, Ray and Shiraz. There are three
sub-lists for the Buyid armies and for this project I have focused on the
Baghdad Buyid option which have a good balance of mounted and foot troops. To
complete the sub-list, these are the only ones to have the Dynastic Kurdish as allies
(III/61).
The fighting takes place in the northern regions of
the Abbasid Caliphate which are classified in DBA terms as ‘arable’.
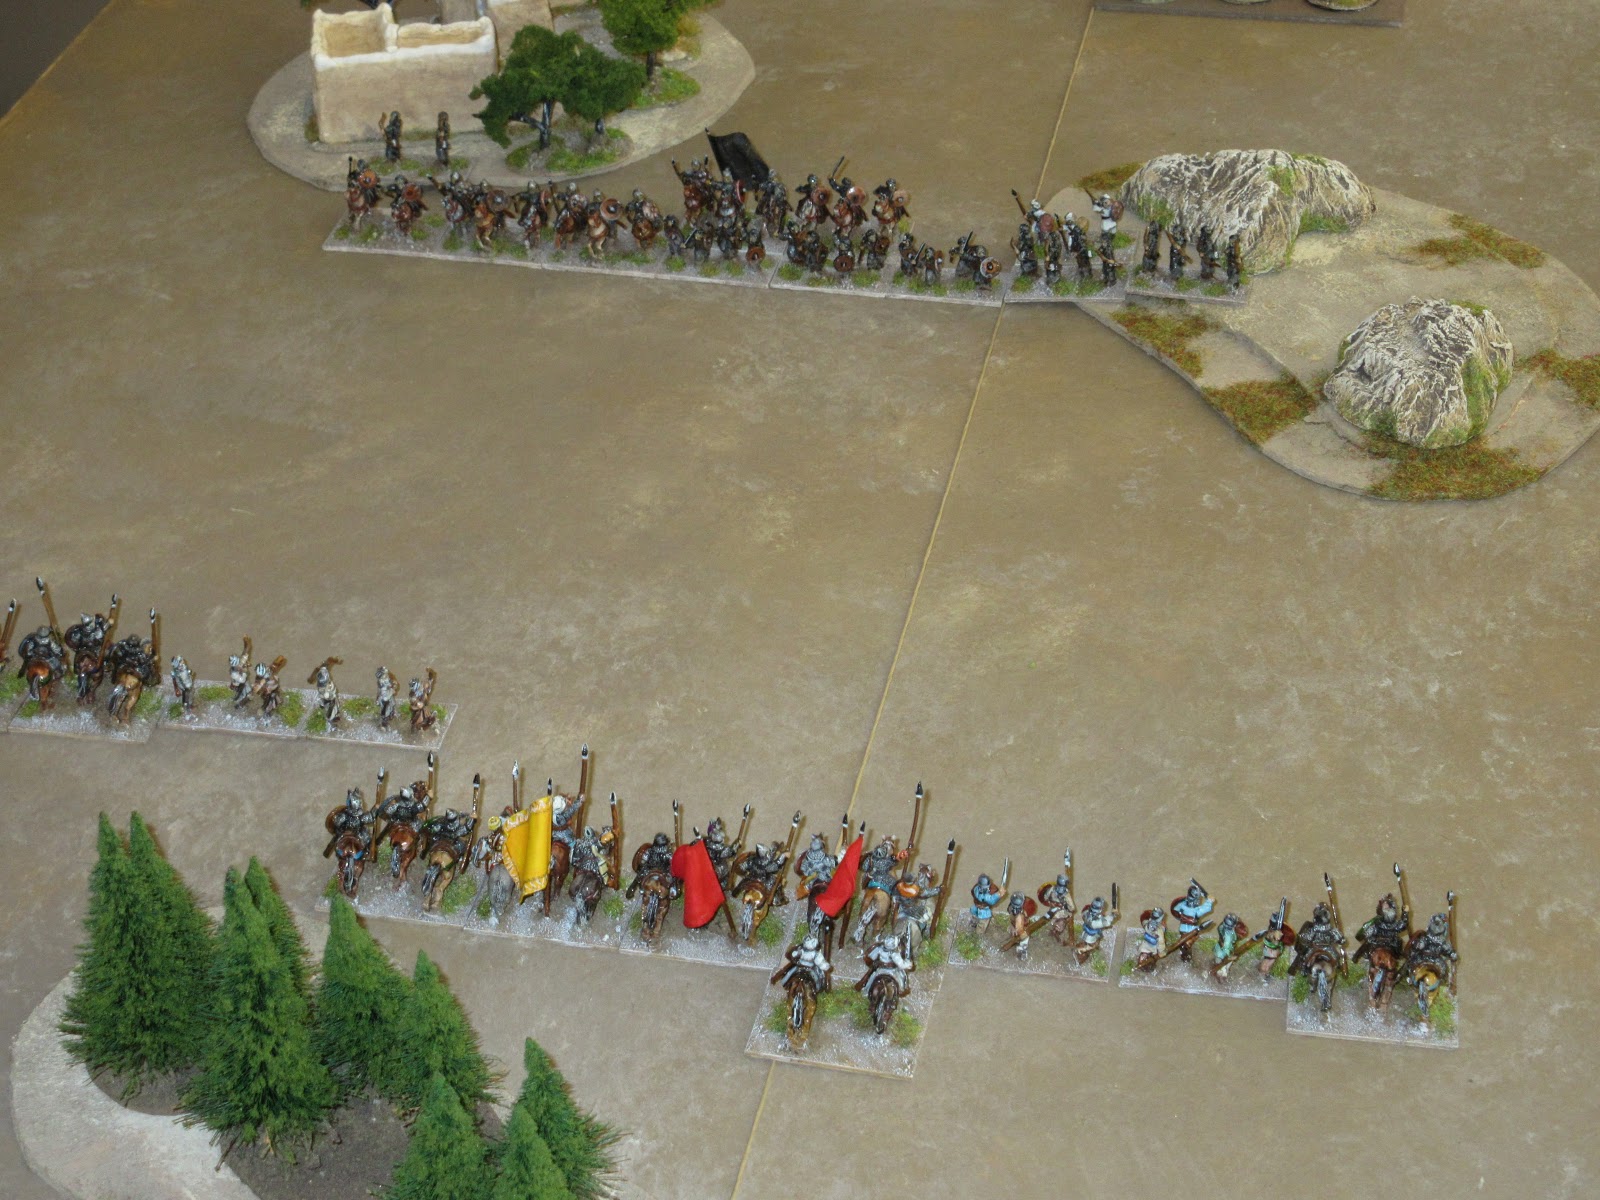
Game 1
The Buyid found the Abbasid holding a small village
and wood relinquishing possession of the sole hill. The Abbasid formed two
ranks defining their intent to fight on the open plain between features. The Buyid
placed the Dailami troops on the slopes of the hill with the remainder
positioned on the plain below. The locals (5Hd) formed to the Dailami left and
cavalry were placed to support the battle line.

Both sides eventually wheeled their lines and closed
the distance between them. The Abbasid probed the Dailami held hill while on
the right archers moved to the edge of the village to bring their bows to
target the Buyid archers.

The initial clash had not lasted long before the
Dailami auxiliaries crumbled before the relentless steady wall of Abbasid
spear. The locals were first to flee creating a crucial gap in the line. With
casualties quickly mounting, the Buyid general called for a retreat. Score 4 – 2 for the Abbasid.

Game 2
For this battle, the Buyid called on their Kurdish
allies who are seen positioned in the centre. The Abbasid controlled favourable
ground and deployed between the village and difficult hill.
The Abbasid, taking advantage of the slow approach of
the centre units, launched their own attack by the cavalry on the right. These
gambled on catching the Buyid archers by surprise. On the left, the Abbasid
were awaiting the approach of the Dailami infantry.

Within a short period, the lines of both sides lost
their semblance of formations and broke up into small isolated battles. By this
time, the casualties were mounting quickly and with Buyid resistance on the
right collapsing, their general called a retreat. Little did he know how close
to victory he was, score 4 – 3 for the
Abbasid.

Game 3
For the final battle, the Abbasid formed a line
anchored on the right by a village with the open flank covered by the majority
of cavalry. Facing them, the Buyid placed their archers in centre with their
flanks covered by Kurdish and Buyid cavalry. On the left, the Dailami secured the
hill position while Buyid and Kurdish light horse covered the right flank.

The slow pace of the Abbasid line gave the Buyid an
opportunity to roll up the Abbasid left flank. The Kurds were given the task
and were supported by Buyid cavalry and all the light horse. Buyid archers sent
supporting spearmen recoiling leaving a few Abbasid cavalry exposed.

Abbasid casualties quickly soared as they were outnumbered
and outclassed by the Kurds. The Abbasid general was forced to counter moving
himself and his guard into the battle. The loss of their general, the Abbasid
turned about and fled. Score 5g – 1 for
the Baghdad Buyid.

III/58a
Baghdad Buyid 946 – 975 AD, terrain
type Arable, Aggression 3
1 x General (Cv), 2 x ghulams (Cv), 2 x ghulams (Cv)
or zupin-men (4Ax), 4 x zupin-men (4Ax), 2 archers or crossbowmen (Ps or 3/4Bw
or 3Cb), 1 x Indian swordsmen (3Bd) or religious fanatics (5Hd) or Bedouin
(LH).
Splendid battle.
ReplyDeleteThe last battle was the best.
ReplyDeleteYou can read detailed coverage of the last battle at the Fanaticus Forum.
http://fanaticus.boards.net/thread/774/black-banner-abbasid-caliphate?page=4
Cheers,