Sunday, 31 March 2024

After Strasbourg, 357 AD

The victory at Strasbourg (357) did not subdue the Alemanni as a further three campaign seasons were needed to bring them to heel, albeit briefly. Herwig Wolfrum, in “The Roman Empire and Its Germanic Peoples” describes the continued incursions by the Alemanni following Julian’s departure to the east.

With a newly completed Late Roman Army, we will attempt to follow Julian’s footsteps across the Rhine and engage the Alemanni. The following reports demonstrate this was no easy task.

Game one.

Rome find the Alemanni prepared for battle with their flank and rear protected by woods. Rome deploys in three lines and gaps are made so as to match the breadth of the enemy line.

The thin ranks appear vulnerable and the Alemanni rush forward to break the Roman line. The Alemanni right are hesitant and slow their pace as they face Roman Cataphracti.

As the armies’ clash, Rome suffers heavy casualties in the centre, but hold an advantage to turn the Alemanni left. To meet the Cataphracti, archers advance forward and with a rain arrows them to retreat.

Oblivious to events happening on their left and right flanks the Alemanni continue their attack forward to meet the Roman second line.

Their breakthrough is stopped by units from the second line and counter attacks by the equites hold the Alemanni in check. Seizing the moment, the Cataphracti also charge the enemy giving Rome a clear victory over the barbarians (10+2Hd-6).


Game two.

The Alemanni are reinforced and meet Rome in deep ranks positioned between marsh and woods. Rome deploys in a standard formation, but have amassed all their light horse on the right flank.

Exhibiting contempt for the Roman light horse as they proceed to encircle their left, the Alemanni rush forward to ‘die killing Romans’.

The lines clash in centre while on both flanks play out their own arena of death.

Having made a breakthrough in centre, Alemanni columns continue their attack against the second Roman line.

The battle reaches a critical state with the destruction of a second legion. Nonetheless, the scales balance with the collapse of the Alemanni left flank with both armies reaching a break point. Just then, Roman light horse thunder down toward the Alemanni warlord.

The crisis in centre is held in check allowing Roman equites wreak havoc in the Alemanni rear sealing their fate. A very narrow victory for Rome (10+4Hd – 9).  


Observations

Game two is best described as a ‘meat grinder’ as it required nine turns to reach a conclusion. The Alemanni inflicted heavy casualties at the start, leaving Rome to slog their way back and match the barbarians. Turn eight, the score reached an even 9 – 9 plus horde, 

In general, there were opportunities in the centre for elements to flank columns, but maintaining a line proved a better choice as this reduced pip expenditure on the subsequent turn.

Losing all four Roman blade in quick succession was a surprise, but the positioning of a third line staved off a near disaster. Despite the late arrival of the light horse, Roman equites performed well. 

Monday, 18 March 2024

The reign of Chlodovech 481-511

The expansion of the Frankish Kingdom, during the reign of Chlodovech (Clovis), lends well to a linear campaign, beginning with the elimination of his rivals on succeeding to the throne (481), attacking Syagrius of Soissons (486), followed by the Thuringians (491), then a decisive confrontation with the Alamanni ending at the Battle of Tolbiac (496), the Burgundian civil war (500), a campaign against Armorica (501) and the wars with the Visigoths (507) resulting in the unification of the Frankish kingdom. 

This is more interesting as the Frankish army transforms from an early period (II/72d) to a Merovingian force (III/5a) supported by Gallo-Roman troops and the addition of a mounted arm. The next weeks, each phase will be played out followed by a brief report with photos. 

481 - Early Frankish II/72d versus rivals a similar list.

486 - Early Frankish II/72d versus the Patrician Roman II/82.

491 - Early Frankish II/72d versus the Thuringian II/73.

496 - Early Frankish II/72d or III/5 versus the Alamanni II/72b.

500 - Merovingian III/5 versus the Burgundi II/70a.

501 - Merovingian III/5 versus Armorica II/81c.

507 - Merovingian III/5 versus the Later Visigoths II/83.

508 – Baptism.

511 - Death.


481 – Chlodovech ascends the throne and begins a ruthless campaign of eliminating rival claimants. One such claimant fields an army of equal size and deployment and as they advance, Clovis extends his flanks to overlap the enemy. As the armies clash and lines buckle, the opposing generals are locked in battle. Light troops encircling the usurper’s line, join Clovis to help slay the enemy king, 5g-1.


486 – Chlodovech invades the kingdom of Soisson to find the last Roman patrician deployed for battle. Seeing traitorous Franks among the Roman ranks, Clovis concentrates his attack there. Succumbing to Frankish retribution, the Roman left collapses and coupled with the destruction of the legion and equites the fate of Syagrius is sealed. He flees the field to a victorious Clovis, 5-2.


491 – The last rivals for the Frankish throne have fled to Thuringia. In his pursuit, Clovis encounters the army of Thuringia and gives battle. Employing a similar deployment, Clovis overlaps the Thuringian left while holding back his opposite wing. The situation nearly turned critical as Clovis finds himself surrounded, but his luck held finally defeating Thuringia, 4 – 2.


Notes:

The only position for a warband general is in the front rank of his army as his presence can play a critical role in combat outcomes. However, this does have its risk as Clovis’ career nearly ended while fighting Thuringia.

The composition of the patrician force posed a problem, as so little is known about the kingdom of Soisson. Still, deploying four elements of cavalry and light horse would normally give the last Roman an advantage.


496 – The Alamanni invade the territory of the Ripurian Franks to. Requesting help, Clovis sets off to stop the invasion, bringing with him Gallo-Roman troops and cavalry. The armies meet west of Cologne and the Alamanni were deployed ready for battle. Clovis and Frankish cavalry form the centre, on the right, the Gallo-Romans and on the left, tribal warriors. As the centres of both armies clash, the Alamanni king fell to the axe of Clovis. Despite the loss of their lord, the Alamanni continue to resist, but seeing the havoc wrecked by Frankish cavalry, the Alamanni flee, 4g-2.


500 – A civil war in Burgundy lures Clovis to assist Godegisel against his brother, King Gundobad. The armies met near Dijon and in a surprise maneuver, Clovis approached the Burgundi full force against the enemy left flank. Scrambling to adjust their line, the Burgundi manage to force back the usurper’s contingent, but fall against the Frankish onslaught. A decisive victory, 4-0.


501 – Clovis captures the city of Nantes to serve as the headquarters for a Breton March. This overt action is rebuffed by the Dux of Armorica. Despite an initial setback, Clovis resumes his campaign and brings the Armorican army to battle. Outnumbered by Armorican cavalry, Clovis places his mounted arm in a reserve position. Armorican light horse probe both Frankish flanks by are neutralised enemy infantry. Leading a charge against the Frankish right, the Armorican leader finds himself isolated. His death brings a swift end to the battle, 3g+Hd-2.


Notes:

Until his venture into Armorica, Clovis retained an unblemished victory record. A simple change in deployment was enough to undo that record, underscoring an old expression ‘don’t fix it, if it’s not broken”. Returning to a standard deployment Clovis secured an easy victory. 


507 – Seeking to liberate Aquitaine of Visigothic presence, Clovis forbids the pillaging of the land by his men to gain support among the Catholics in the domain. Fearing the influence this may have among his subjects, Alaric II meets the Franks at a battlefield near VouillĂ©.

Anticipating an impetuous charge by Visigothic heavy cavalry, Clovis formed two lines placing the left further behind the division on the right, do so would force the Visigothic cavalry to ride further and along woods held by Frankish tribal warriors.

As the Visigoths advance, the Frankish on the left wheel forcing the Visigoths to adjust their line of attack, leaving Alaric II and his nobles alone to face the remaining Frankish troops.

As lines crash, the Visigothic heavy cavalry seek to break the infantry line ahead and wheel to take Clovis in the flank. Unfortunately, the infantry mistaken as Frankish tribal warriors were in fact spearmen, ably repelling the cavalry attack sending Alaric II to his ancestors. Seeing their leader fall brought the Visigothic attack to a halt. Fearing further casualties, the Visigoths flee, 3g-2.


Note: A case of mistaken identity; calculating the combat between Frankish warband (4Wb) and Visigothic knights resulted in a recoil result for the Alaric. As the combat continued toward the wood, I realised my error, as the infantry were not warband but spearmen, resulting in an adjusted score to twice as many. Oops, poor Alaric.

This was a fun series to play reaching an actual historical end, no doubt Gregory will add much to his recounting of the story.  


Tuesday, 27 February 2024

The Huns vs. the Burgundi

Following the end of the Roman civil war of 432, Aetius, now comes et magister utriusque militiae, devoted his attention to restoring the political situation in Gaul. The Burgundi of King Gundacar would be a first priority; however, some sources indicate this was completely executed by Hunnic forces. No Roman forces are mentioned in the sources nor strengths listed other than the alleged figure of 20,000 Burgundi killed, including King Gundacar (Hydatius). 

These games bring the Huns (II/80d) in contact with the Burgundi (II/70a) both are double size commands of 24 elements each. Terrain pieces placed by the defender are one village, a difficult hill and two wood and road. 

Game one

The Burgundi take a defensive position using a difficult hill and wood to secure their flanks. As an extra precaution, troops are positioned on the far right to deal with any enemy flanking attempts. This proved prudent as the arrival of the Hunnic horde extended beyond that of the Burgundi.

As anticipated, the Huns probe the Burgundi right for any weaknesses.

In a surprise move, the Burgundi advance their battle line exposing their left for a brief moment. The gap was quickly sealed tight by warriors from the second line.

The approaching Burgundi threatened the Hunnic centre, but this did not deter the fighting on the flanks. Casualties mounted equally for both armies.

In a desperate attempt to deal the final blow, the Burgundi charged the enemy centre with convincing effect. The Huns withdrew from the field to make plans for another day. Burgundi 8 – 6.


Game two

The Burgundi formed two wings of equal strength and positioned them on either side of a village. The Huns placed the majority of their force facing the Burgundi right while a second force, led by a sub-general, would probe the Burgundi left.    

The Burgundi began the battle by sending skirmishers to seize the hill. From there, they could harass the enemy cavalry on either side, however, the attempt proved fatal, as they were intercepted near the base of the hill. Pressing an advantage, the Huns engaged the Burgundi left.

The majority of the battle took place against the Burgundi left with the Burgundi right remaining in position as the Hunnic main body remained still. During the battle, the loss of the sub-general meant the collapse of the Burgundi left. A general retreat was called and with the majority of the Hunnic force not employed, they would be eager for the pursuit. The Huns 8 – 3.


Observations.

Game one proved a challenge as the Burgundi took the offensive to assault the Hunnic centre. This created a dilemma for the Huns being committed to a two-pronged attack against the Burgundi flanks leaving its centre inert. Scrambling to recover, the Hun readied its centre leaving the flanks vulnerable. This proved fatal forcing the Hun to retreat.  

Game two was a complete disaster for the Burgundi. Low pip scores resulted in the Burgundi remaining motionless throughout the battle in contrast to the Huns, who enjoyed the day. In close combat, warband fighting mounted have the same combat tactor, however, Hunnic mobility proved effective to strike exposed flanks or supporting an element already engaged.

Thursday, 15 February 2024

Late Imperial Rome vs. Sassan

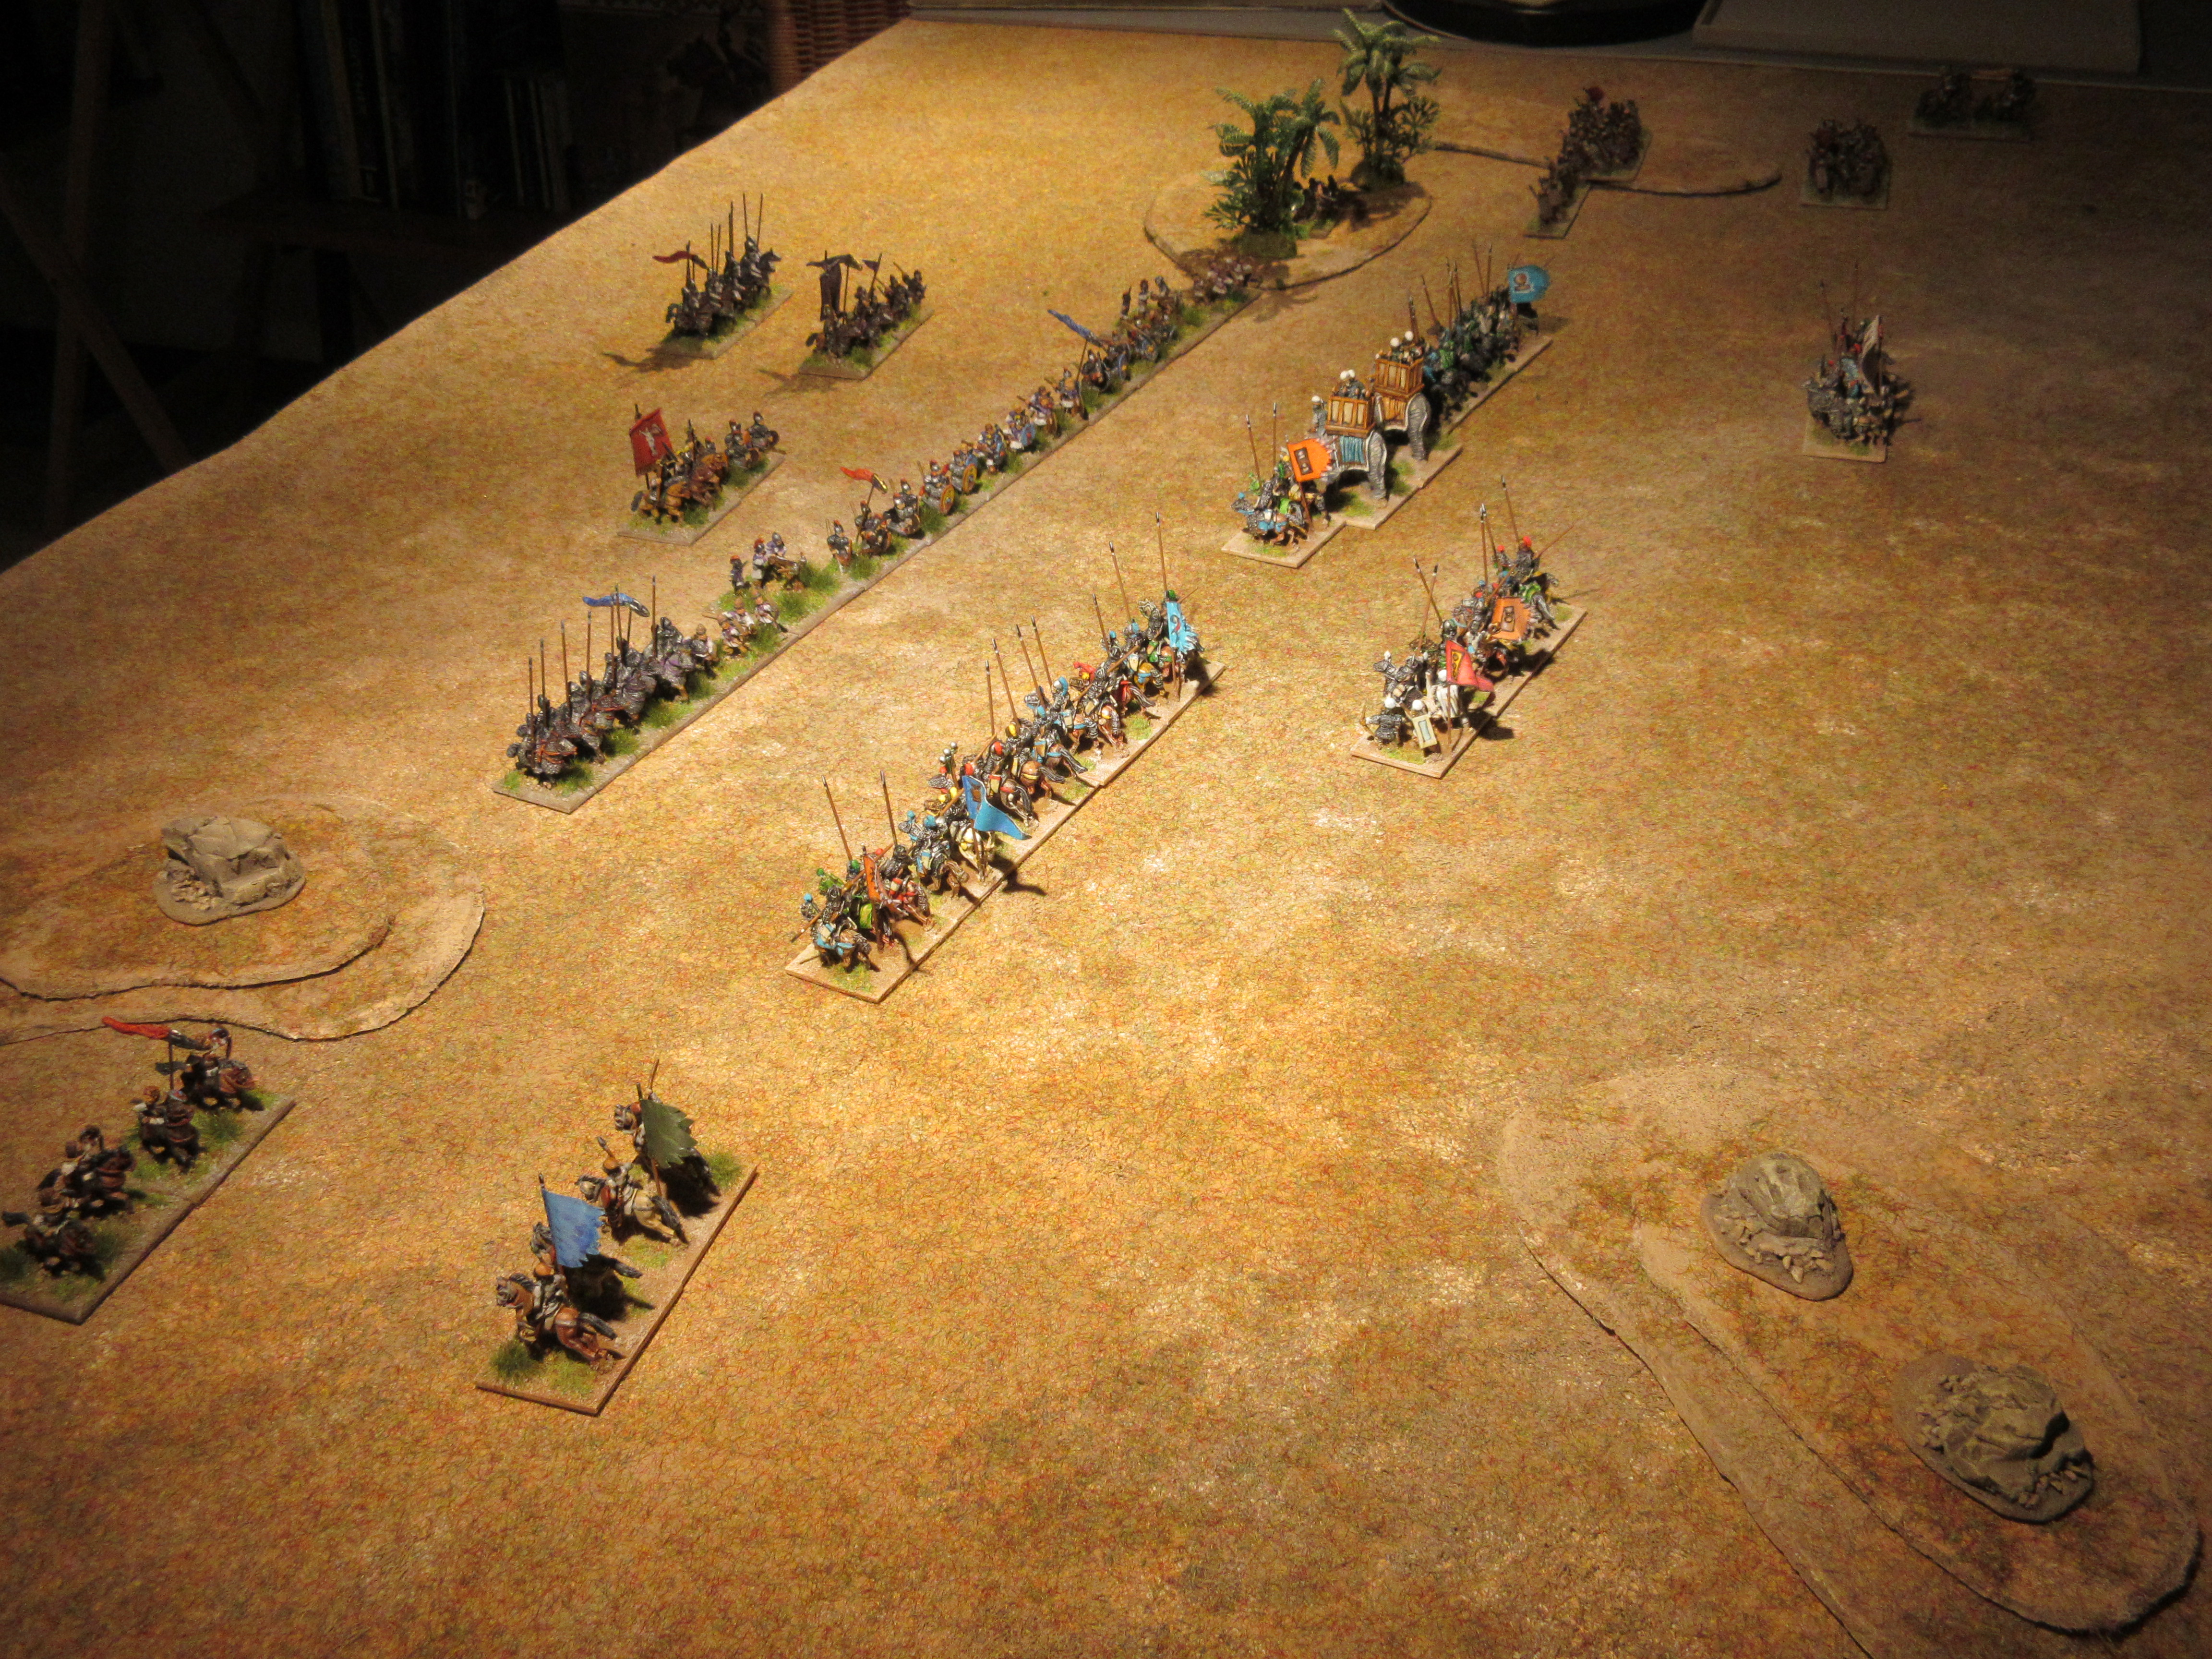
In response to recent Sassanian transgressions, Rome crossed the frontier of Northern Mesopotamia. Ultimately, Rome was surprised and promptly deployed on a plain situated between difficult hills and a deserted village. Under a cloud of dust, the Persians amassed its elephant corps and Immortals to form its main assault against the legions and the Asavaran cavalry, forming a secondary group would strike the Roman right wing.

The Persians advance closing the distance to the Roman formations.

The elephant corps and Immortals successfully brave the storm of arrows and bolts to crash into the Roman line, the impact destroyed a major portion of the enemy line to expose the Roman CinC and staff.


Initially unsuccessful, the secondary assault regrouped to repeat their charge to mirror the effect created further up the line. The Roman centre ceased to exist, putting the army to flight. Sassan 8 – 3.


On a subsequent engagement, Rome formed a solid line, legions on the right, bowmen and artillery in the centre and the majority of the cavalry on the left. To counter Rome’s intended assault against its left, the Persians placed its levies to face the legion and placed the elephant corps and supporting Asavaran cavalry to face the mobile Roman wing.

To complete the deployment, both sides formed independent groups and positioned them beyond the village.

Determined to sweep aside the levies, the legions advanced. Supporting their effort, the archers and artillery wreaked havoc among the Asavaran left of the levies. At this time, the Roman mobile wing remained in position awaiting the assault to come.

The legions encountered stiff resistance from the levies, which seriously delayed the overall plan to destroy the Persian centre. Nonetheless, Roman cataphract and archers proved effective at disrupting the Persian formations in centre.

The situation changed when the Persian centre recovered well enough to counter the Roman effort. The initiative now in hand, the elephant corps and cavalry support continued their advance.

As dusk approached, Rome successfully destroyed the Persian centre, but found both its own flanks shattered, forcing Rome to retreat. Sassan 8 to 6 + 4Hd.


Observations

Persia was extremely fortunate in game one, needing five turns to destroy the Roman army. Rome was at a disadvantage deploying first enabling the Persians to ideally place its elephant corps.

Game two was hard fought and could easily have ended in a Roman victory. Despite the plague of low pip scores for Rome, it could make effective use of the artillery and archers.    

Thursday, 8 February 2024

Rome against the Goths

From their recently established kingdom in southern Gaul, the Goths plundered nearby Roman lands and lay siege to the city of Arles in 427. The Magister Equitum assigned to defend Gaul, collected troops to relieve the city. Aside from the scant number of field army units, Germanic troops made an additional portion of the army as well as an independent tribe of Huns. The Goths, who had established themselves a decade before in Aquitania and Novempopulania, had supplanted the Roman governors and other bureaucratic officials, yet many Roman citizens opted to remain behind, among them included garrison and auxiliary units. 

Forces

Both commands, Patrician Roman and Early Visigoths, are double size and include a sub-general.

Terrian

To be placed by the defender, a BUA (hamlet), a road, one gentle hill and two wood.


Game one

The Visigoths amassed their cavalry on the right, preparing to encircle the Roman flank resting on the village. At the same time, Visigothic infantry in centre and citizen auxilia would hold the legions at bay.

The encircling maneuver floundered against the wily Huns, prompting the Visigothic warlord to change his attack plans.

The lines clashed and buckled, eventually the Visigothic heavy cavalry broke the Feoderati, breaching the Roman line. 


On the Roman right, the cavalry could make no impression on the auxilia and were repulsed with each effort. The conflict changed when Gothic skirmishers emerged from the wood to seal a victory for the Visigoths, 9 – 2.


Game two

A subsequent battle found the Visigothic infantry defending a gentle hill in centre and flanked to either side, the Gothic cavalry. Auxilia infantry and skirmishers protected the rear area in anticipation of a Hunnic encirclement.

Rome closed the distance to approach the Visigothic centre. This left their left flank exposed, an opportunity the Visigoths seize upon. As the Visigothic cavalry moved to strike the exposed Roman flank, Hunnic cavalry appeared around the wood.

Committed to the attack, the Visigothic cavalry struck the Roman equites, but with fewer number. The entire battle line shuddered with the clash of sword on shields.

Roman lancers and legionnaires streamed through the gaps in the Visigothic centre effectively breaking them to continue the fight. Rome 8 – 2.


Observations

I have not used this matched pair, Patrician Roman and the Later Visigoths, and was therefore pleased with the results. Strengths and weakness were balanced for both sides, despite the high percentage of barbarian troops employed by Rome. The Huns tied down Visigothic reserves and in game two, arrived in time to reduce the enemy cavalry of their full potential.