Tuesday, 9 May 2023

Roman Tour – the Alani

In retaliation to recent Alani incursions, Rome gathered an army and crossed the Danube. Against the advice of senior officers, the expedition marched deeper into the steppe heartland to find the encampment of the Alani.

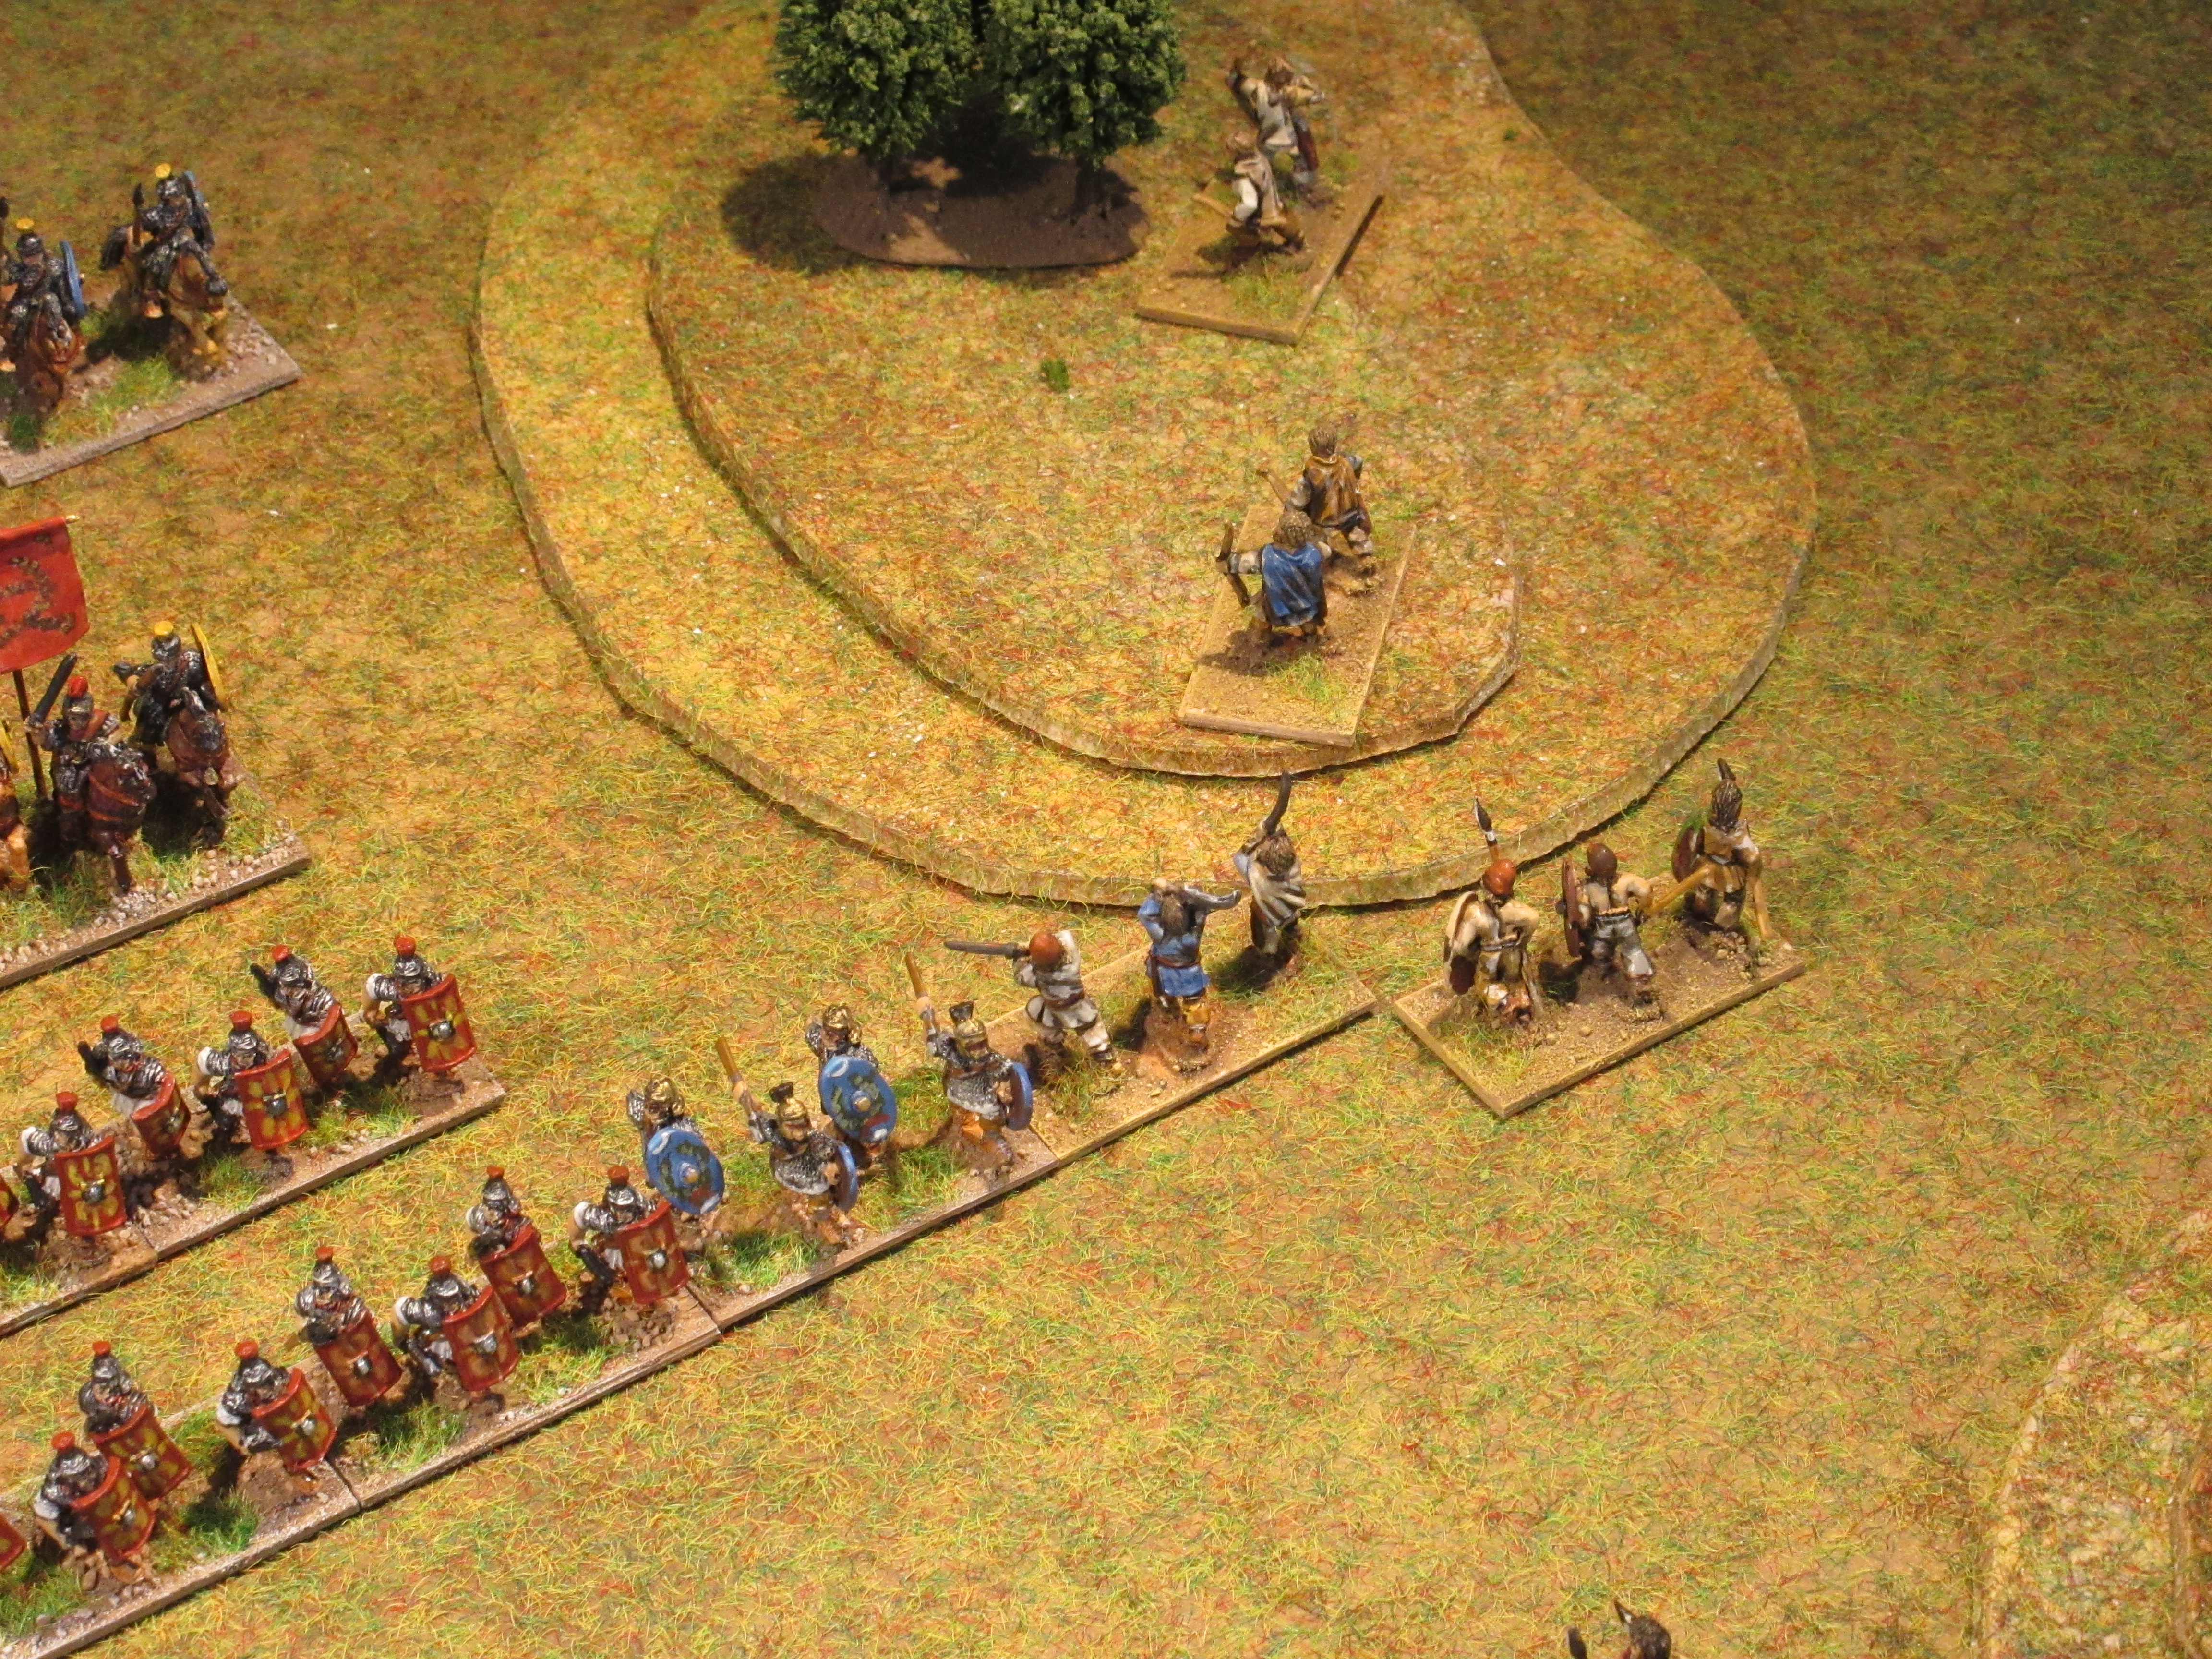
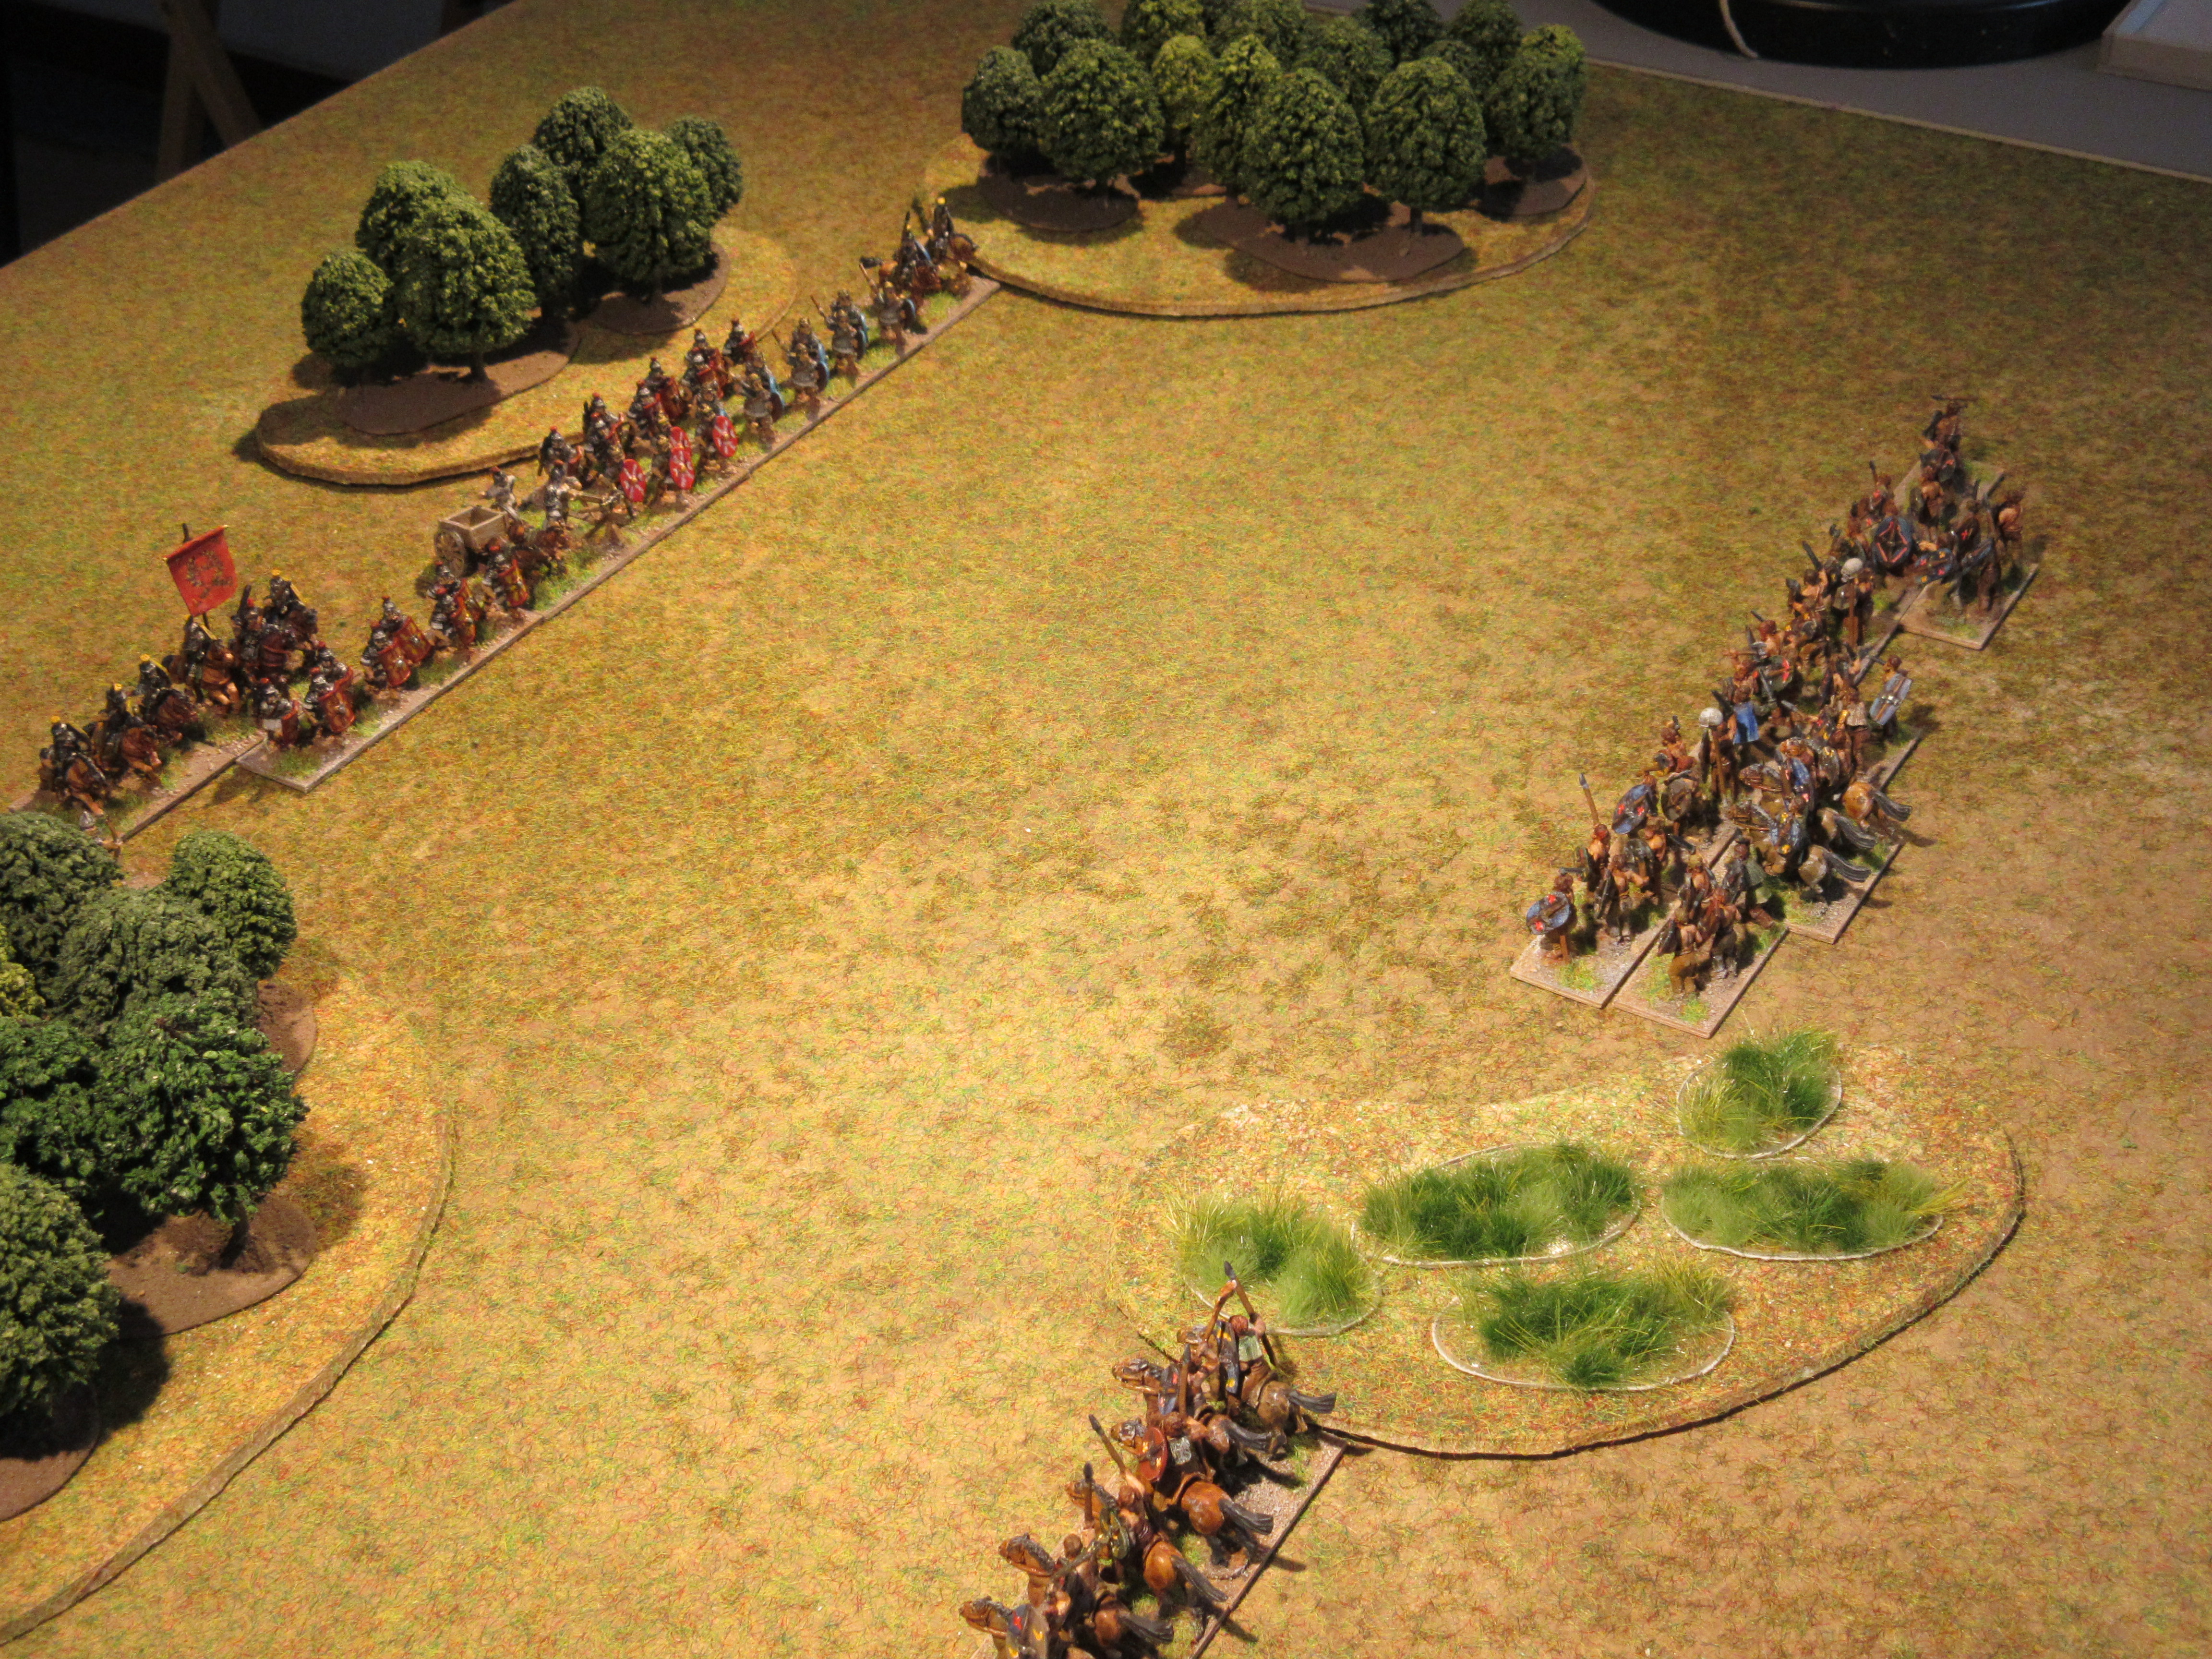
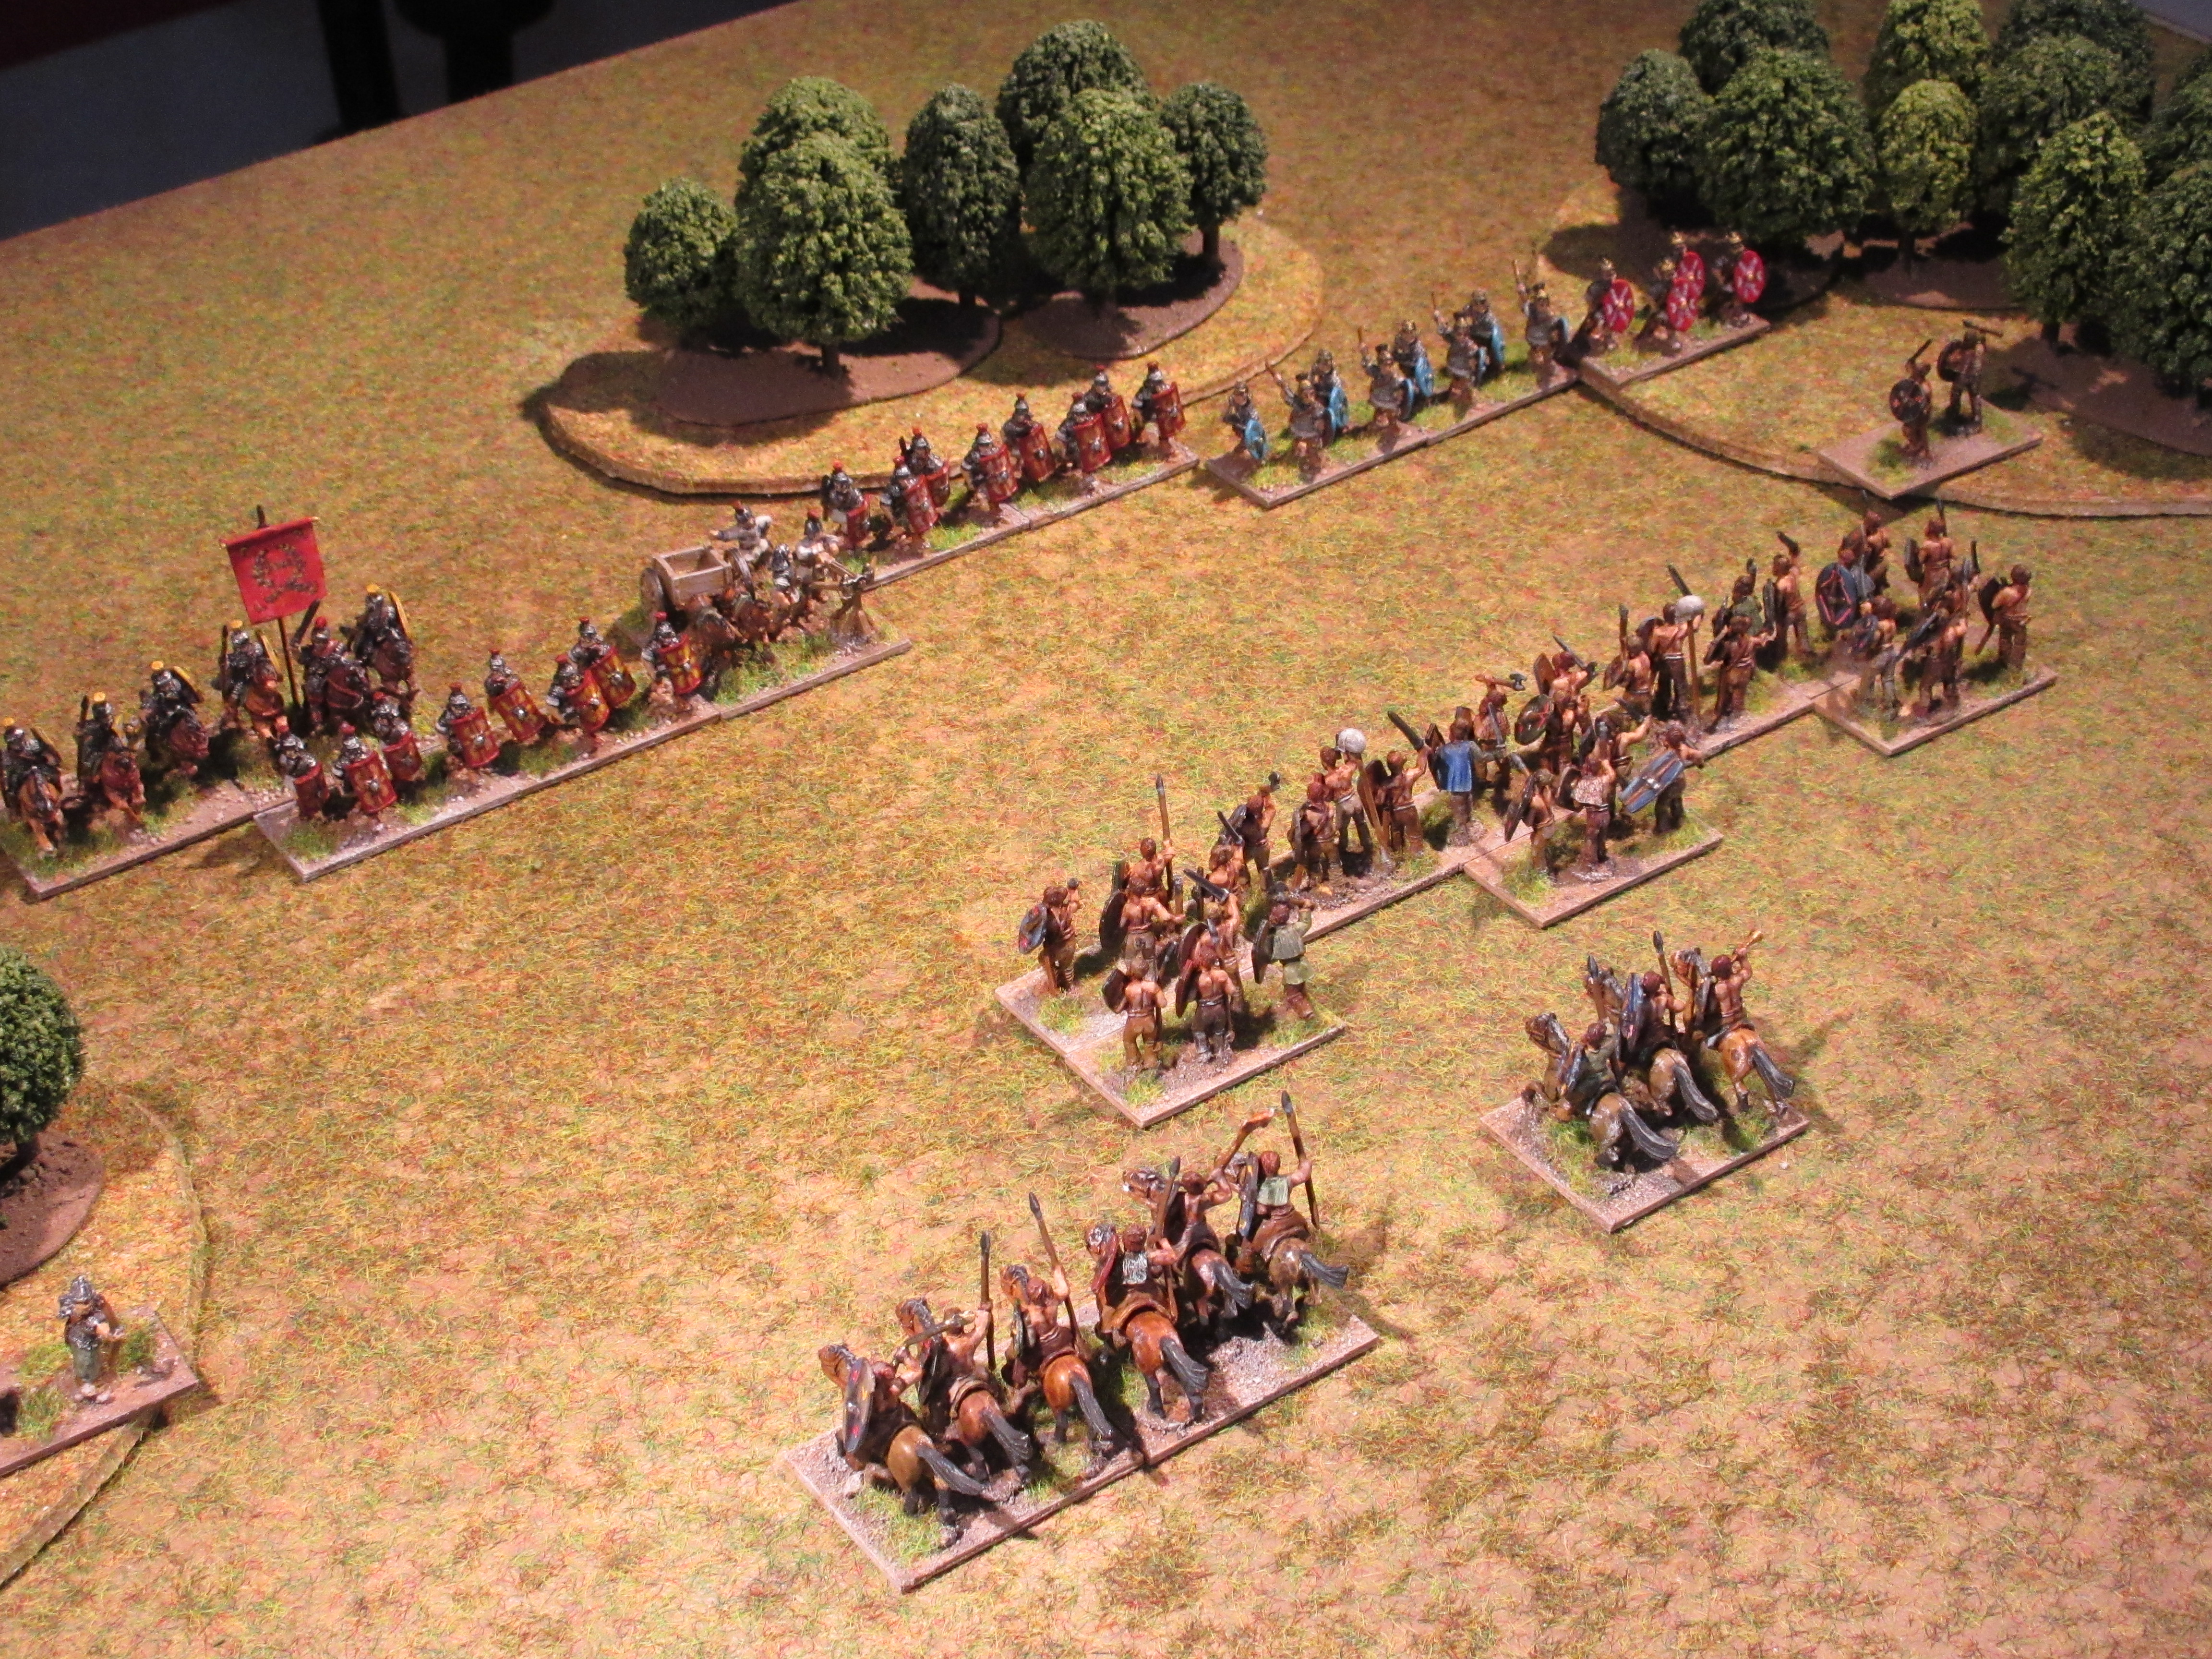
Approaching the camp, Rome deployed the legion and auxilia infantry on the forward slope of a hill and to protect both flanks of the army, the cavalry were positioned there.

Despite the rough ground in front of their camp, the Alani dispersed its deployment around it bringing most of its force to face the legion.

Advancing at a steady walk, the Alani intended to pin the Roman troops on the hill’s while light horse probed for weaknesses on both enemy flanks. To counter the threat, Rome extended its line on both flanks.

The action on both flanks were repulsed with the Alani suffering the majority of casualties.

Further attempts to reinforce the attacks on the flanks were repulsed by archer and artillery fire. Incurring more casualties, the Alani broke off the battle and wait for a better opportunity. Rome 4 – 1.


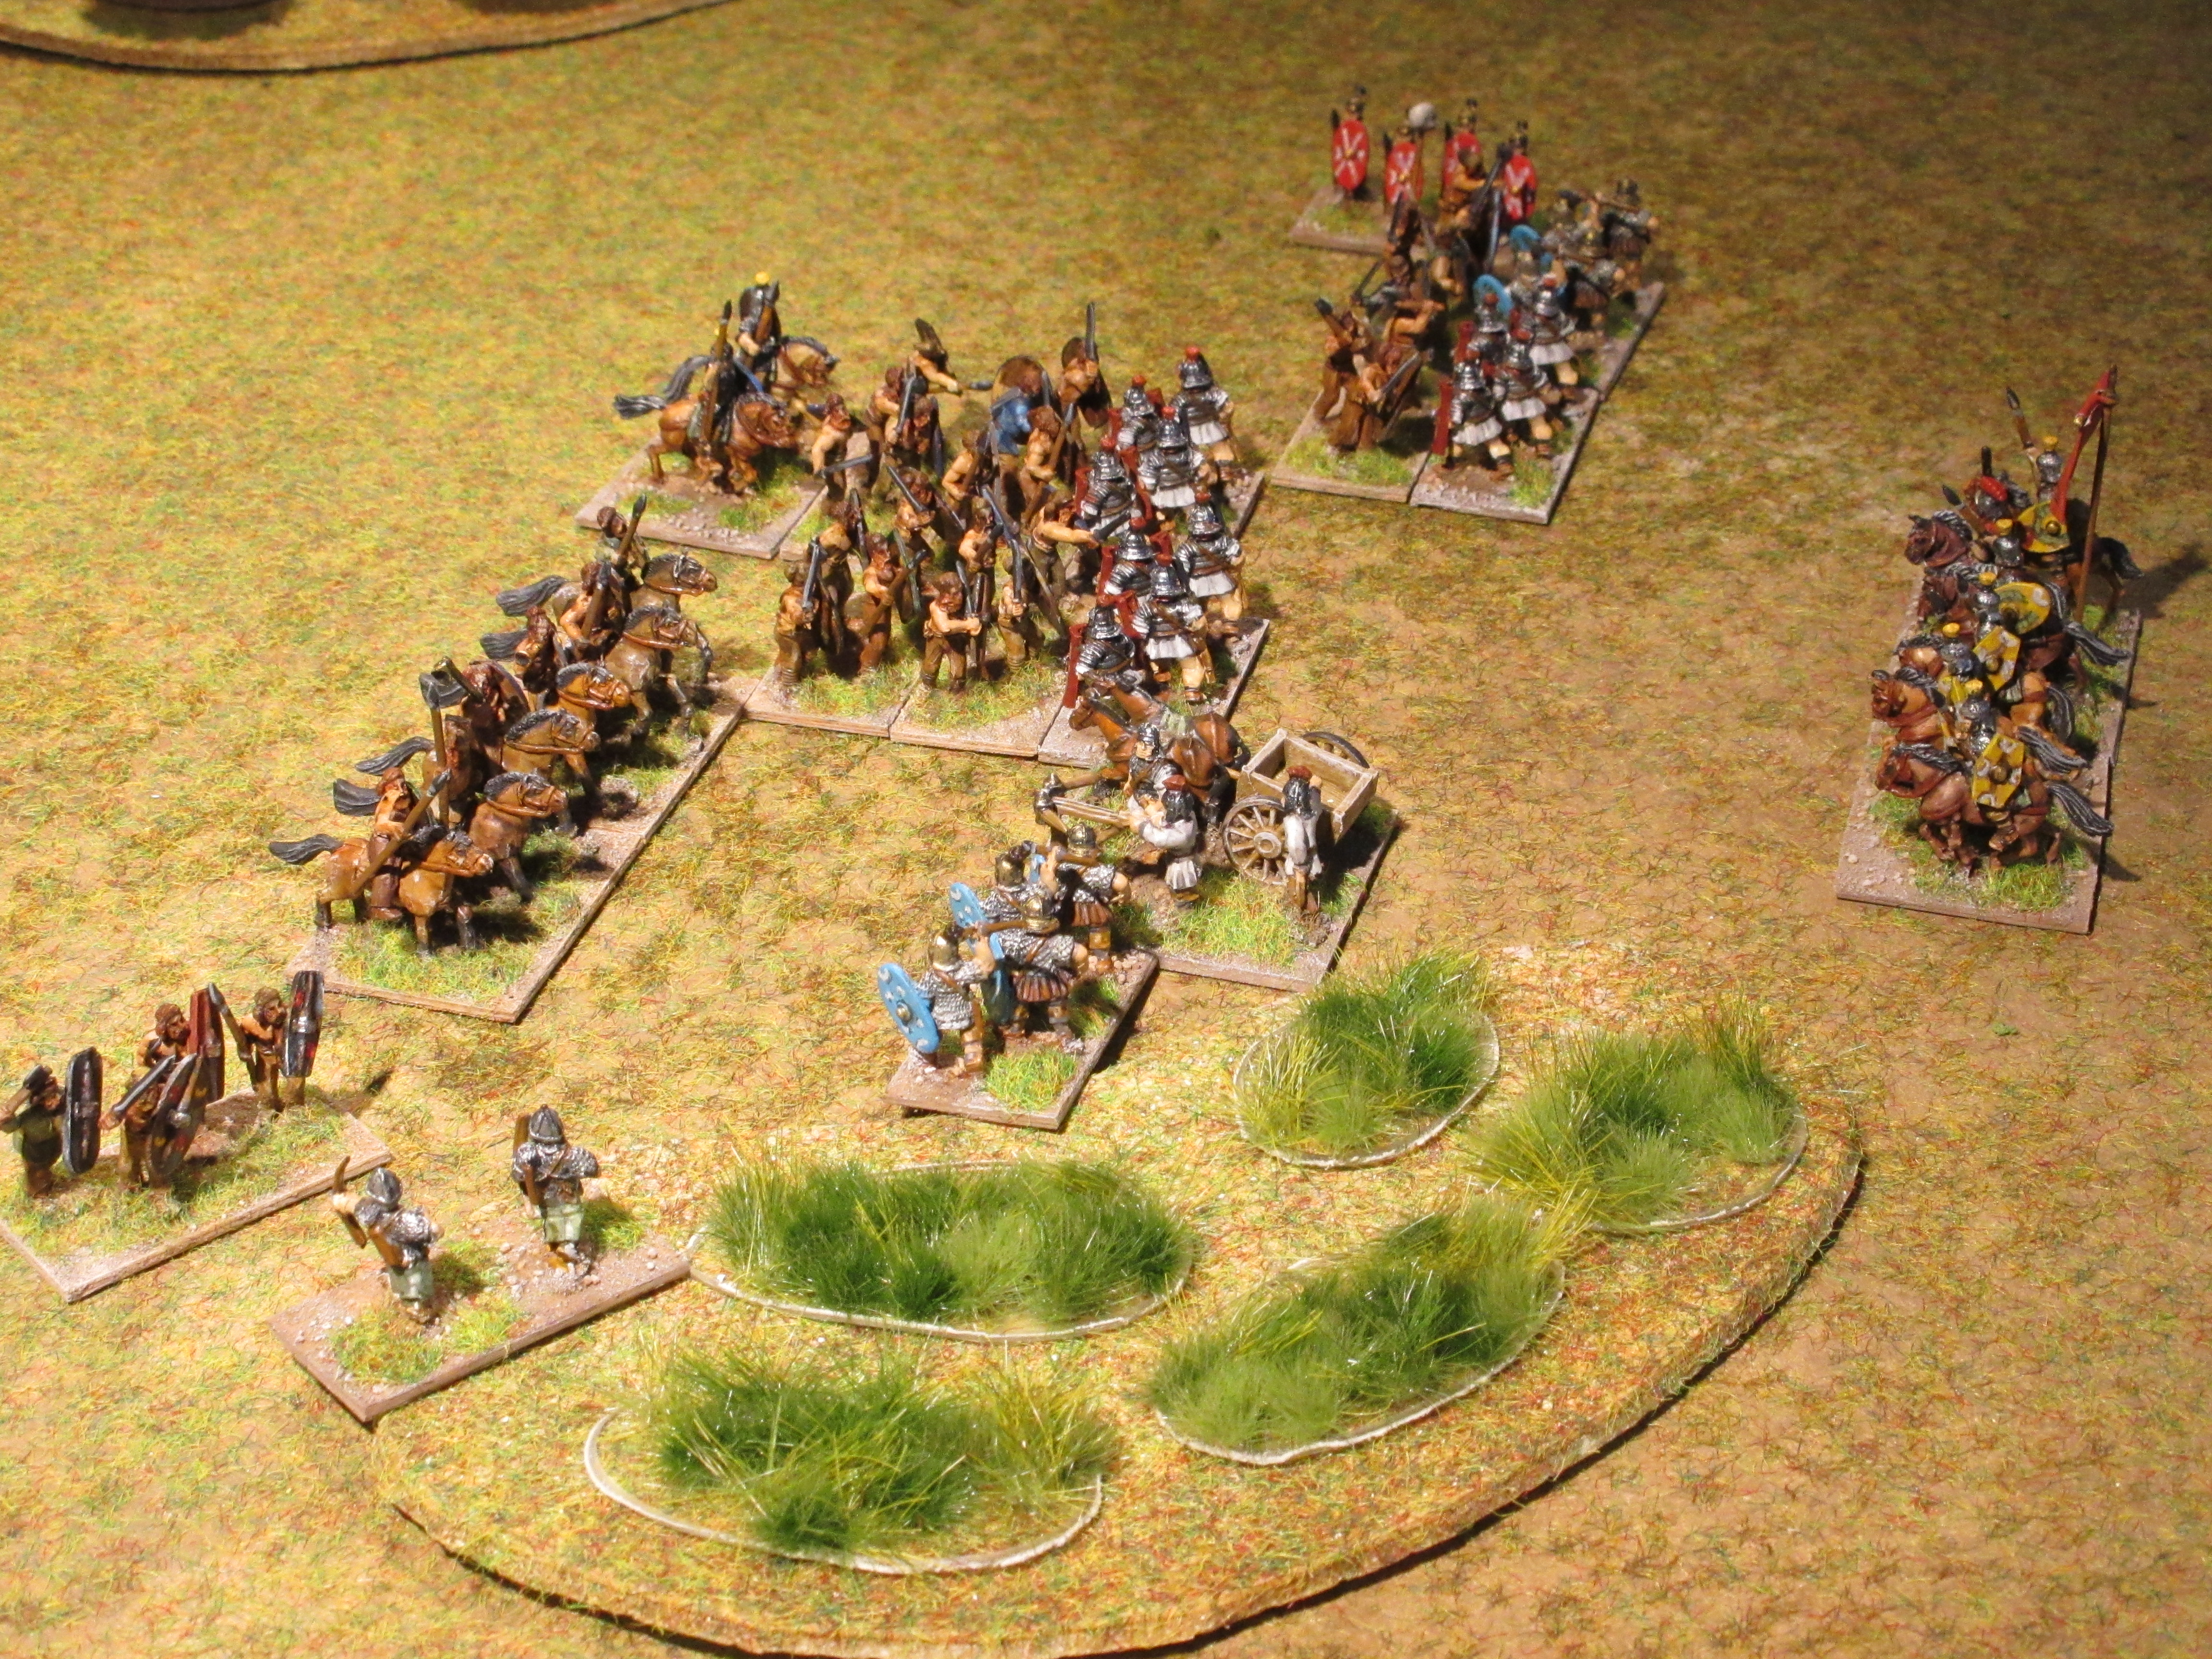
That opportunity came when Roman forces were caught on open ground. Amassing its nobles in centre, the Alani would turn one flank bringing the main assaulting on the Roman centre.

Anticipating the flanking maneuver, auxilia infantry and cavalry adjusted their front to meet the expected threat while the remainder of the Roman line held its position.

Roman archers moved forward to provoke the enemy. This worked and standing their ground they fired with deadly effect causing casualties among the enemy cavalry. Elsewhere, the auxilia lost their cavalry support, but fresh troops were sent to help restore that part of the line.

At that moment, the ground shuddered with the pounding of hooves as the Alani lancers bore down on the legion. The effect was devastating sending a shock wave throughout the army to send them off the field. The Alani 4 – 1.


 Early Imperial Roman

1 x General (Cv), 1 x equites (Cv), 4 x legionnaires (4Bd), 3 x auxilia infantry (4Ax), 1 x archers (4Bw or Ps), 1 x light horse (LH), 1 x artillery (Art).

Alani

1 x General (3Kn), 3 x nobles (3Kn), 7 x horse archers (LH), 1 x peasant archers (Ps).

Tuesday, 2 May 2023

Roman Tour – the Dacians

In the third test match of the series, Rome invaded the homeland of Dacia to find the Dacian army arrayed across the valley floor with its flanks secured by a river to one side, steep hills on the other.

Rome was forced to reduce its normal frontage as the valley floor offered no more than 400 paces of open space. 

The battle began with the Dacian probing the Roman left from across the river with Rome responding with a unit of equites to face the threat. The Dacian skirmishers no longer a threat, Rome advanced its infantry forward with the artillery keeping pace. 

Once in range, the artillery had the desired effect of stinging the Dacian army into action launching its entire line forward to engage the Roman infantry to its front..

Holding its ground on the left flank, the legion on the right, were able to cut through the Dacian line. 

Gaps in the Dacian grew as the legion continued their blood spree forcing the Dacians to abandon the field. A well-earned victory for Rome, 4 - 1. 


Swapping deployment areas for game two left Rome in the same predicament as before with a contracted battle line; the legion in two lines, auxilia positioned on both flanks and all the mounted units in reserve in a third line.  

Auxilia infantry were moved to higher ground on the left, securing that flank as the legion advanced on the enemy. Enemy troops at the other end of the valley floor remained motionless but the heights to their right were filled with enemy activity, improving their defensive position. 

In a surprise move, the entire Dacian right overran the Roman held hill, destroying its defenders and causing alarm to the Roman commander. 

Ceasing the advance, Rome countered the threat to its left moving reserve cavalry and legionnaires to restore order. Taking advantage of an immobilised Rome, the remainder of the Dacian army joined the general melee. Pressed on two sides, Roman casualties quickly mounted forcing its commander to withdraw from the field. Dacia the victor, score 4 – 1. 


Observations

The original plan to use the Sarmatian option did not materialise as cavalry played no role in the first battle. 

In the second battle, the four units making up the Dacian right, assumed at first a defensive position on the perimeter of the hill. As the game progressed, a high pip score for the Dacians was too nice a gift to let slide. This allowed the right wing to overwhelm the Roman left and move the main army, including its general, to strike the Roman line.

Could Rome have won? In hindsight, interspersing the cavalry in the line would certainly have allowed the placement of more auxilia to secure the hill. 


Early Imperial Roman

1 x General (Cv), 1 x equites (Cv), 4 x legionnaires (4Bd), 3 x auxilia infantry (4Ax), 1 x archers (Ps), 1 x light horse (LH), 1 x artillery (Art).

Dacian

1 x General (Cv), l x horsemen (Cv), 6 x warriors (3Wb), 2 x falxmen (3Wb), 2 x javelinmen (Ps), Second test, 1 x falxmen exchanged for Sarmatian (3Kn).

Sunday, 30 April 2023

Roman Tour – the Marcomanni

The Roman army were deployed for battle, both flanks and rear were protected by woods. Facing Rome, the Marcomanni deployment was split by a marsh, but as the battle progressed, this would prove no obstacle.  

Skirting the marsh, the Marcomanni cavalry resumed its support role, protecting the left flank of the infantry. Holding its position, Rome re positioned its auxilia infantry to extended the line revealing the legionnaires in reserve. 

The Marcomanni left engaged the Roman legion and artillery, but were easily repulsed. On the right, the Marcomanni were successfully making headway.

Seeing the success achieved (3-1), the Marcomanni renewed their attack against the Roman left flank.

Sensing the Marcomanni assault faltering, Rome assumed control of the battle. Roman light horse, circuiting the wood, struck the Marcomanni line in the rear while it was engaged with the legion to its front. The artillery added further casualties forcing the Marcomanni to leave the field. Rome was victorious, 5 – 3.


Switching deployment zones, the Marcomanni packed its centre with dense columns of infantry flanked by warriors trained in the Roman fashion (4Bd). The legion in standard battle formation, legion in centre with flanks protected by auxiliary infantry and artillery, held all its mounted troops in a second line as a reserve.

The clash of arms came quickly and despite some loss, the Marcomanni were repulsed. Both sides attempted flanking manÅ“uvers, but the Marcomanni were easily foiled by archers ensconced in the marsh. Unhindered, Roman equites found themselves viewing the rear of the Marcomanni.    

The expected barbarian breakthrough did not materialise prompting their general to recall the cavalry add their weight to the centre. Too late, a resurging Rome rolled up the Marcomanni left and centre to rout to send the barbarians off the field. Rome, 5 – 2.


Observations.

Striking the enemy’s rear proved fortuitous in both games. Despite a few poor pip scores, the LH were moved closer toward their final destination.

The artillery proved their value eliminating an enemy in both tests. Other times, the barbarian line buckled as troops recoiled from its effect.

One blunder was avoided when Roman cavalry held in reserve were caught in the enemy’s threat zone. These were later repositioned further back, but still in charge reach. 

Early Imperial Roman

1 x General (Cv), 1 x equites (Cv), 4 x legionnaires (4Bd), 3 x auxilia infantry (4Ax), 1 x archers (Ps), 1 x light horse (LH), 1 x artillery (Art).

Marcomanni

1 x General (Cv), 2 x cavalry (Cv), 6 x warriors (4Wb), 2 x warriors trained in Roman fashion (4Bd), 1 x skirmishers (Ps).


Friday, 28 April 2023

Roman Tour – the Alamanni

This is the first of a series of test games pitting Rome of the Early Imperial period versus a host of historical opponents. Test games are not done in any chronological order, but are meant to explore list options, deployment and tactics used against forest dwelling barbarians and enemies on the empire’s eastern frontier.


The Alamanni are defending a region filled with forest and marsh. Favouring the use of dense columns when attacking, smaller units are placed between allowing them to extend their line. The Alamanni cavalry are positioned on the left flank.

To meet the barbarians, Rome placed its legion in centre with auxilia infantry on either flank and placed in reserve all the mounted units.


As the Alamanni advance forward, the legion wheels left forcing the enemy to conform. Hopefully this will create a break in the enemy line through which Roman cavalry can exploit.  


Roman auxilia infantry contend with the barbarians on the left slowing their advance, on the right auxilia cavalry successfully rout half the German cavalry.


The euphoria is quickly dissipated as they are surprised by barbarian skirmishers and put to flight.


At this moment, panic seizes the Roman commander who called for a retreat on hearing of further losses. 

Alamanni 4 – 2.


Swapping deployment areas, Rome defending altered its standard battle formation by placing the artillery in centre with the legionnaires to either side.  The wood on the left would offer ideal cover for skirmishing archers.


As the Alamanni moved forward, the Roman auxilia and legion moved back to re-align themselves with the troops in centre. On the left flank, Roman skirmishers and equites threatened the barbarian cavalry and neutralise their further participation in the main confrontation. This event opened an opportunity for the Roman commander.


The barbarian cavalry, now occupied, allowed Roman troops to roll up the barbarian right flank initiating a blood bath, effectively eliminating half their number including their general. 

Rome 6+ - 1.


Lessons learned.

Defending or attacking, auxilia infantry do well against barbarian columns, unfortunately, legionnaires remain a tossup. Expect to lose one or two blade, however, greater losses are experienced when legion initiate the combat. Generally, this delivers a golden opportunity for an alert opponent to respond to.

Game two demonstrated an ideal use of skirmishers and light horse by neutralising enemy cavalry without engaging them. The opponent must decide to expend pips to engage in combat or withdraw.  

Early Imperial Roman

1 x General (Cv), 1 x equites (Cv), 4 x legionnaires (4Bd), 3 x auxilia infantry (4Ax), 1 x archers (Ps), 1 x light horse (LH), 1 x artillery (Art).

Alamanni

1 x General on foot (4Wb), 2 x cavalry (Cv), 8 x warriors (4Wb), 1 x skirmishers (Ps).

Sunday, 16 April 2023

Early Imperial Rome

The Early Imperial Romans are two commands strong and ready for battle. The painting began with twelve elements of legionnaires, five representing each the legions X Gemina and XIV Gemina M.V. Shield patterns are similar but wings and central spine differ in colour. Tunics were painted white and not the traditional red and I must say, the contrast has more appeal. Red is still present for shield colour, neck cloth and helmet crests. See the links below for references.

Legionnaires

The two packs of legionnaires gave me five elements for each legion and two elements of praetorian guard, easily noted by their white helmet crests. Both legions are further strengthened an element of command figures which can represent a sub-general when playing double size command or BBDBA (options, options).   


Praetorian guard

Two blade elements were painted as Praetorian Guard. Shield patterns were the 3rd and 4th cohorts represented in the link below. The shield pattern for the cavalry is similar but lacking space do not have stars.


Auxilia cavalry

The two packs of late 1st – early 2nd century cavalry included many with the hexagonal shield. This was unfortunately as the smaller shields meant less space and other patterns were selected on a plus side, I could and did add an element of praetorian cavalry. The Early Imperial Roman list have horse archer and Moorish light horse for as light horse. The extra cavalry figures from the two packs were painted as the mounted detachments of the auxilia equitatae which abound in both provinces of Pannonia. Detachments were small; therefore, each element of LH represent detachments from two cohorts. 


Auxilia infantry

For the two commands, one pack of auxilia infantry fulfilled the required number of elements and sagittarii, in both forms 4Bw or Ps, are painted for both commands. Each element was given a distinct shield pattern, however, two cohort miliaria or double strength unit are present; the I Aelia Sagittariorum M.E. and the I Ulpia Pannoniorum M.E.


Command

One pack of Roman command supplied four generals for this army. As mentioned earlier, two generals are on foot (4Bd), a single general based with two extra cavalry figures supplies a mounted command, and lastly, a second mounted figure, accompanied by a retinue of foot, creates a CP (command post) for special scenarios.


Artillery

These were a last-minute addition. From a recent sale of Middle Imperial Romans there remained a few elements over; a ballista with crew and second converted as a mobile piece. Rummaging through the collection I found two sets of Essex cart and horse. The carts were given a single trail to allow two mules to replace the single horse. The Late Roman crew were modified to match an earlier period and mixing the crew helped to disguise any major differences.


Recommended viewing.

YouTube

Did RomanLegions really wear red? (Invicta)

Shieldpatterns


Thursday, 13 April 2023

Sarmatians

These are Blue Moon figures and were purchased along with the Batavian to fill the role as allies for the Dacian army in the collection. These differ from the Old Glory Sarmatians, upper torso is cast with the kontos. This permits some variation when fixing the upper torso to the rest of the model. The bow case is separate but easy to assemble to the model.

The Blue Moon ancient line remains limited but figures do mix well with other manufacturers.


Thursday, 30 March 2023

The Batavian

With the goal to expand my latest project, the Early Imperial Roman, I ordered more German figures from Blue Moon Miniatures. The order would fill two commands, one standard Batavian army and a second for the revolt of AD 69/70. Anthony Riches’ trilogy, Betrayal, Onslaught and Retribution added an extra stimulus to compete this portion of the project as quickly as possible. 

Based for the most part in loose formation (3Wb), the standard Batavi have a complement of ‘heroes’ armed with long thrusting spear (4Wb). Assisting the Batavi are Suevi allies and their Sarmatian cavalry (3Kn) that certainly would bring an extra punch to any of their battles. The second command have no such allies, but do have Roman deserters (4Ax) bringing a contrast of armour and shield patterns.

Standard Batavi


Batavi of the revolt


Both in battle array