Monday 21 October 2013

Castle Building – nearing final form

Yesterday’s problem with the gatehouse is solved. The appearance dominated the rest of the structure, so some trimming was in order and secondly, the interior ground is raised and by extending that height beyond the gatehouse also helped.
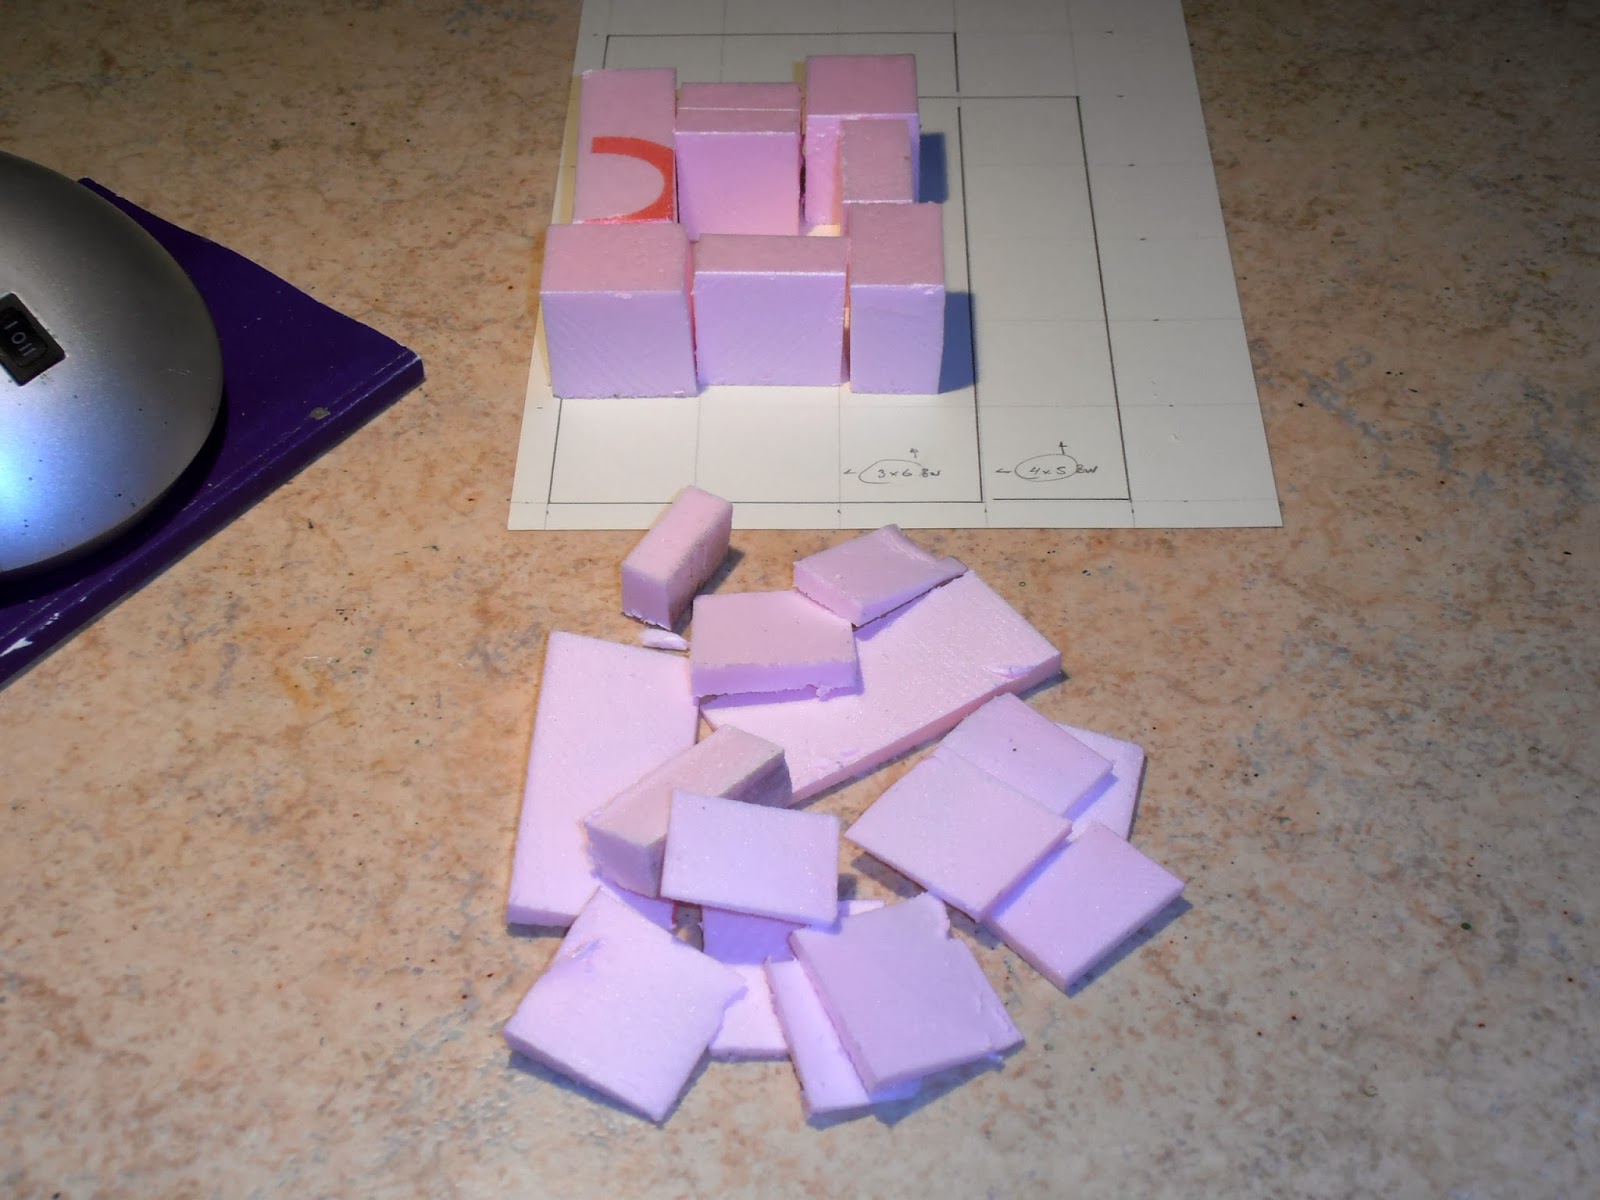
From the photo you will note scraps of foam placed around the perimeter, once fixed to a base will form boulders. 


We are close to the finish line, but first some notes for myself to set a proper sequence of tasks.


The eight structures, glue them into four groups; two towers and main hall, the two pieces forming the long side another two and the gatehouse.

Undercoating, painting and detailing the stonework for all the groups.

Roofing to be put in place. These are embossed N scale sheets from Faller or Noch.

From the courtyard and extending beyond the gatehouse to be covered with a sand/white glue mix, later painted and dry brushed.

All four groupings and elevated courtyard glue together fixed to a base.

Boulders placed and shaped to form a perimeter, painted and dry-brushed.

But first:


I will leave this project here for the moment as I must make preparations for two other figure painting tasks. 

I have a Seven Year War Russian project which needs a lot of bases cut, so I will add the Castle’s base to that job. Secondly, my Sassanid reinforcements will arrive this week and I want to start planning the colour schemes for them. 

Cheers, 

Sunday 20 October 2013

Castle Building – the interior

I have added a few items to the model. A second smaller tower now flanks the main hall. and to fill a vacant spot near the gatehouse, another block was cut and completely trimmed and scored.  


All exterior surfaces now simulate a stone surface. This would be complete if it were not for the gatehouse. There is something not right about it and I have tried arranging the pieces in different combinations. Generally a good night’s sleep will help me find a good solution.


Once the final arrangement is made I can prepare a base for the model. The model remains 3 x 3 (BW), but the base will be slightly larger to allow for boulders to give the impression of a mountain hilltop.


Looking at the arrangement there would not be too much changed to make the castle appear Italian; pitch of roof less pronounced, wall surfaces should be smooth to reflect the use of brick or plaster.


Cheers, 

Friday 18 October 2013

Castle Building – the courtyard

This photo typifies the interior of the castles shown earlier, certainly not late medieval castle but gives an idea of the sloping ground, stone finish and arches that need to be constructed. At ground level are areas for storage of food stocks, a carriage or two, stables, kitchen, servant and castle guard quarters and the upper levels, the noble’s apartments and great hall.


The courtyard should be able to hold a double sized element of foot (40 x 40 mm). I have a number of these among the Italian, Swiss and Mercenary commands. The courtyard will be elevated perhaps 10 mm so the arcade, stairways and balcony should allow for the change in elevation.


Archways, doors and a staircase are added and a stone finish seen here will also cover the exterior walls. The blocks will need further trimming so as to able to form up around the perimeter of the courtyard. I have done that with the two sections next to the right of the gatehouse. 

The two pieces in the foreground will be the raised courtyard. This will need to be trimmed and graded to meet the gatehouse. I see now the end result will not be 40 mm square but will certainly accommodate majority of other elements. 

Further, embrasures will need to be added to the tower and I just may add a second,but smaller tower to flank the main hall. 

Next, the "shape of things to come". 

Cheers, 

Thursday 17 October 2013

Castle Building – exterior surface

Today, I want to focus on the exterior of the castle. From the selected castles I used as references, much of the exterior has been converted to accommodate changing taste over the past five or six centuries. Gone are the embrasures, crenelated walls and arrow slits. These I shall sketch and cut out from the individual sections.  

With the castle keep and tower at its highest point and the gatehouse at the lower end of the perimeter. I will need to lower the gatehouse by 5 – 10 mm and add that much to the structures at the rear.

That step completed, the embrasures now need to be added to the exterior surface. This is easily done by trimming a few millimeters from the wall and ending about 5 mm from the lower roof edge. Indentations can be made with a sharp tool or pencil point. 

At this moment no structures are fixed to allow freedom of composition. 


Note, the castle base has been trimmed back. This is fine, as I will add rock formations around the base with the cuttings saved from step one. These will be added as a final step before undercoating. 

But next, the interior.

Cheers, 

Castle Building – bringing shape

At this point I want to compare the proposed work with past structures as these may be used together for special scenarios. In the photo are finished pieces with the “castle” poised on a possible setting to compare height and size.


I do want a courtyard with sufficient space for an element and possibly elevated to allow easy access to the figures (walls with roof are nearly 60 mm high). Further visualizing the blocks as barracks, great hall and other enclosures, these need not be very deep or thick, so trimming these will help create enough interior space.

Taking an extra block, I cut this in half to build a roof. Angling my cuts, this produced a solid roof piece and two half sections, when glued together will serve as a second roof.

From the next photo, the loose pieces are now placed atop the hill in no particular order as I just want an impression. The tower has an extra section added to give height, but looking at the overall effort, this could be raised another 10 mm.


Looking back at the reference photos, the buildings should vary in height to give an impression of this sitting on a mountain top. That is for the next stage, securing its final form.


Cheers, 

Wednesday 16 October 2013

Castle building, a start.

The material used is the same pink foam I have used for all by building projects. The sheet is 40 mm thick, quite easy to cut, rasp or score, will take standard household paint nicely.

The template I use is laid in a grid pattern (base width) for the maximum allowable size terrain feature for DBA. For hills, woods, fields I prefer a larger piece either 3 BW x 6 BW or 4 BW x 5 BW. This castle like the fort I built will fit a smaller area of 3 x 3 to allow placement on a hill.


First step is to cut sections out. I am not worried about dimensions as these blocks will be trimmed down to allow an interior opening for an element. As you will note from the photos, the structures did vary in height and this model will copy that. The tallest fixture, the tower, should not be more than twice the average height of the model, less it be knocked over during a game.


At this point, all cutting is done with a simple bread knife. Score the surface first before making your cutting strokes. In the last photo, all blocks are nice trimmed and squared off. The shavings are saved as these will be useful later.


Next, giving shape to the blocks. 

Cheers, 

Tuesday 15 October 2013

Building a Medieval Castle

Since my last post I have immersed myself with another project, Rome of the Severan Dynasty and her enemies. If you wish to follow the course of the armies, you will find the thread here at Fanaticus.

After constructing a cavalry fort set for the eastern frontier a request came for a tutorial. That was not a problem as I had a small castle or fortified manor on my list of projects and that brings me back here.

The soon to be published DBA 3.0 allows four category of BUA of which one is a “Fort or Castle”. The dimensions for all BUA are specified, so it is up to the player to purchase or construct these pieces. As I enjoy building my own, I prefer my structures to be slightly smaller than the 15 mm scale I game with.  

Selecting a reference

The armies for Storm Within the Empire began in Bavaria and later expanded to include Austria, Hungary, the Swiss, Trento and finally the Ottomans. While traveling through Austria I became fascinated with castles there and so set my construction project to reflect that area. 

Some examples:

From the blog Medieval Hungary is Lochenhaus, actually in Austria.


From the blog The World's 10 Scariest Haunted Castles, Moosham Castle, Austria.


Another.


You will note, the castles are set atop a mountain with a single approach leading to a gate house. The high walls protect a Keep, one or two high towers and a few two or three story structures housing all the necessary to make life comfortable. 

Next, the material, tools and a start.
Cheers,