From 132 BC to A.D. 214, the Kingdom of Osroene was established by the Abgarid dynasty with Edessa as its capital. During the period, it came under the protectorate of Parthia, later Armenia under Tigranes and ending as a Roman province. As a client state of Rome, Edessa still maintain pro-Parthian sympathies instigating a number of revolts. The last king of Edessa, Abgar IX Severus was deposed in 214 AD with the territory becoming the Roman province of Osroene.
Test games
Though both
Rome and Edessa may employ allies, these two test games were play using the
standard list. The composition for the Edessan force is quite similar to
Commagene, an archer core with cataphract to deliver the necessary punch. A
Parthian ally would add more weight to that punch. The battlefield consisted of
two rocky areas, one difficult hill and BUA (hamlet).
Game
one.
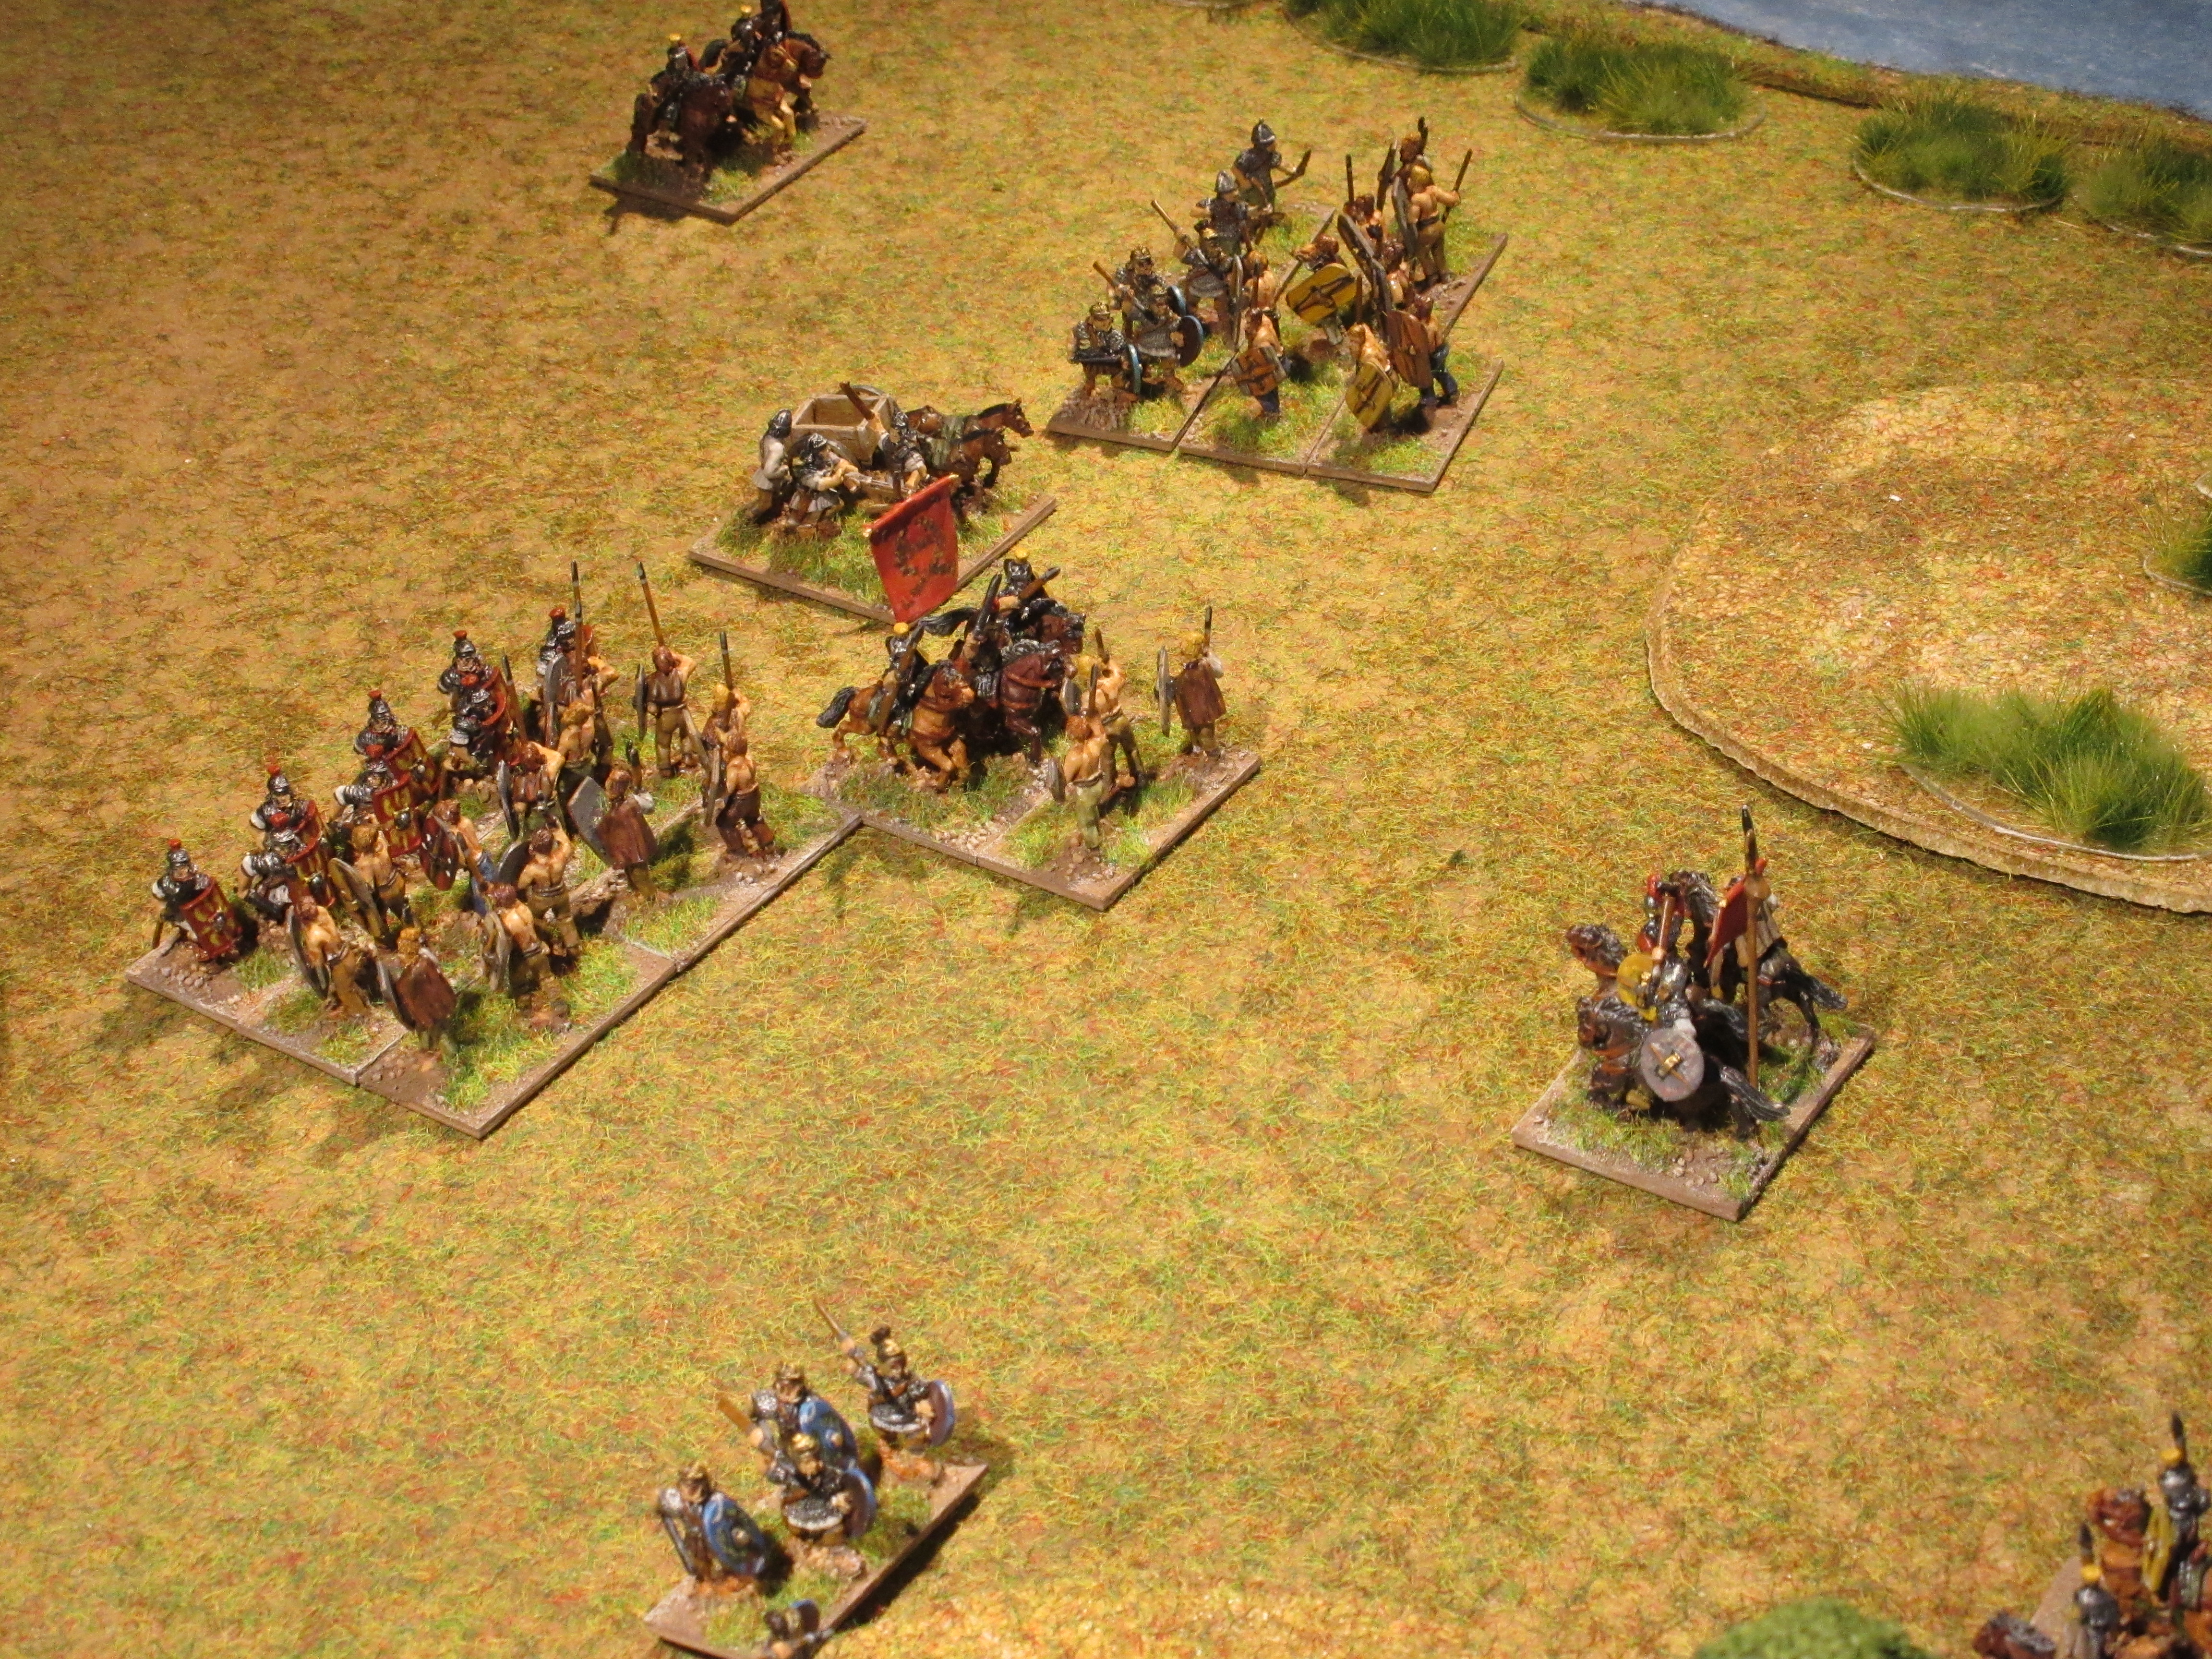
Although defending,
the Edessan did pin the Roman centre placing its effort to turn the Roman right
flank.

The maneuver succeeds to expose both Roman flanks, leaving the legion virtually immobilised. The battle became a costly win for Edessa, 4 - 3.

Game two.
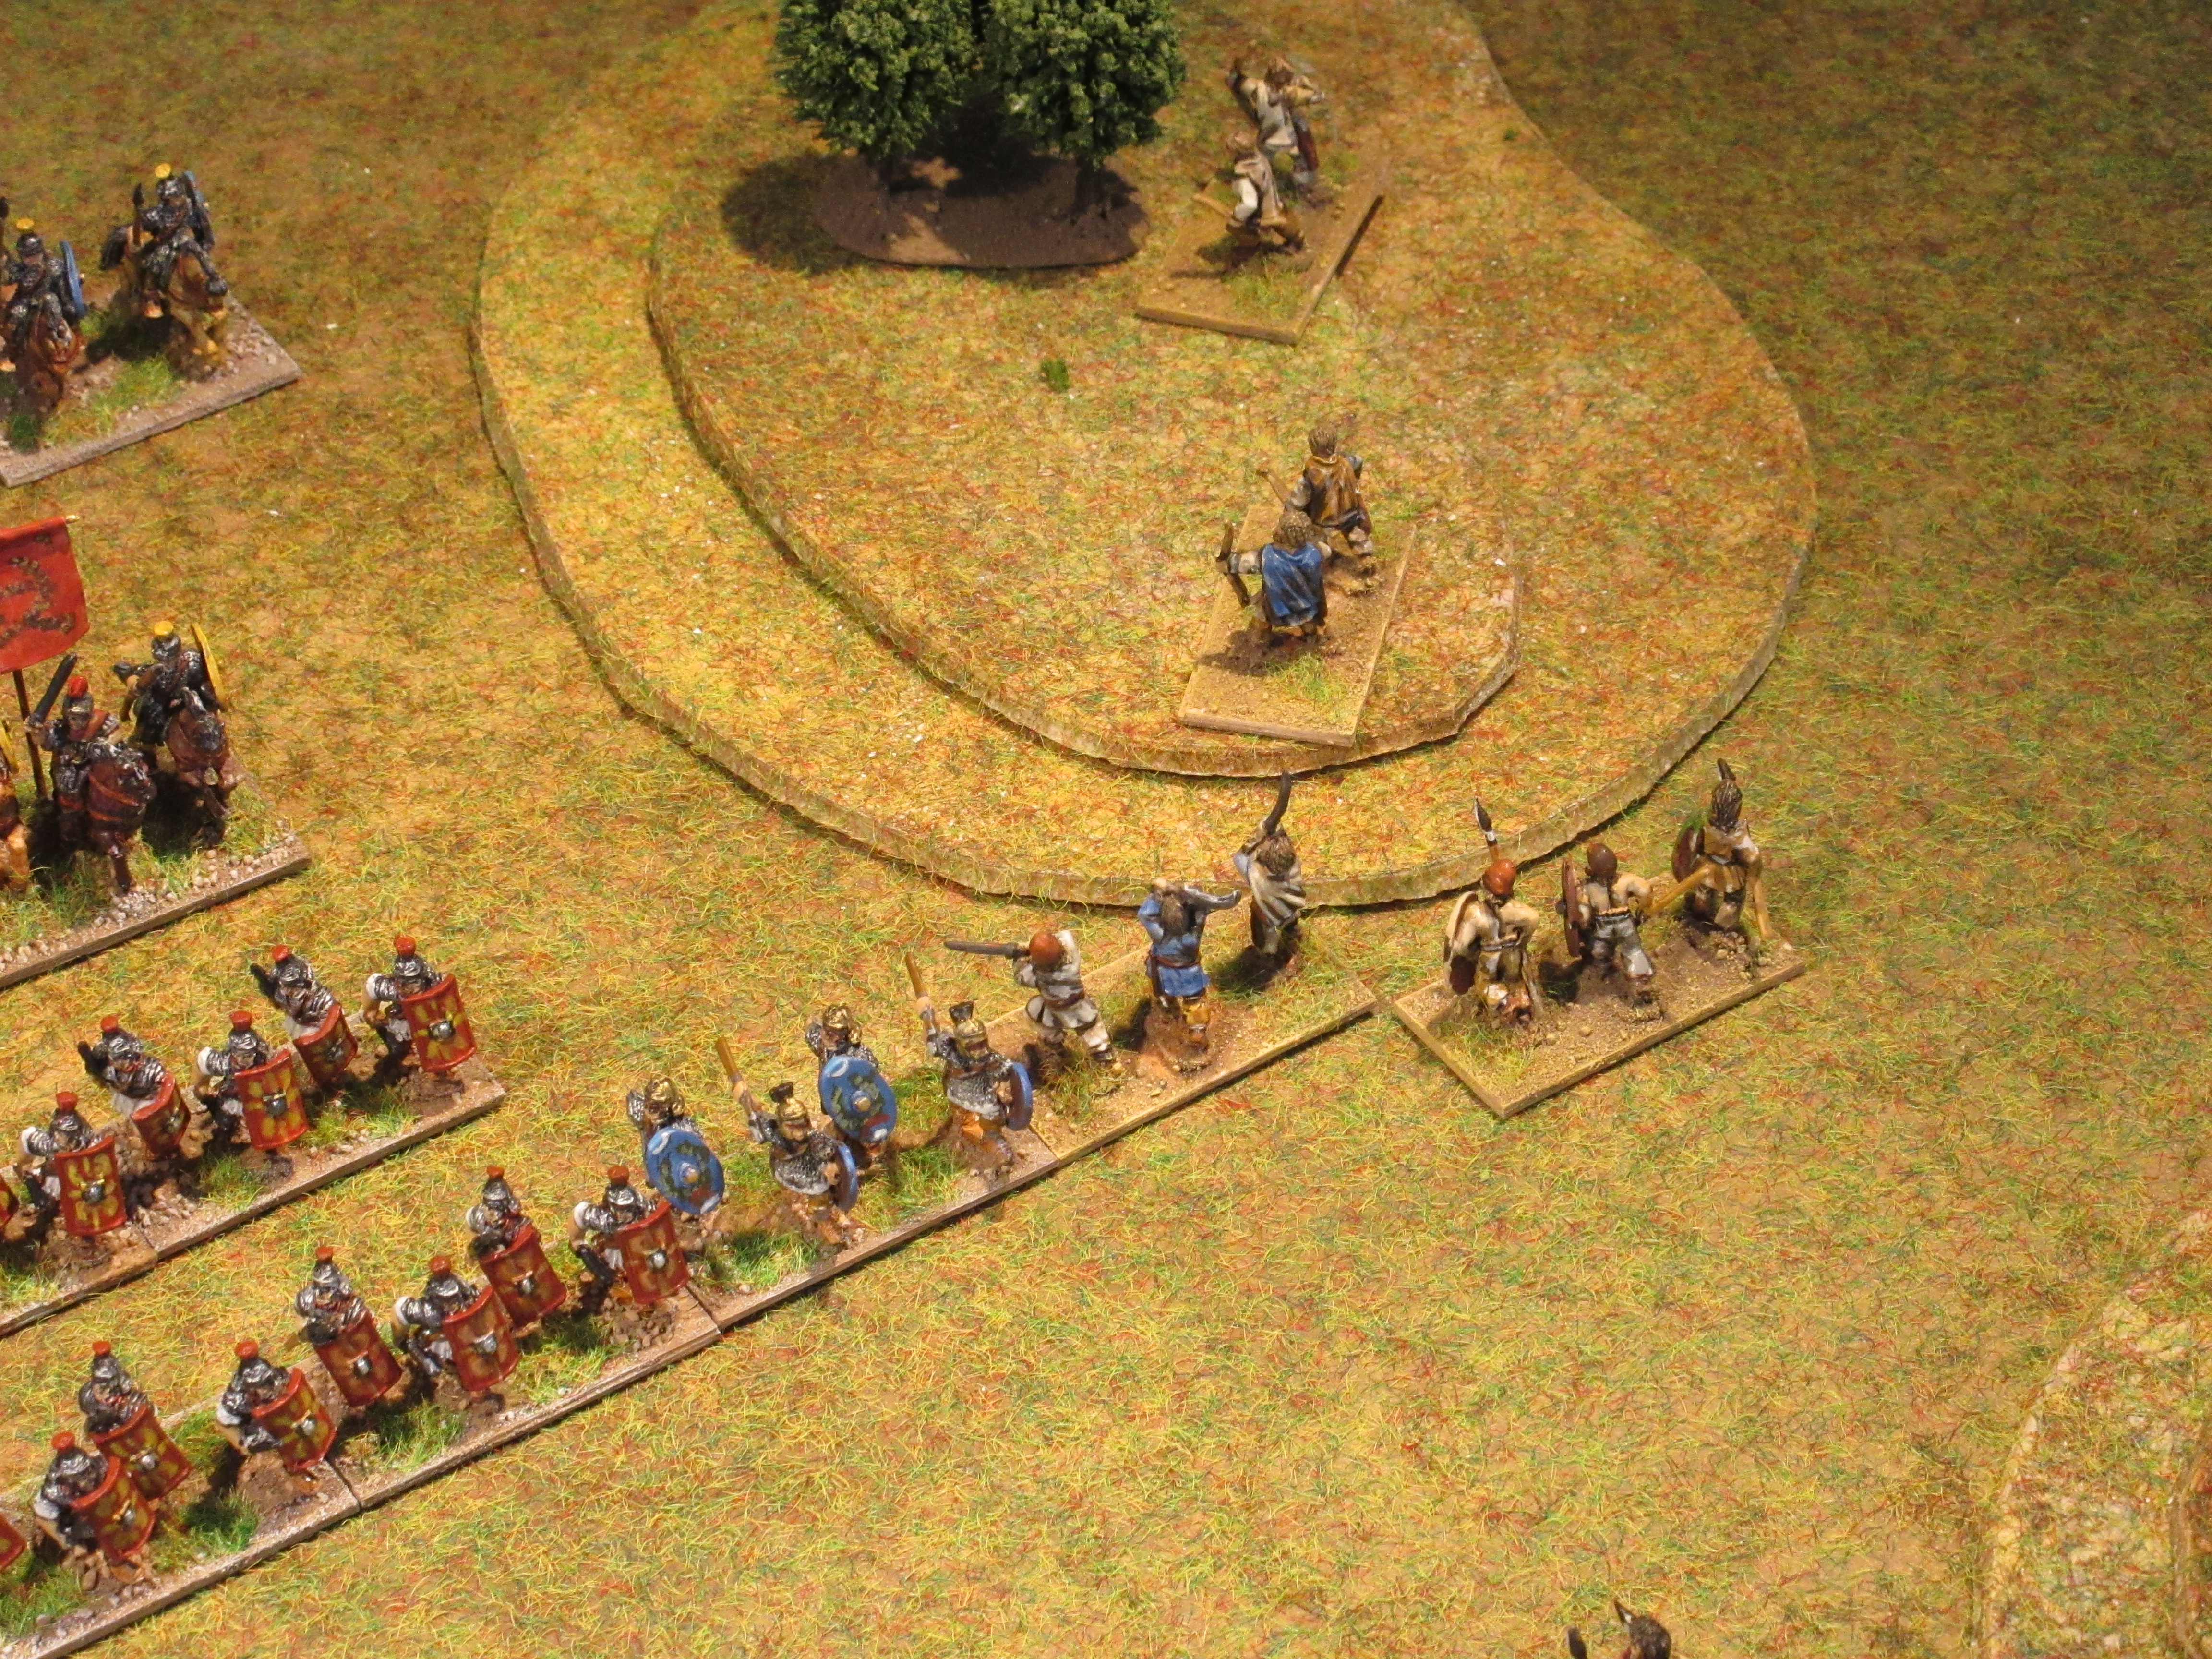
Making use
of the terrain to protect both its flanks, Rome placed the legion, archers and
artillery in the open ground between. The Edessan planned a second flanking
maneuver with hope for a similar result.

Rome seized the initiative early, advancing the legion against the Edessan centre, this left the task of the auxilia to fend off threats to the army’s flanks.

The legion swept through the Edessan centre to reach a decisive victory, Rome 4 – 1.

Observations.
Most of the
Arabo-Aramean list would have difficulty in defeating a Roman force without the
use of allies, as archers do not stand well against the legion. Mobility is the
best advantage for the Edessan as was demonstrated in game one. This will
certainly be replayed with allies for the Edessan.
Early
Imperial Roman
1 x General
(Cv), 1 x equites (Cv), 4 x legionnaires (4Bd), 3 x auxilia infantry (4Ax), 1 x
archers (4Bw or Ps), 1 x light horse (LH), 1 x artillery (Art).
Edessa
1 x General
(4Kn), 2 x horse archers (LH), 1 x swordsmen (4Bd), 2 x javelinmen (3Ax), 5 x
archers (3Bw), 1 x caravan guards (Cm).