Thursday 30 June 2022

Sicily 1061

Following their victory at Civitate in 1053, the Normans turned their efforts toward Byzantine and Lombard holdings in Apulia, Calabria and Campania. These would eventually become the Duchy of Apulia ruled by Robert de Hauteville or better known as Guiscard. Together with his brother Roger de Hauteville, the way now lay open for a campaign across the Straits of Messina.

Ousting the Byzantines in 830, the Aghlabids gained control of Sicily, they were later displaced by the Fatamid juggernaut. The Kalbid dynasty ruled as vassals of the Fatamids until the last emir’s death in 1052 creating a political void later evolving to a civil war among the Muslim entities. the Christian population on the island appealed to the pope for assistance and to resolve this, the pope named Robert de Hauteville, Duke of Sicily. Not having control on the island, Robert and Roger did not turn down the opportunity to invade the island. Fortuna further smiled on their venture as Ibn al-Timnah, emir of the eastern territories called on the help of the Normans.   

A successful foray in 1060, both de Hauteville brothers formed a new expedition using Messina as a base of operation. Robert returned to Italy to suppress a revolt, leaving Roger to continue the advance inland. Ibn al-Timnah joined the Norman force with his army and together they marched on the bastion near Enna, held by Ibn al-Hawas. Refusing to leave his fortifications, the Normans laid waste to surrounding countryside. This had the desired effect, as al-Hawas left the protection of his fortress to deploy for an open battle.
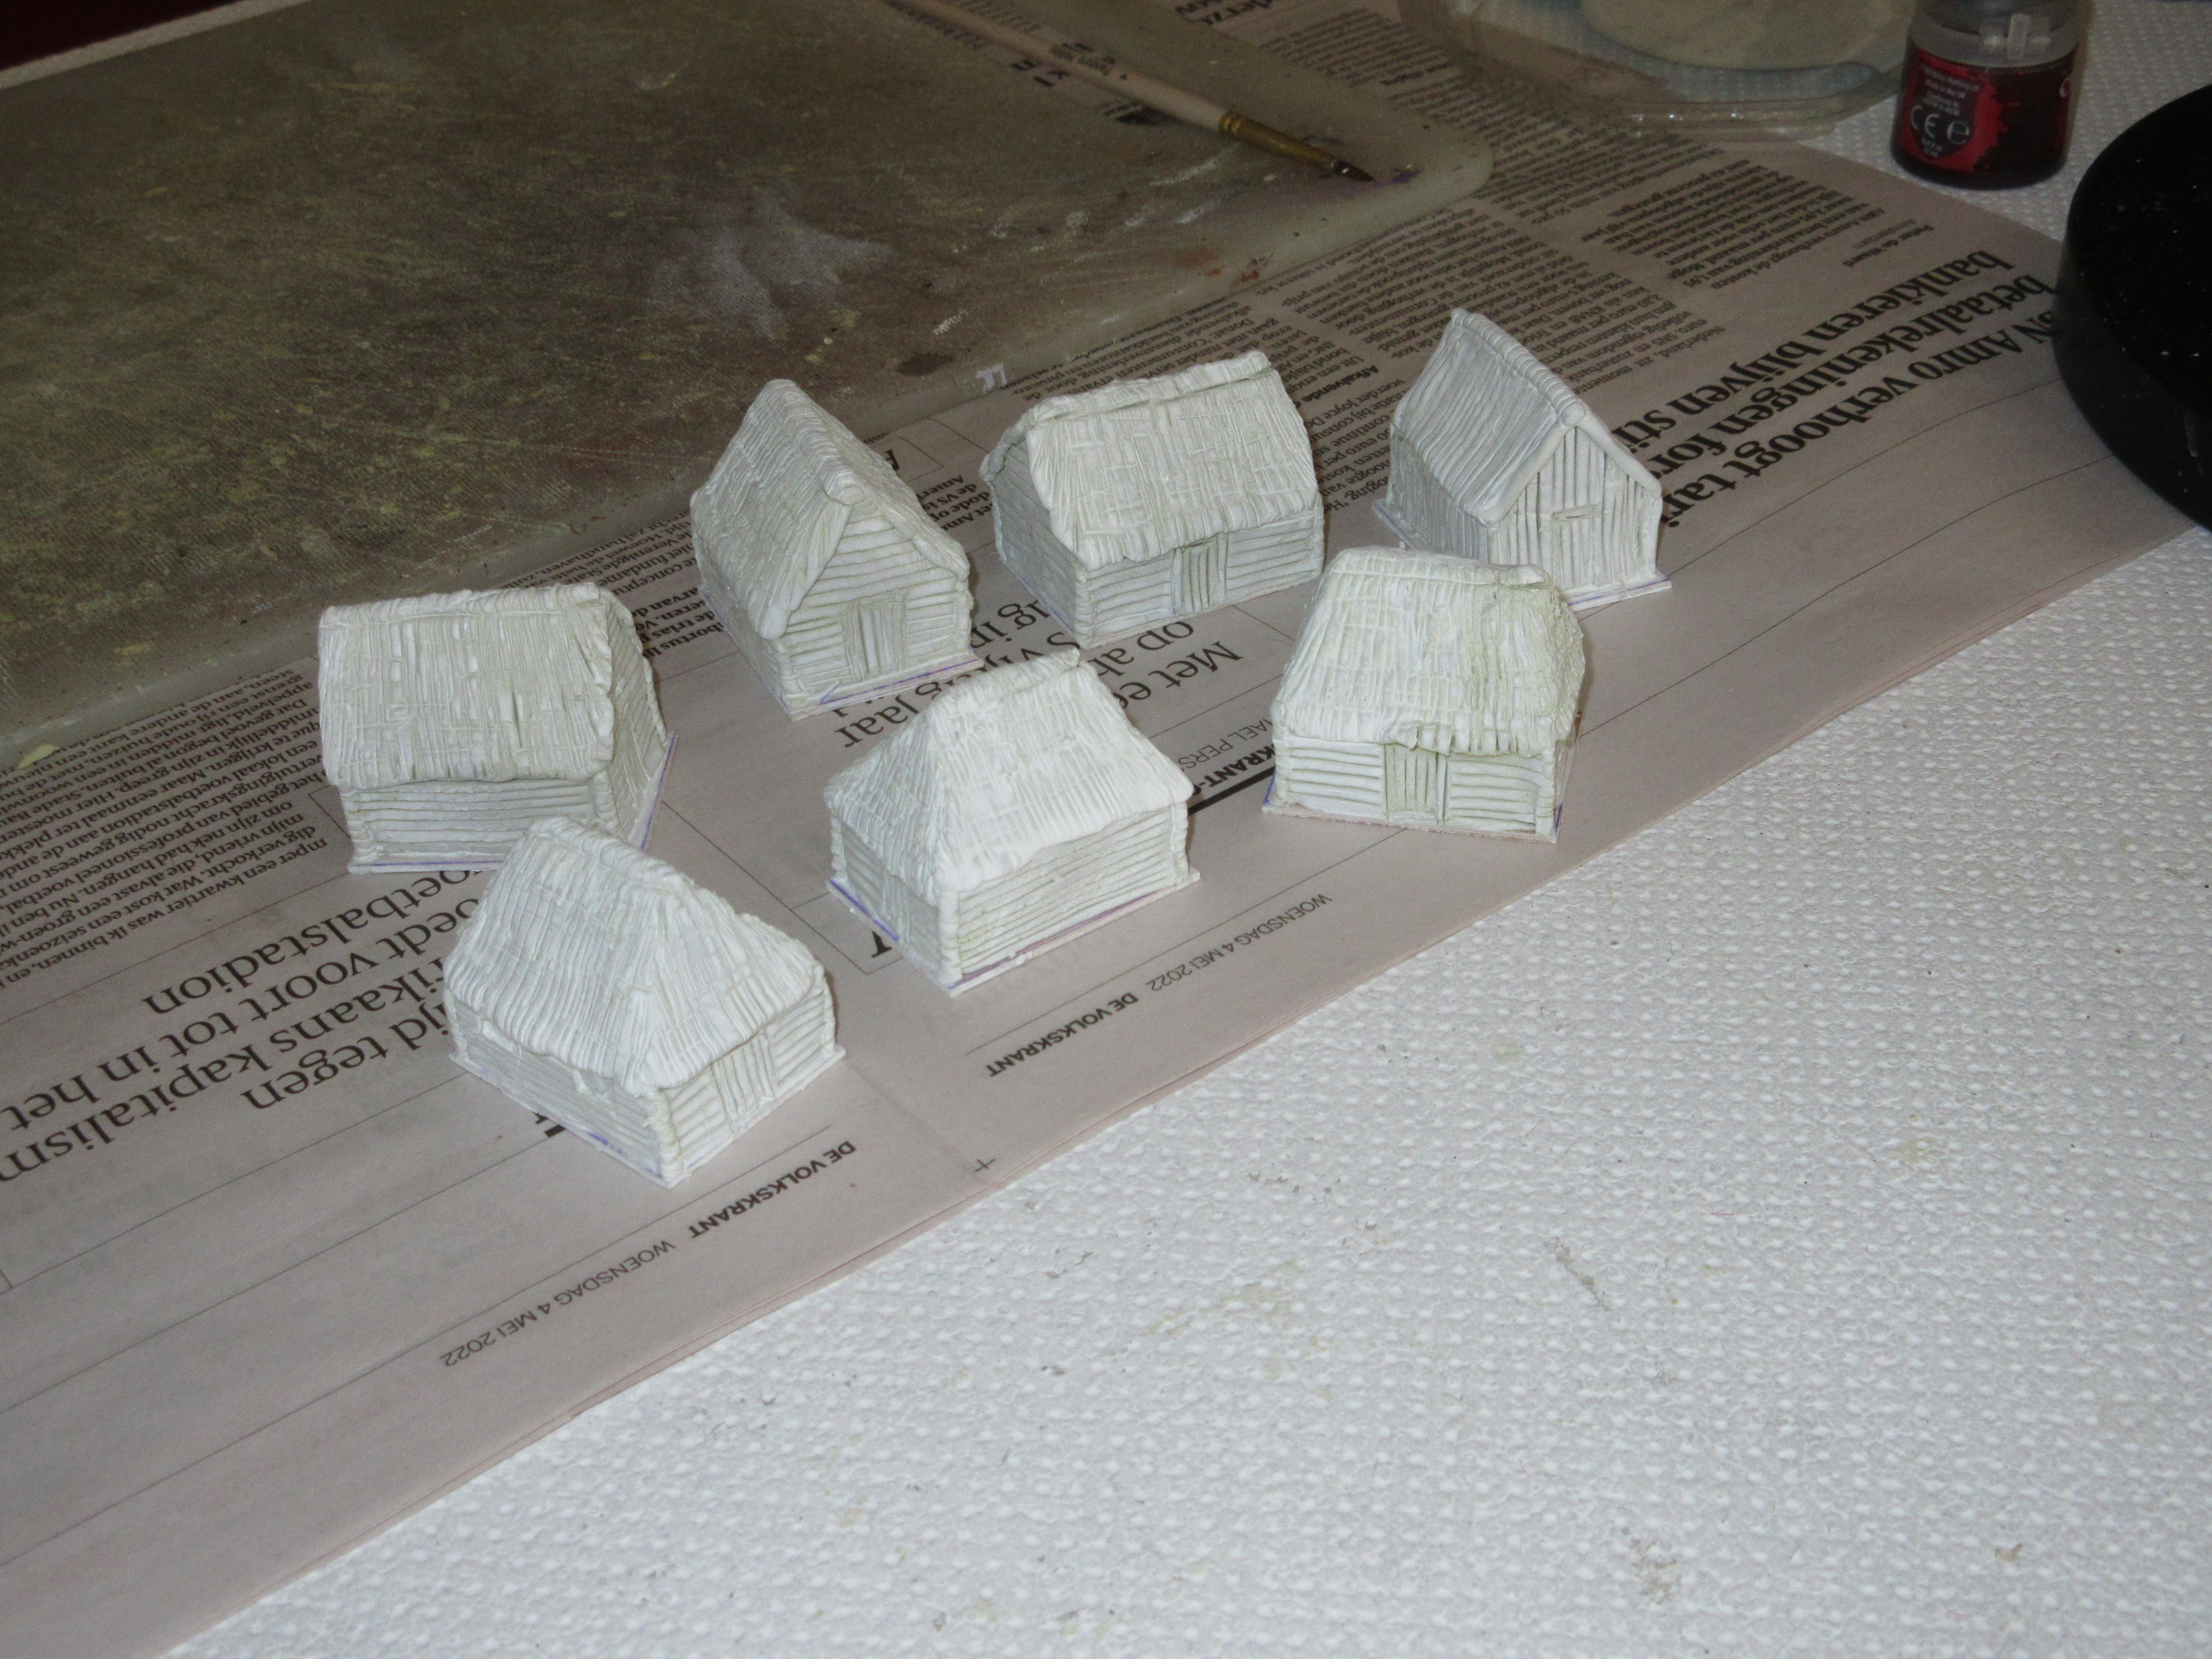
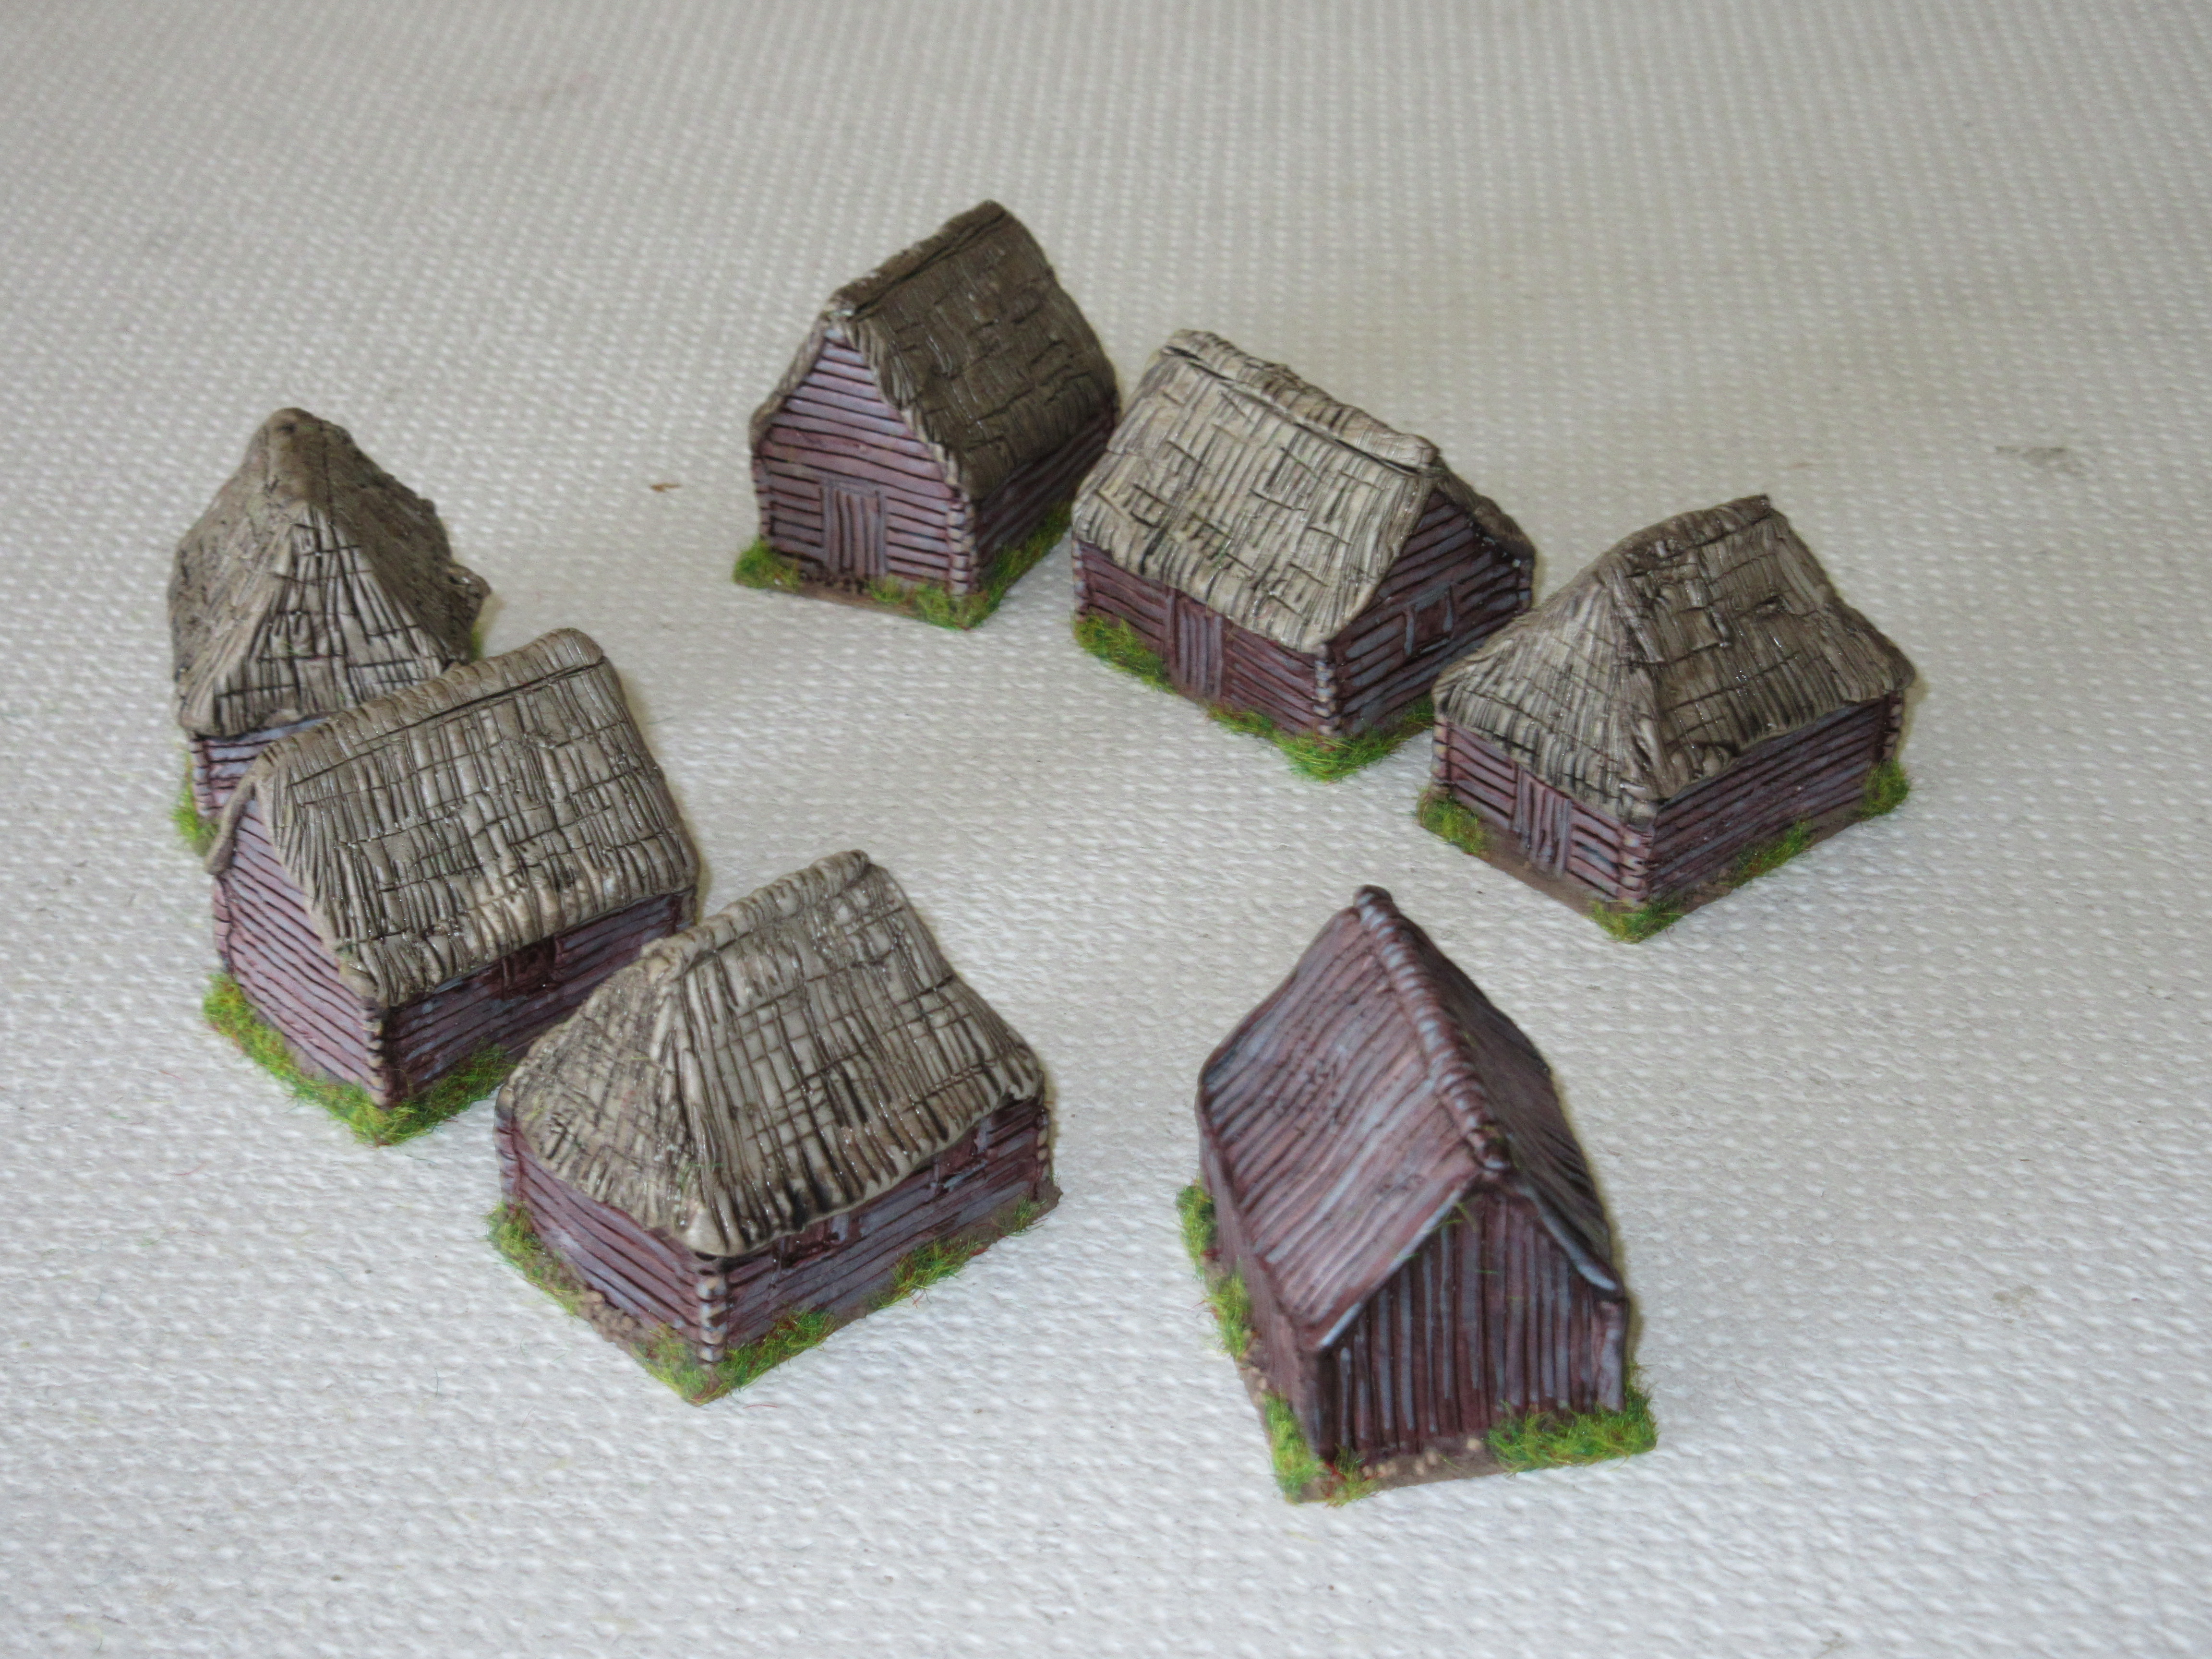
Norman forces.

1 x Roger de Hauteville (3Kn), 1 x Serlo de Hauteville (3Kn), 10 x milites (3Kn), 6 x milites (4Bd), 4 x Sicilian Greeks (3Ax), 2 x archers (Ps).

Muslim forces.

1 x Ibn al-Hawas (Cv), 1 x sub-general (Cv), 6 x Berber lancers (Cv), 2 x Bedouin cavalry (LH), 4 x archers (4Bw), 6 x abid al-Shira (4Bd), 4 x Berber archers (Ps).

The composition of the Muslim army uses the Fatamid army list, while this is not certain, one could easily use the North African and Sicilian list for this battle. The Normans and Fatamid are listed as enemies of one another, Sicily would seem the most logical location for their confrontation.
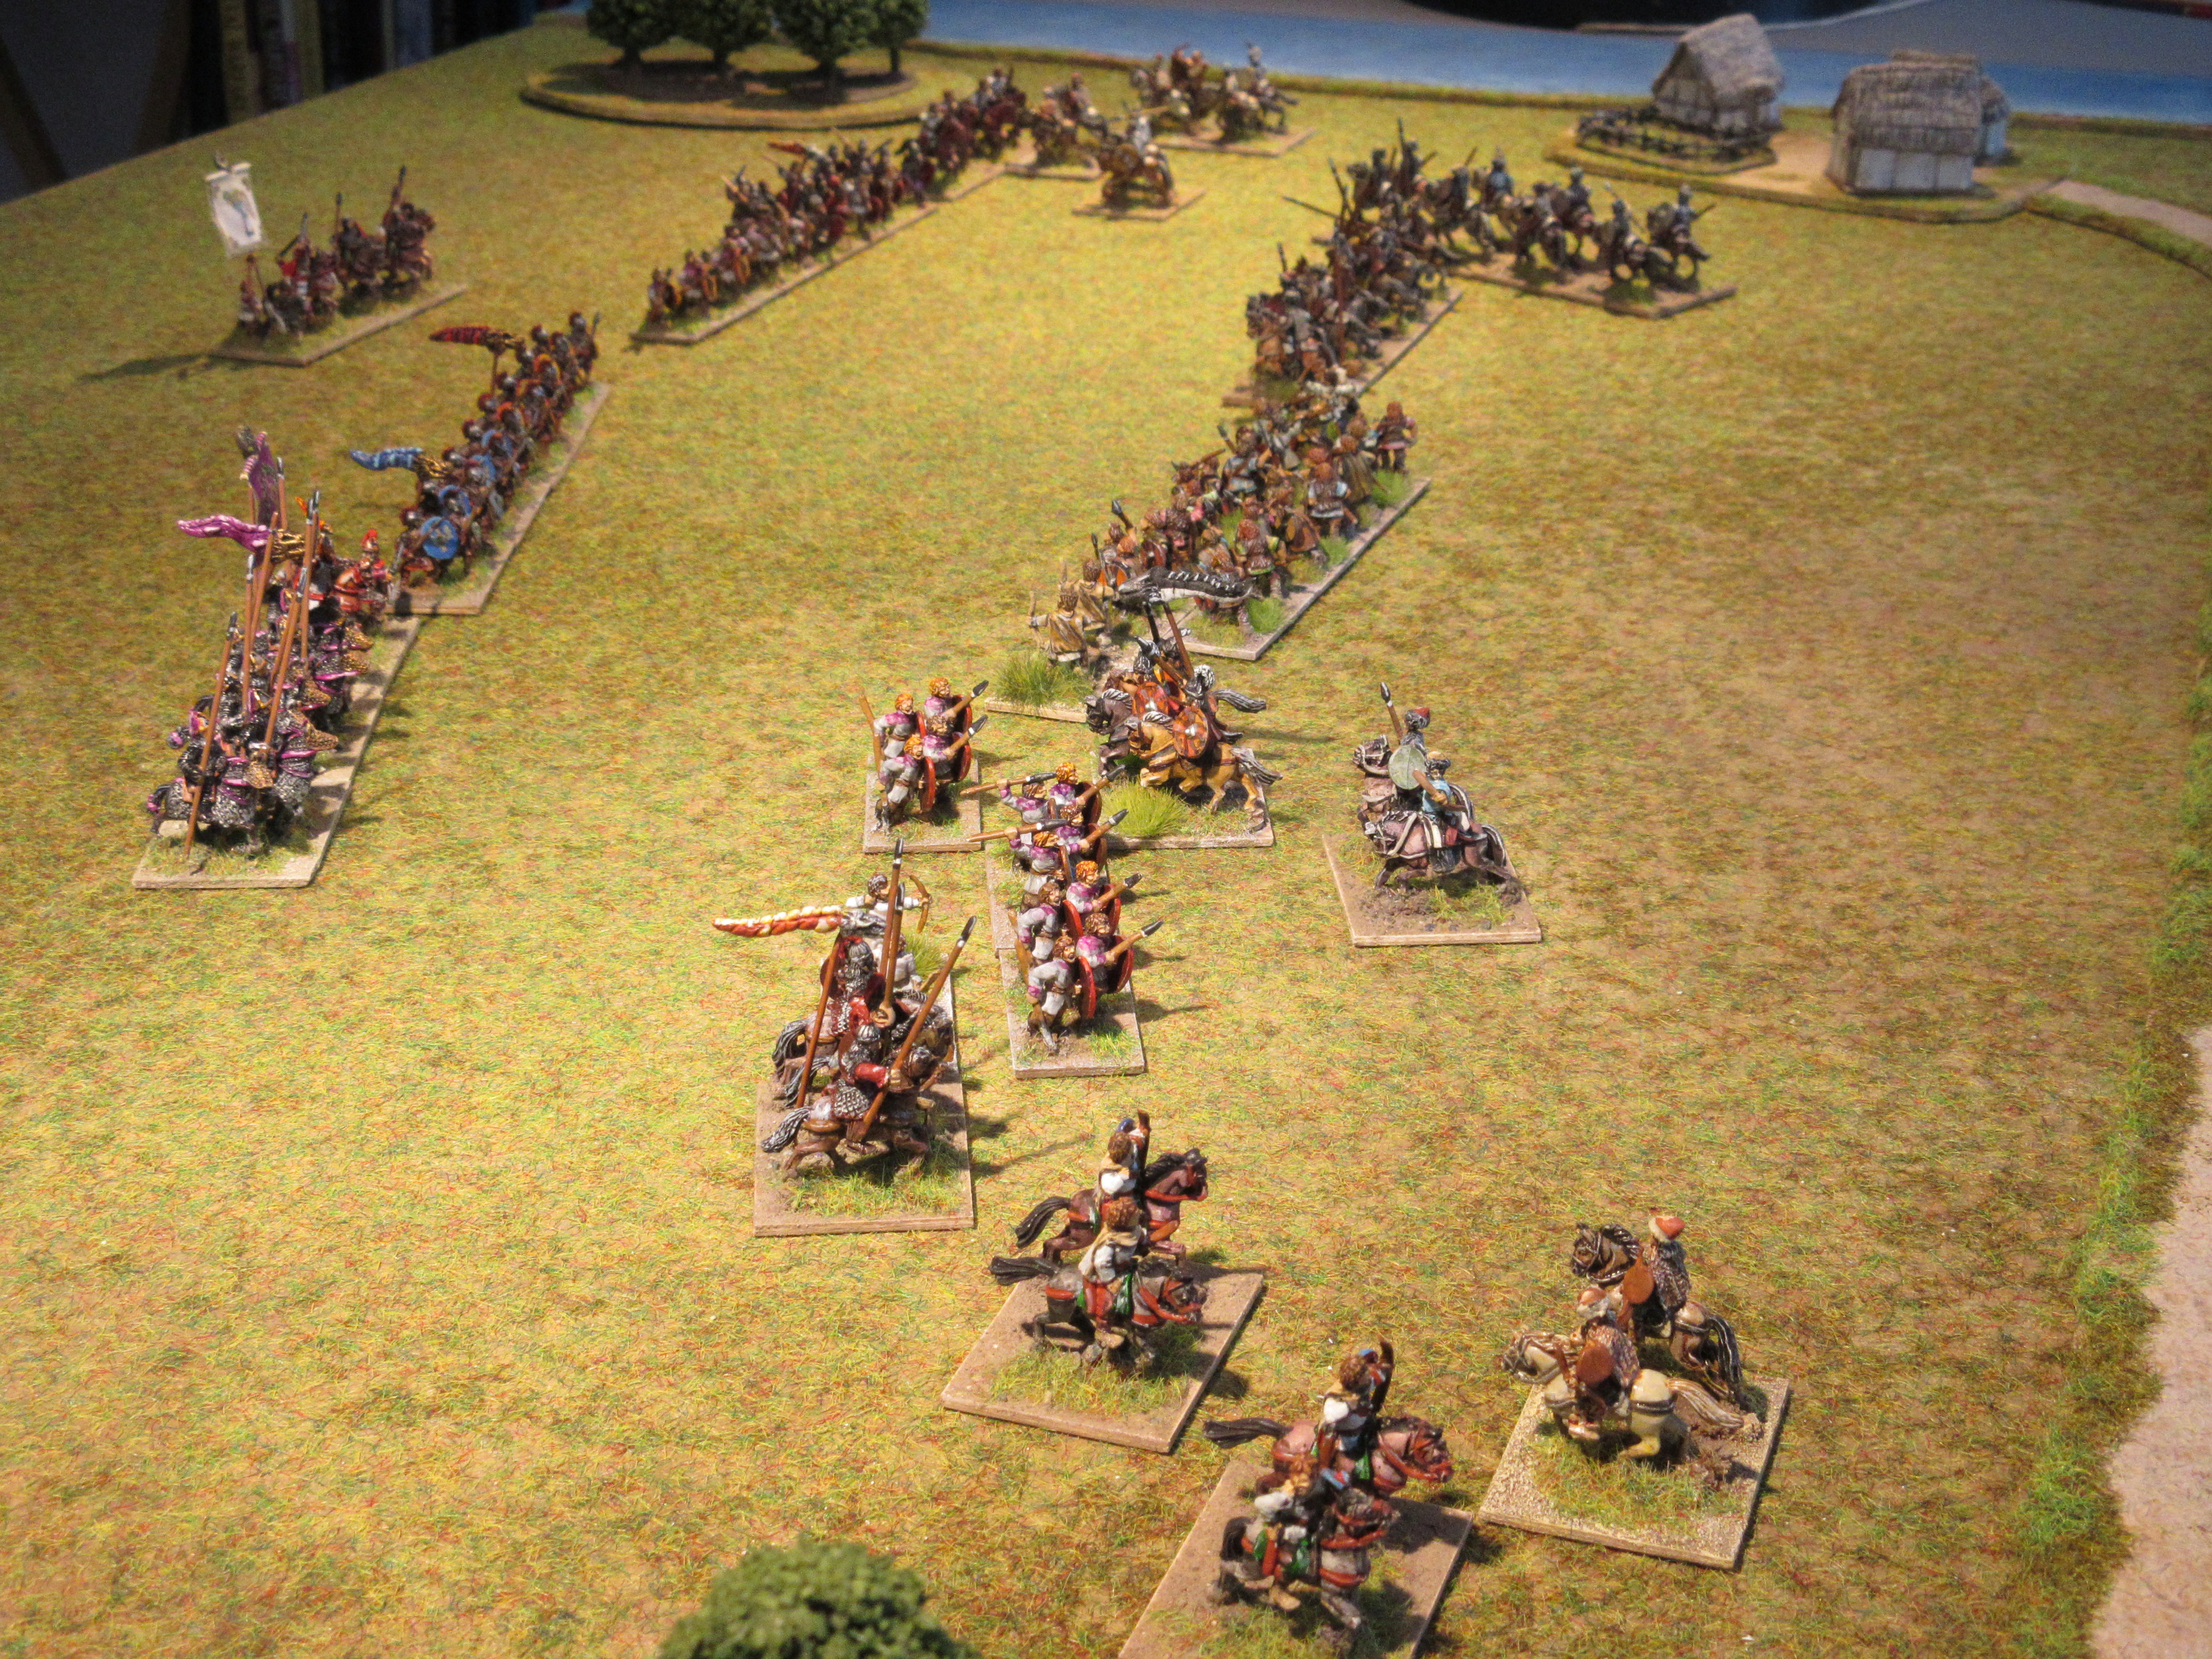
 

Battle

The Norman battle line was hampered by woods effectively dividing their line in two. To face this, the Fatamid deployed their army in two lines, the first held the cavalry with infantry forming behind.   

Seeing the Norman advance, Fatamid cavalry made a tactical retreat to a position behind the infantry.

Unfazed, the Normans continued their advance keeping pace with the dismounted knights to their right.

The battle lines clashed, Norman milites meeting Fatamid Ghulam cavalry. Norman knights on foot made short work cutting swaths through the Fatamid line. Norman second and third line of cavalry moved forward to widen the gaps in the Fatamid line, eventually sealing a victory. Score Normans 8 – 4.

To determine if the victory was an accident, a second battle was done using the same the same pieces to generate a different battlefield.


Second Battle

Terrain no longer hindered the Norman deployment and both armies placed their infantry in centre with cavalry and light troops positioned on each wing.

The Fatamid rapidly closed the gap between the centre and on the Fatamid right, Ghulam cavalry caught Norman cavalry positioned in front of the village. These became the target of the Armenian archers bringing both lines of Norman cavalry into disarray.
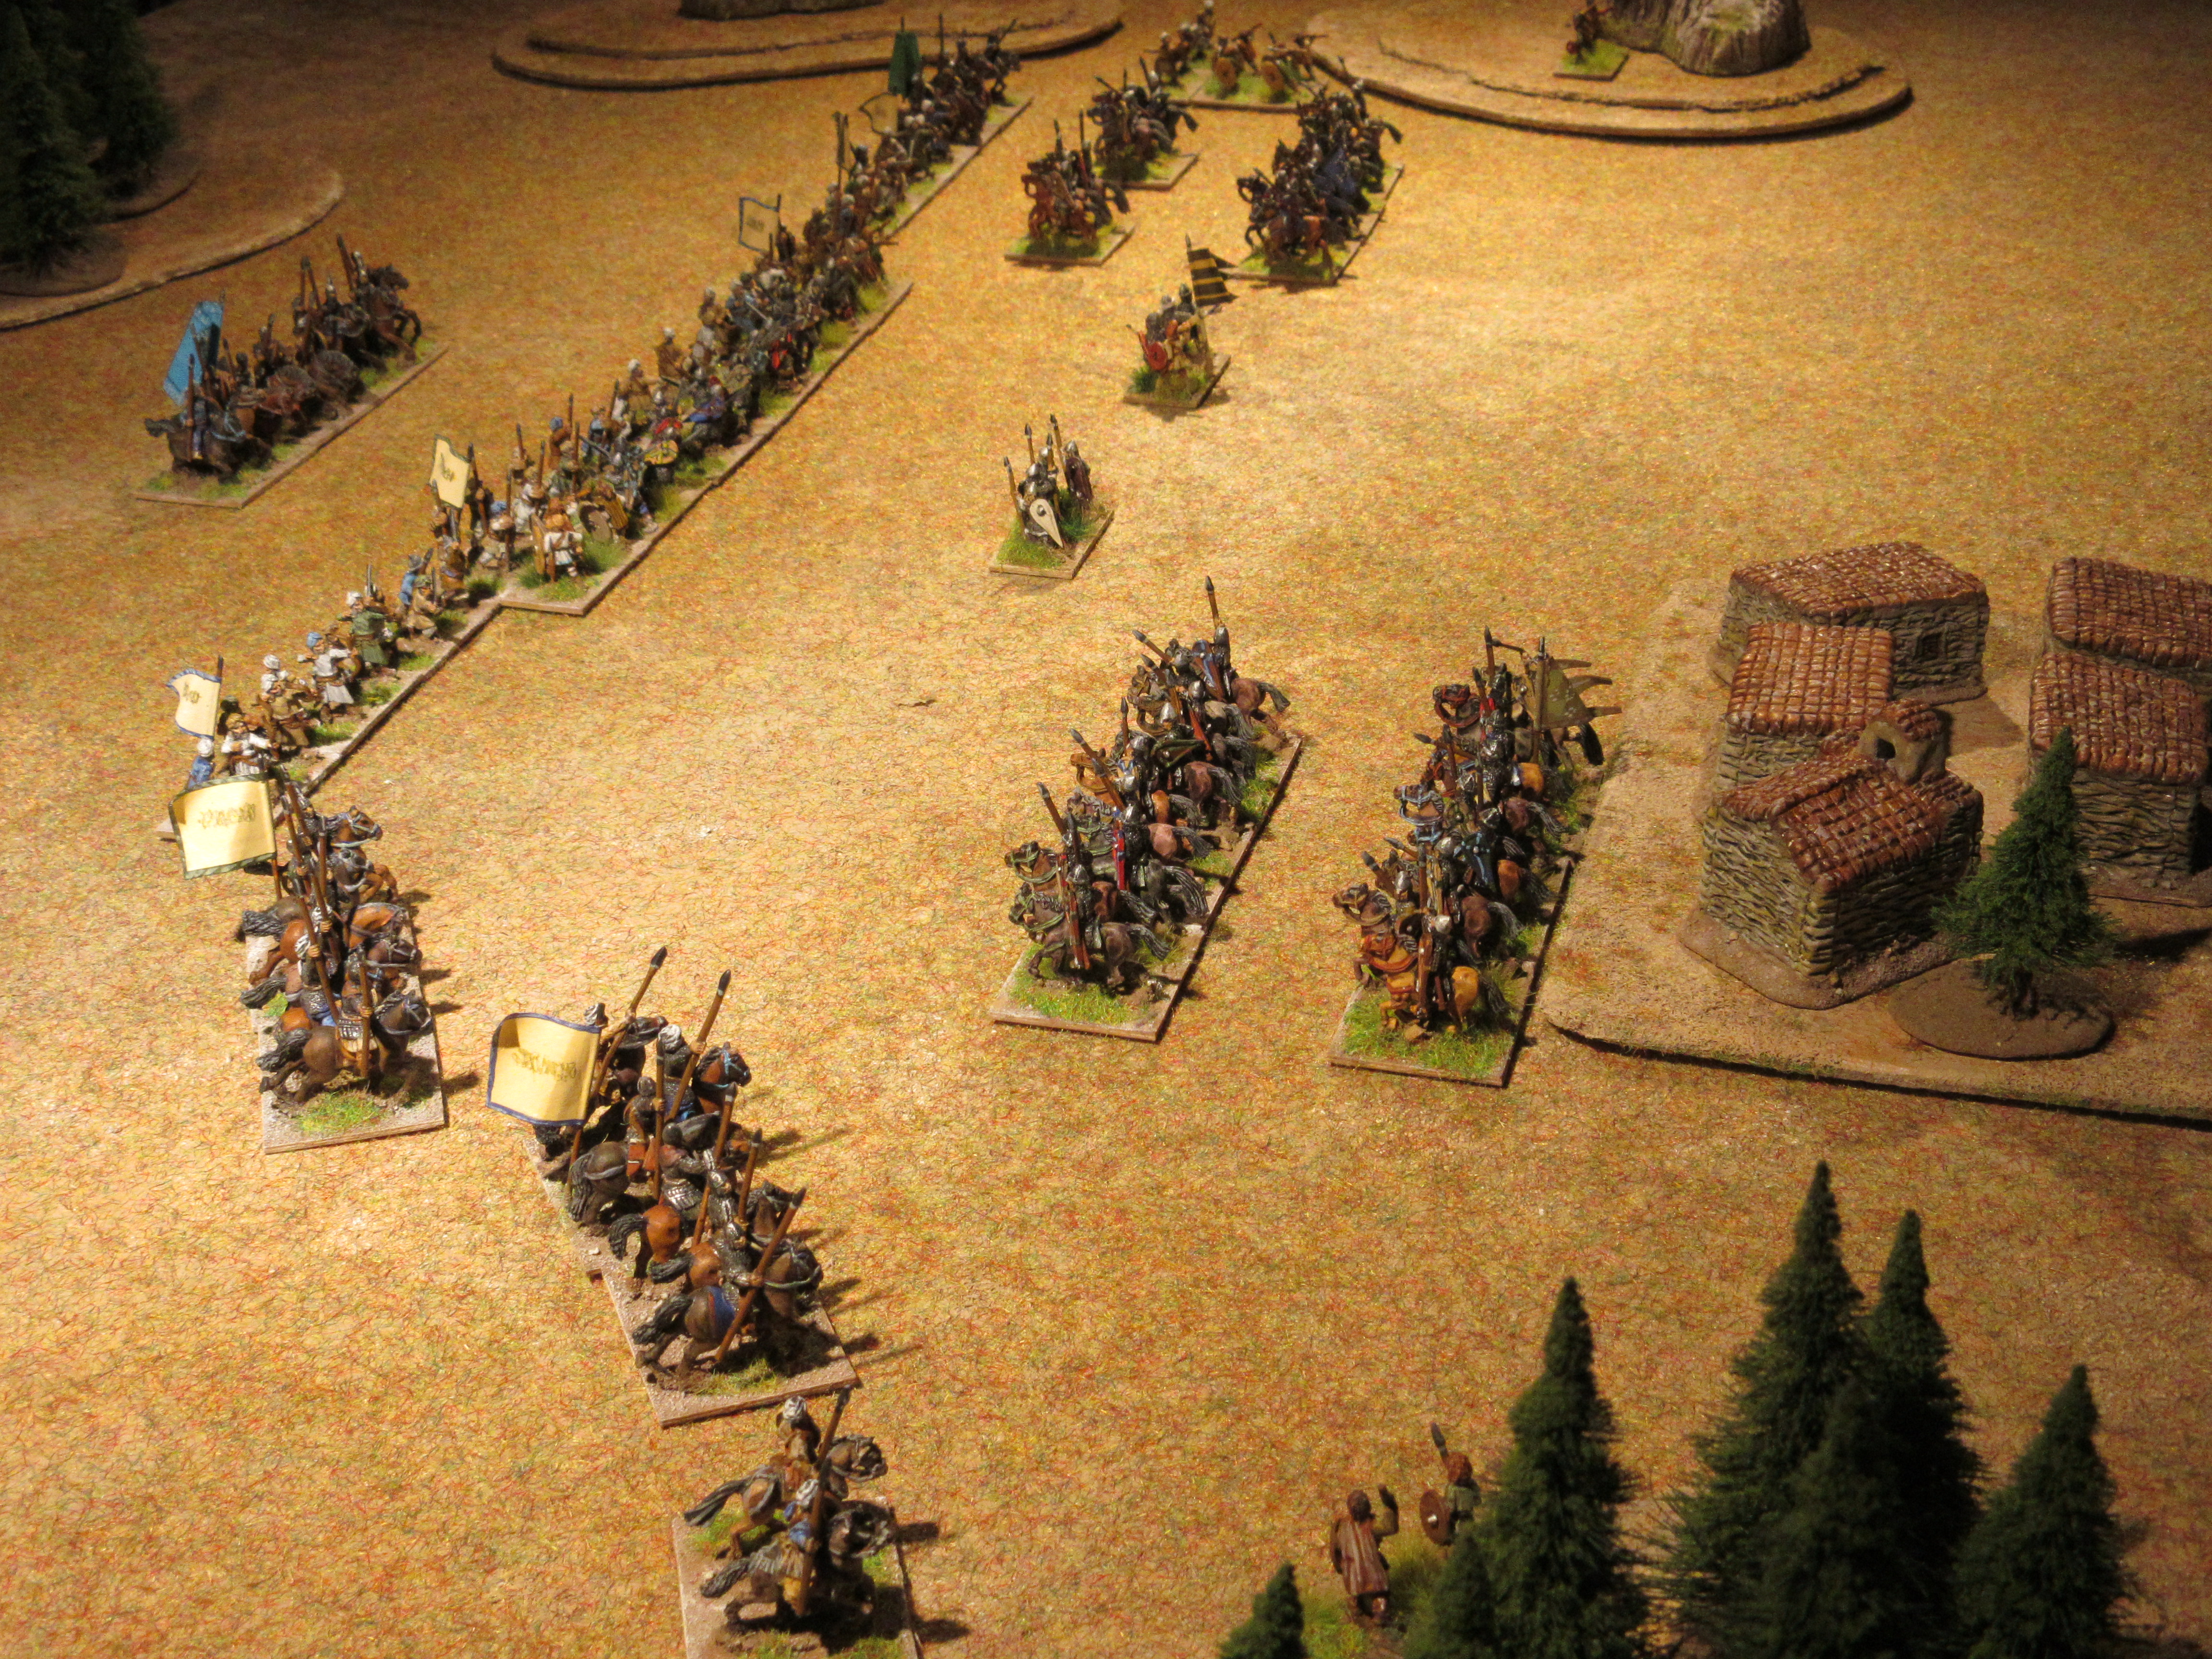
This led to disaster from which the Norman milites could not recover. Losing control over the battle, the decision was made to retreat leaving the field to the Fatamid. Score Fatamid 10 – 6.

One more time

Both armies deployed in a similar manner as before, with one exception, the Norman left was positioned further back.

This time, the Normans advanced in echelon with the dismounted knights leading. To negate any possible threat on the right, Sicilian Greeks held Fatamid light troops in check. As the lines struck, small gaps appeared in the Fatamid line, which were filled from the reserves.

In less than an hour (4 turns), Fatamid casualties fell rapidly to Norman knights on foot, no longer were there Fatamid to be seen. This left Norman troops on the right to turn on the enemy centre forcing the Fatamid command to call for a general retreat. Score Norman 9 - 2 


Tuesday 28 June 2022

An East European Hamlet

Both the Late Medieval and Renaissance collections have grown with the addition of Polish, Lithuanian, Muscovite and Tartar armies. Their battles have been for the most part seen the usual forests, swamps, rivers, tracks and gentle hills. Lacking proper buildings or structures for hamlets were lacking until now.

The plan was to construct a rural hamlet with buildings similar to log cabins with thatched roofs.

The construction followed the same pattern as with other projects, a foam core shaped and glued to a 30mm x 40mm base, then in stages, covered with Milliput.

I worked with a few structures at a time as scoring the log walls would be time consuming, allowing time for each stage to harden, all seven pieces were done in less than three hours over the course of a day.

One feature remained and this were details to complete the log cabin look. Thinly rolled Milliput was placed at each corner, then scored to simulate the log ends. The initial attempt was messy, but subsequent pieces took less time and effort.

After undercoating, the walls were painted first, later highlighted with a thin coat of mid-grey. The effect was similar to the palisades done for the Goblin encampment. Tips were given a thin coat of flesh.

A church was intended as part of the hamlet, but I blundered its construction omitting the small tower or belfry before applying Milliput. Too late and so the structure was modified as a barn.  


Thursday 23 June 2022

The campaign that never happened

Following the Battle of Utus 447, Attila withdrew from Rome eastern territories to replenish his army and plan his next campaign. In 450, one such plan was an attack on the Visigoth kingdom of Toulouse. Unfortunately, circumstances forced a change of plan prompting Attila to meet Rome the following year on the Catalaunian Plain.

This particular scenario presumes Attila does fulfil his original plan to invade the kingdom of Toulouse and Honoria, playing the dutiful sister of Valentinian, to accept her betrothal to a Roman senator.

The kingdom of Toulouse

Theodoric I had succeeded King Wallia in 418 and would lead the Visigoths against Attila together with one or both of his sons; Thorismund or Theodoric. Although allies are listed for the Later Visigoths, these enter into an alliance at a much later date, leaving the Visigoths to fare for themselves. The Suevi have migrated to Spain decades ago and the Burgundian were occupied elsewhere leaving the Visigoths with the personal bucellarii of the higher-ranking nobles, the gardingi and a mass of spearmen supported by archers. These would meet Attila’s army, essentially of similar composition to that used at Utus, near Toulouse.

We then have the following:

II/80a Attila’s Army

1 x general (Cv), 1 x sub-general (LH), 12 x horse archers (LH), 2 x Gepid (3Kn), 6 x subject warriors (4Wb), 2 x archers (Ps).

II/83a Later Visigoths

1 x general (3Kn), 1 x sub-general (3Kn), 2 x bucellarii (3Kn), 6 x gardingi (Cv), 10 x spearmen (4Wb), 4 x archers (Ps).  

 The Huns have a scouting advantage allowing them to place the terrain pieces, after each die cast for quadrant by the Visigothic player. Terrain pieces selected are; one BUA (hamlet), one gentle hill and two wooded hills.


Battle

The Visigothic army are caught on the open plain and prepare for battle with spearmen forming a centre, cavalry is positioned on the flanks and the commanders and their bucellarii form a reserve. 

The subject tribes and Gepid lancers face the larger enemy line with orders to occupy the Visigothic infantry while Hunnic cavalry would turn the Visigothic left flank. The open plain would offer the Hunnic cavalry plenty of room to utilise their favourite tactics. 

Advancing in right echelon, the Visigothic infantry had the support of light troops and the Gardingi. The latter would strike the Hunnic line first.

The Huns showered the approaching enemy with arrows and those facing the Gardingi threat feigned a retreat to a position on a hill to their rear. Both, the columns of spearmen and the Gardingi were faced with the question to continue their advance. 

In the centre, the subject tribes and Gepid lancers crashed into the Visigoth line with both sides incurred heavy casualties.

As the centre became fully engaged Attila sensed the moment was right to overwhelm the Visigothic left flank. Reserve Hunnic cavalry had skirted the battlefield to outflank the enemy line launched their attack. Seeing this, Attila launched a general assault to create a cauldron of death. Out maneuvered and outnumbered, the Visigothic left collapsed, leaving their king to call for a general retreat to Toulouse. Score Huns 8 – 4.


A convincing Hunnic victory, but this begged the question, could the Visigoths have won by deploying differently? Game two used the same placement of terrain, this time the Visigoths deployed in two lines, the first comprised all the infantry with the Visigothic cavalry positioned in a second line to deal with the expected Hunnic flank attacks, like Alexander and the Scythian.


Game two.

The battle’s opening followed a similar pattern, however this time, the Hunnic assault on the Visigothic left met with greater resistance.

Hunnic cavalry was easily repelled on the Visigothic left and in centre the Visigothic infantry were battering the subject tribes of the Huns.

Casualties mounted heavily on both sides as the Huns were foiled at every turn. Attila was forced to bring Hunnic cavalry from the left to support the right. Unperturbed by the losses incurred among the subject troops, Attila gambled on the Huns to turn the battle. After a long fight, this they did and secured an 8 – 6 victory for Attila.


Note:

All Hunnic losses fell exclusively among the subject tribes and Gepid lancers.

Saturday 18 June 2022

Battle of Utus 447 – revisited

The Battle of Utus was one of a series of Late Roman scenarios that appeared at the blog in January of 2017. Sources give Attila the victory, however a number of modern historians are of the opinion the battle was indecisive with both sides experiencing heavy losses. Follow the link to find the original battle report of 2017. 

Since 2017, there have been a number of interesting ideas exchanged at the DBA Fanaticus Forum making a replay of the battle worthwhile. Scouting advantage has been suggested and how this should influence terrain advantage, further, psiloi ignoring enemy side support, a similar idea was suggested for LH and lastly, command size. 

The Replay

The Huns are invading and have scouting advantage. Rome as the defender still casts a die for quadrant placement, but the Hunnic player positions the individual terrain pieces. Choice of board side remains with the invader. 

The test games are played with 24 elements which allows the use of a larger board; optional terrain pieces are increased by one. Selected for the tests, one BUA, two wood, a wooded hill and road. As you will see from the previous battle, the positioning of the terrain is somewhat different. 


II/82b Eastern Patrician Roman 408 – 493 AD

1 x general (3Kn), 1 x sub-general (Cv), 1 x equites (Cv), 1 x equites (3Kn), 4 x horse archers (LH), 2 x equites clibanarii (4Kn), 4 x legionnaire (4Bd), 4 x auxilia (4Ax), 4 x German foederati (4Wb), 1 x archers (Ps), 1 x archers (4Bw).

II/80a Attila’s Army 433 - 453 AD

1 x general (Cv), 1 x sub-general (LH), 12 x horse archers (LH), 2 x Gepid (3Kn), 6 x subject warriors (4Wb), 2 x archers (Ps). 

The Battle

Rome deployed its infantry in the front line, on its extreme flanks, the equites sagittarii were positioned. Clibanarii and other heavy cavalry formed a reserve, these were positioned behind the auxilia on both flanks. Facing Rome, the Huns placed their subject levies in centre with an equal number of cavalry to either flank.

The battle opened with the Huns probing both Roman flanks searching for weaknesses. Responding, Rome attacked the Hunnic cavalry on their right by advancing the auxilia and supporting cavalry forward. On the Roman left, all units awaited the expected Hunnic assault and did not stir from their original position.

In rapid tempo, the engagement on the Roman right developed into a full-scale cavalry battle with the Huns suffering more casualties. 


The Hunnic threat to the left flank did not materialise as the legions made short work of the subject tribes in centre to seal a decisive victory. Final score, Rome 8 – 1

Note:

Not quite the result I had expected. Nonetheless, the scouting advantage and terrain placement worked to the Huns advantage, so did the combat change for LH. Ignoring enemy side support in close combat did prolonged their engagements by an extra turn. The decisive victory was due for the most part by an abnormal number of ‘twice as many’ results for Rome sealing the Hunnic demise. 

A second game was called for which used the same terrain and troop deployment. 

Revanche

An invigorated Rome advanced its right and centre toward the Hunnic line and the Huns responded with a similar plan. The signal difference being the entire first line of Hunnic light cavalry on the left to support the main effort on the right flank. As the dust cloud dispersed exposing a second line of Hunnic cavalry, Rome continued its advance against the right flank.  

Both flanks were now heavily engaged leaving the centres of both forces to yet make contact. 

Rome’s left flank were greatly disadvantaged by the successive waves of light horse and Gepid lancers. Both Attila and his subordinate were in the thick of the fray, each inspiring their respective commands. 

Despite Rome gaining ground on the right flank, the left flank collapsed under the weight of the Hunnic horde. The treat to Rome’s centre became evident as were the total casualties suffered, the Magister Militum called for a retreat. Final score, the Huns 9 – 5. 


Note:

Losses for the Huns fell mostly on the light horse as the subject troops did not engage; nonetheless, making use of their mobility turned the battle quickly in their favour. The battle did have its moments; the Huns had the advantage with a score of 6 – 2 by turn six, Rome caught their wind, Rome brings the score near level at 6 -5. In the end, the Huns needed an extra three turns to reach victory.


Saturday 11 June 2022

Goblin/Orc encampment

The Goblin/Orc encampment was an experiment to prove if circular structures were practicable to construct. If so, then the few steppe armies in the collection could then have their dwellings.

Pink foam, shaped and glued to 30mm round bases, served as a core for each dwelling. Working with three pieces at a time, the walls were covered, then the supports, doorway and stitching were scored while the Milliput remained soft. Dong the walls first, the piece can be easily be rotated between forefinger and thumb while scoring.

The walls took about three hours to harden (Silver Milliput) allowing a safe handling of each piece while adding a roof. Painting the huts followed the same style as those pictured in the Warhammer Orcs & Goblins book of 2000. Dark green base coat followed with a light shade of green, dry brushed. Exposed bits of base were covered with a sand mix, painted and sparsely covered with grass.

The walls are placed on 40mm x 15mm bases and covered with Milliput, formed an embankment to hold the cocktail sticks serving as a palisade. The palisade is later painted dark brown, dry brushed grey to appear aged and covered with sand and sparingly, some grass.

Viewing the photos, the encampment could use a few gate pieces and a central altar covered with trophies. This have been added to the list.