Following the completion
of the Arab restoration project, the homeless elements that remained unused
seemed to cry out for useful employment. There were plenty of archers, cavalry
and camelry. My first thought, these could become the core of a Qaramita army,
however, to do this would require a substantial order of camel mounted troops.
Thinking further, the four elements of Zanj were made for the Abbasid and an
army of Zanj (III/50) would prove to be a better option.
The great Zanj Rebellion
was carried out for the most part by African slaves with cavalry and leaders
coming from the Arab tribes. The slaves could easily be converted from the
large collection of Dervishes in my collection, these have a large contingent
of Hadendoa.

To make these, the slave
troops would need a different hair style, or wear a turban or head band. The
troops selected are seen in photo one and in the foreground are two boxes
brimming with Sudanese and Hadendoa.
Aside from the Hadendoa
the Sudanese figures would serve for the leaders and archers are extra Biblical
Nubians. The spoon shaped swords were trimmed to become the standard saif model
and trimming the hair-do would make room for a turban or headband.

By the end of the week,
the army should be completed and with photos posted to the blog.
Between painting, I have
been working on a variant set for DBA3 to simulate the amphibious nature of the
conflict. Before posting these to the blog, I will complete a timeline of
events to give readers a sense of this unusual and long conflict.
01- 05- 2020
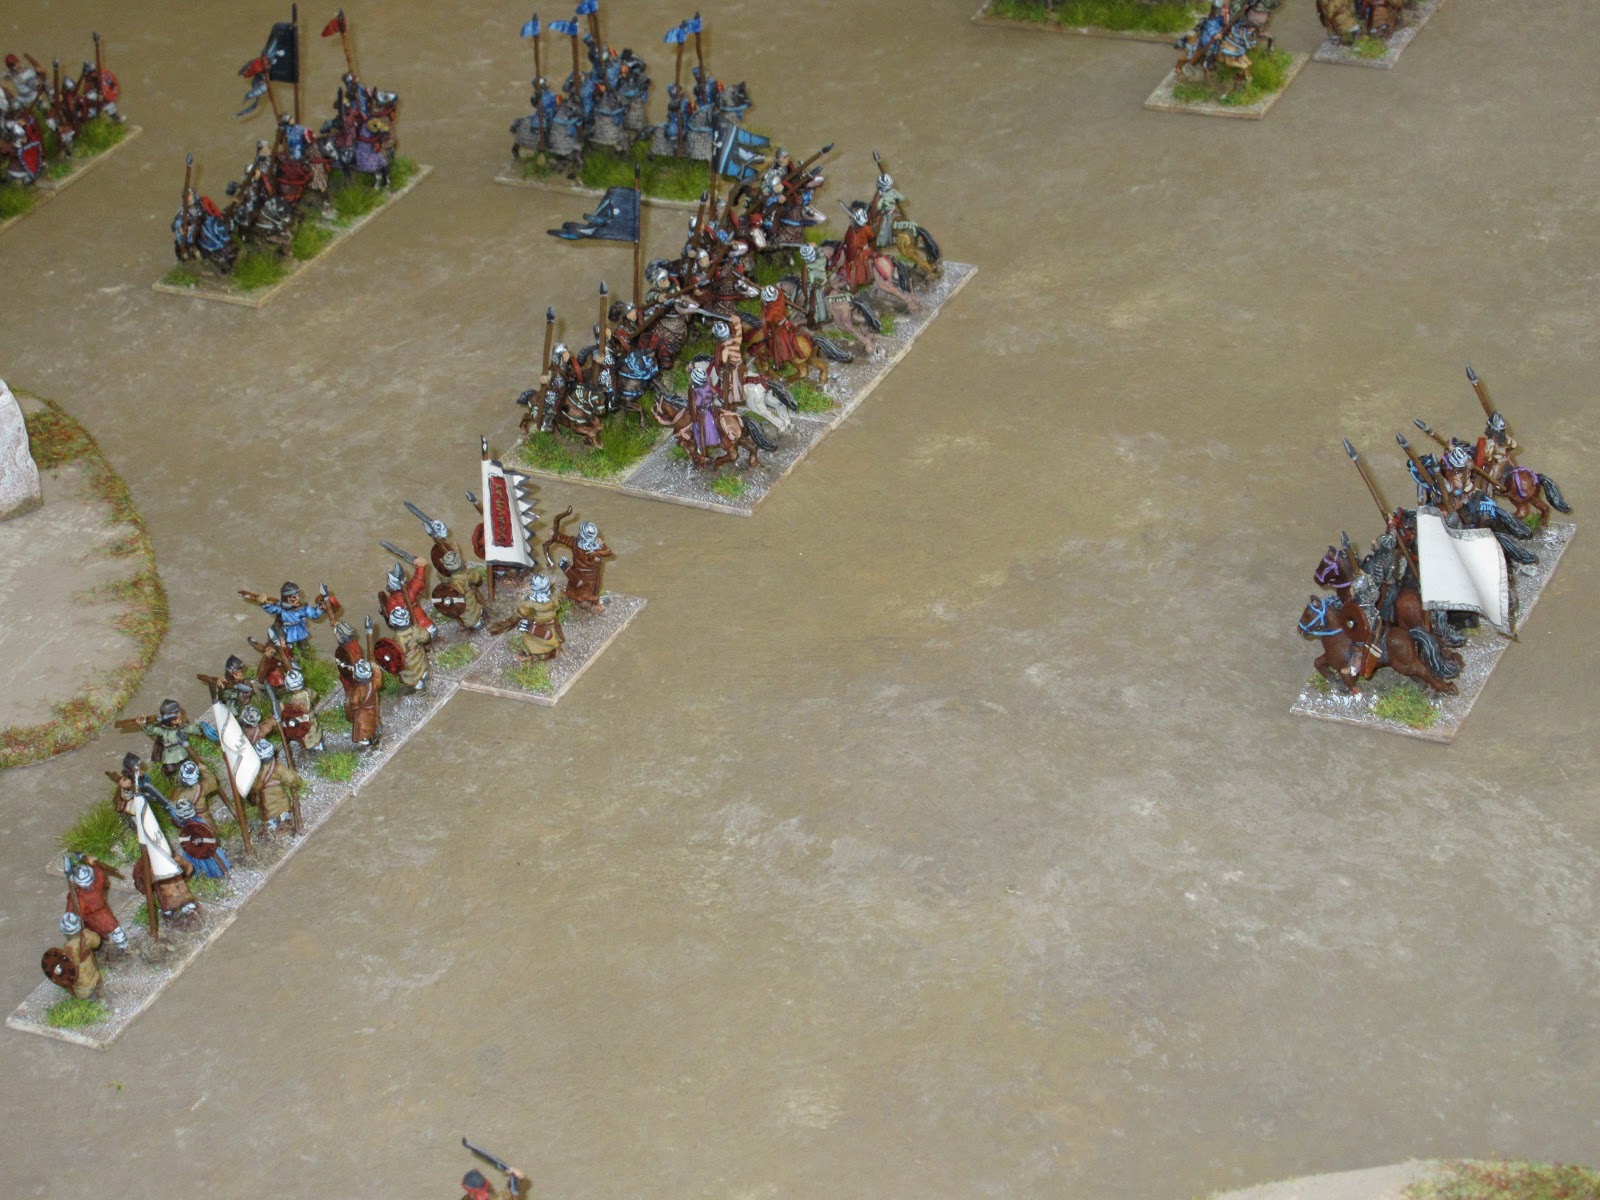
The Zanj in battle
array.
In the forward rank are the
formidable swordsmen (4Bd) supported by archers (3Bw). On the left of them are the skirmishers (Ps) and to their rear, the Zanj horde (5Hd) and positioned on the
opposite flank are the tribal Bedouin light horse (LH) supporting the
rebellion. In centre are the command elements in three options;
Cv, 4Bd or 3Bd.


Next week, the timeline of
the Zanj revolt.