
Since the reign of Shapur II, the Iranians had to deal with nomadic invaders in the east known as the Hephthalites, Kidarites, Chionites and Alchon Huns. The Sassanids lost the control of Bactria to invaders from the north in 360 CE, first to the Kidarites, then the Hephthalites. Shapur III seems to have clashed with the Alchon Huns to the east (388) and during the reign of Bahram IV (395), the Huns invaded the Roman eastern provinces reaching as far as Galatia, then returning to invade the Iranian realm, devastating much of the countryside around the Euphrates and the Tigris. A counterattack was made resulting in the defeat of Hunnic forces and the retrieval of their spoils.
The Sassanian II/69b sub-list cover the majority of the incursions while the Hunnic player has several sub-lists to select from; II/80d will serve for the invasion of 395, for the campaigns in Bactria use II/80c and the campaigns of Kavad I and Khosrow I, use II/80b (see note).
Note:
Game
one.
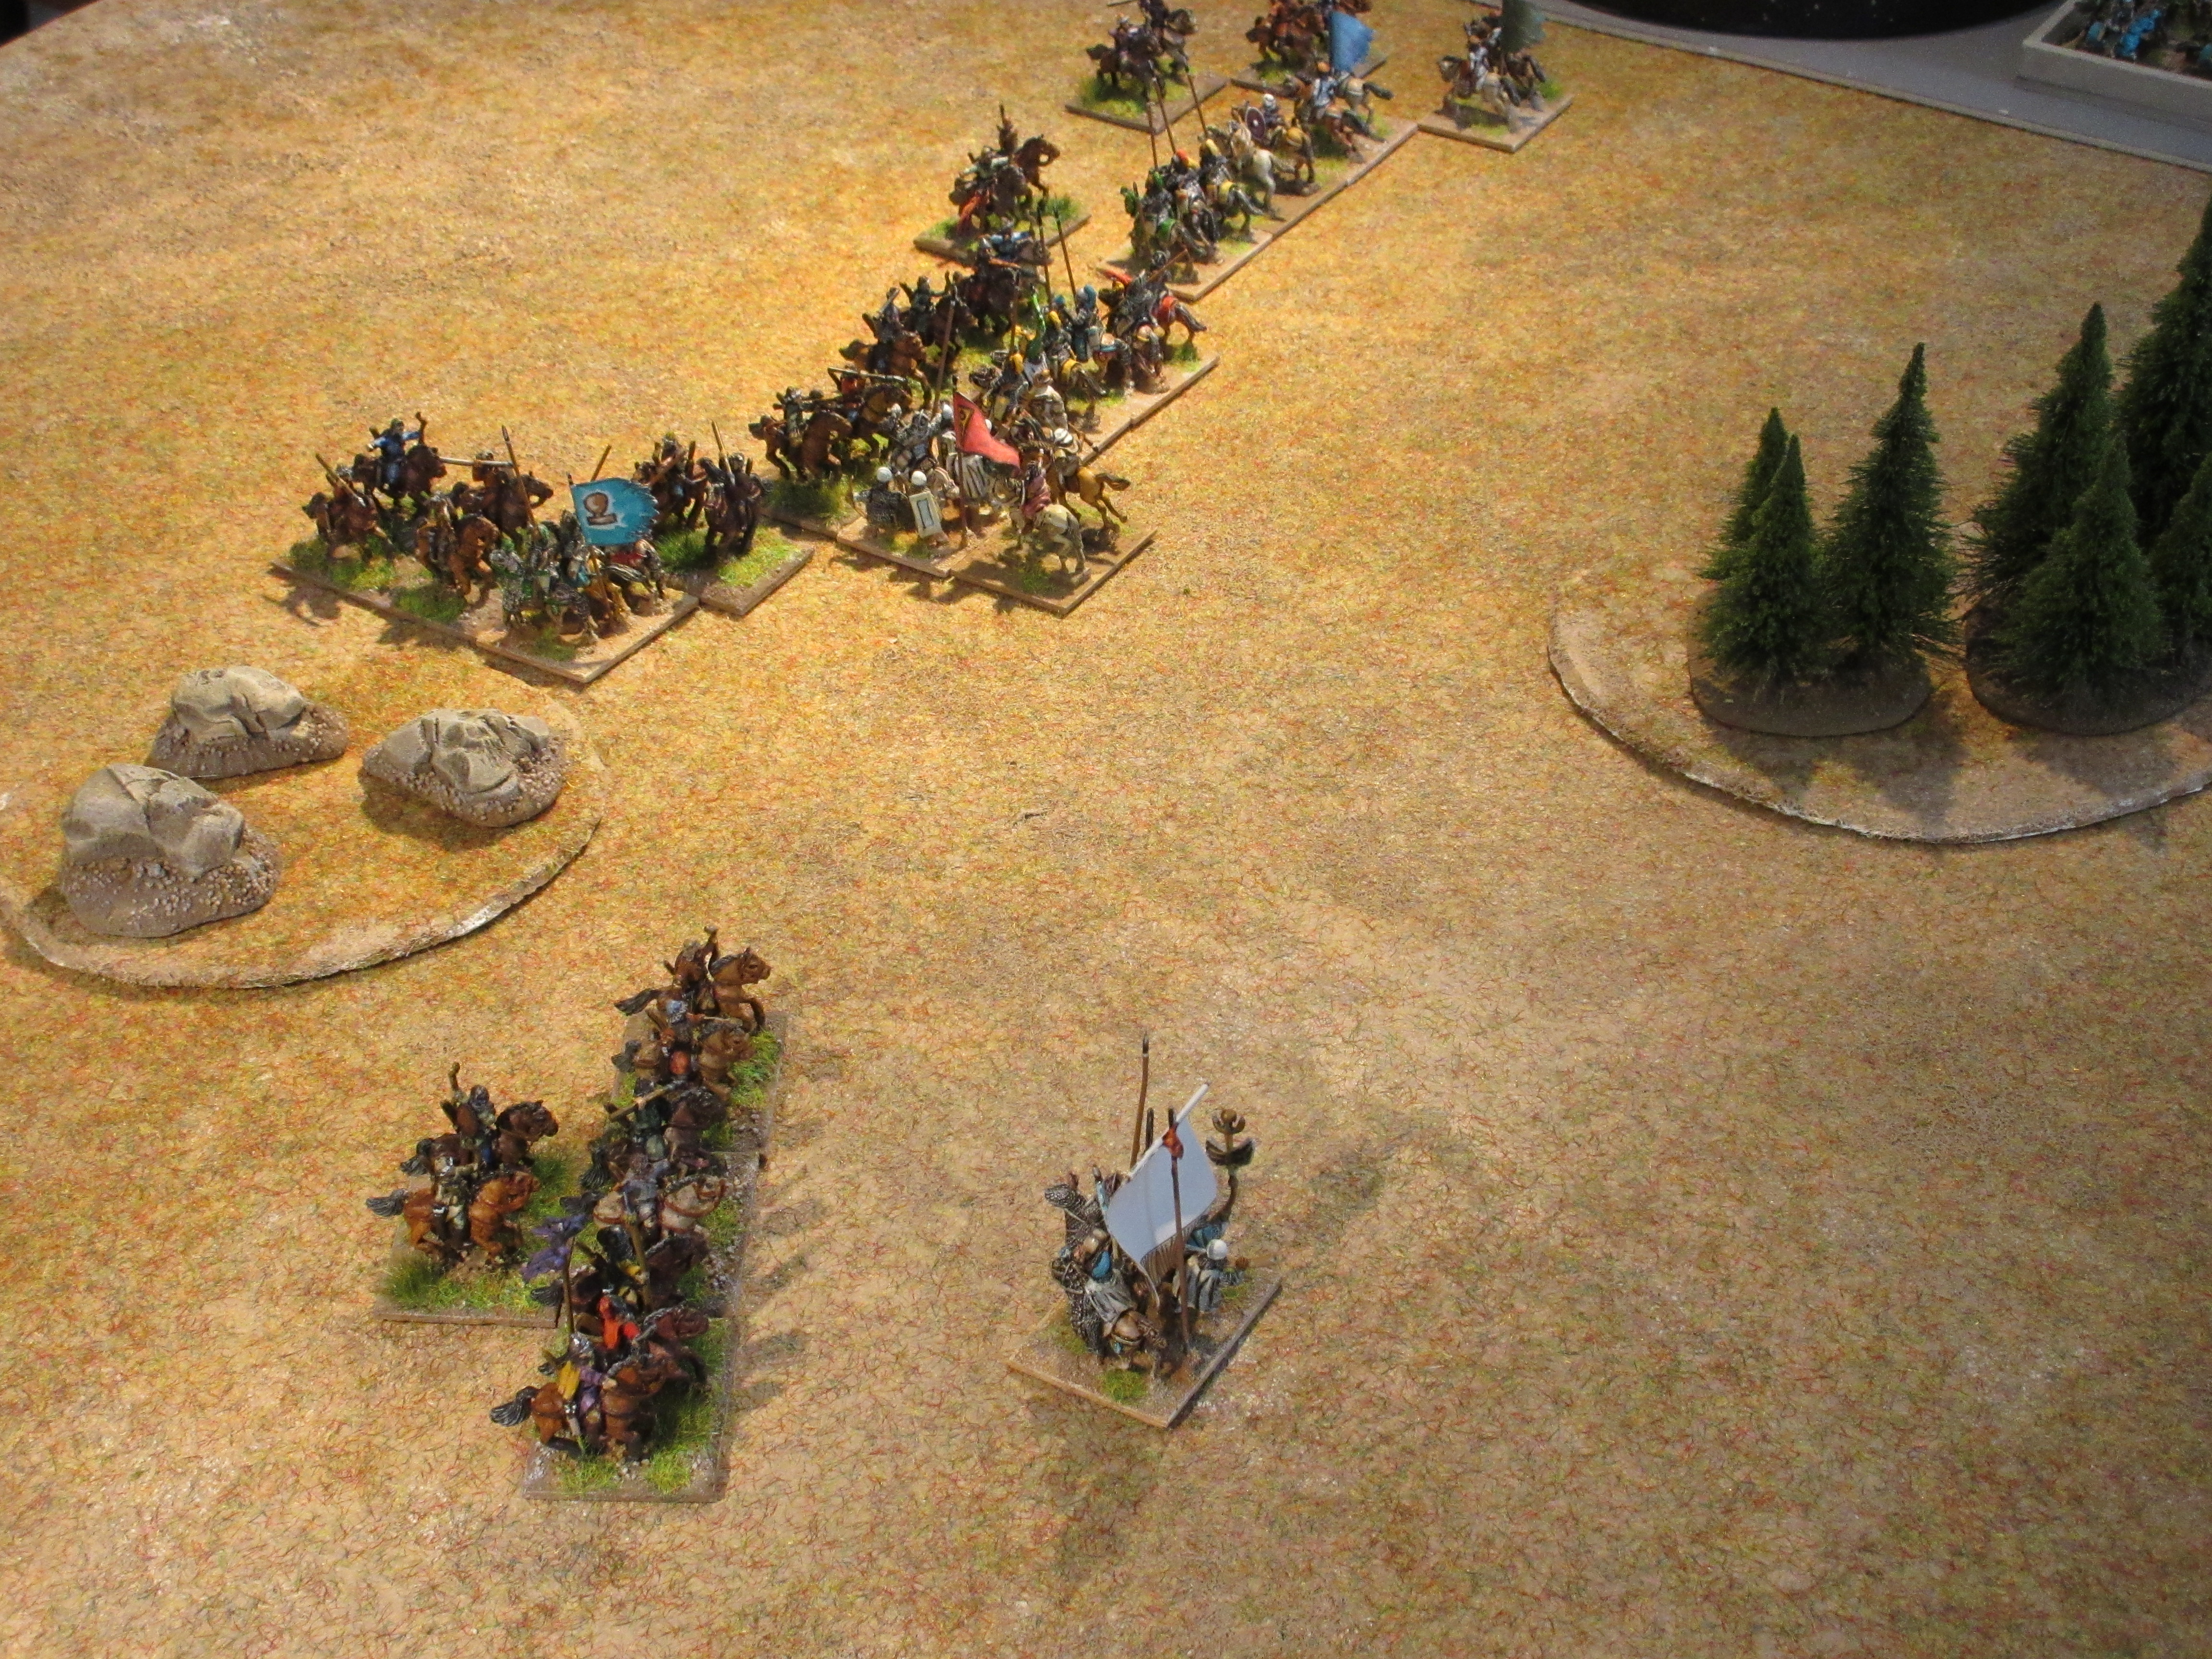
Facing the
Huns, the Sassanid army formed two divisions; on the left all the foot, elephants
and cataphracts and on the right, the asavaran cavalry. Opposite, a screen of Hunnic
horse archers hid two groups positioned in a second line.

As the Sassanid left advances, the Hunnic screen moved to encircle both flanks of the advancing Sassanid divisions.

The auxiliary hill tribes led by the sub-general checked the Hunnic threat on the left; this allowed the infantry and elephant corps to continue their advance. The Hunnic threat to the right is also contested and develops in a full fledged cavalry battle.


Troops fiercely engaged on both flanks, yet sensing the battle reaching its apex, the Hunnic warlord led a desperate attack against the Sassanian cataphract and elephant corps.


As the dust
settles, the destruction of the Sassanid centre sends a shock wave through
their ranks and despite the heavy casualties to both sides, the Hunnic warlord
pursues the Sassanid general off the field to claim a narrow victory, 8 – 7.
Game two
A second
Sassanian army caught the Hunnic raiders napping as they quickly position a
screening force as they deploy. In the Sassanian centre are the cataphract and asavaran
cavalry, guarding its flanks are the infantry and elephants. More asavaran form
on their right and light cavalry are positioned on the left.

Using the woods as cover, the Huns attempt to encircle the asavaran to catch them in a pincer. This is foiled by the timely intervention of the auxilia infantry giving the asavaran cavalry an opportunity to charge the Hunnic light horse.


The Sassanid cavalry in centre quicken their advance and attack the Hunnic screen as the asavaran cavalry to their right continue their pursuit of enemy horse archers.

The Hunnic army is totally committed along the entire front and casualties among the horse archers run high. Seeing their warlord’s standard fall, the Huns break, 8 – 2.
Observation.
Confident
of a second victory, Hunnic attention and pip expenditure focused on the flanks
while ignoring the Sassanid advance in centre. Leaving the infantry behind, the
Sassanid cavalry and elephants accelerated their move to charge the Hunnic
first line, severely mauling them.
There is a
valuable lesson to be learned here.
No comments:
Post a Comment