
By the late afternoon of 28 July, Burgundian scouts
had located the Italian army encamped not far from Firenzuola. Rudolph II
placed his own camp near the Santerno River to await the arrival of the rest of
his army and in the meantime he called for a war council to decide on a battle
plan for the following day.
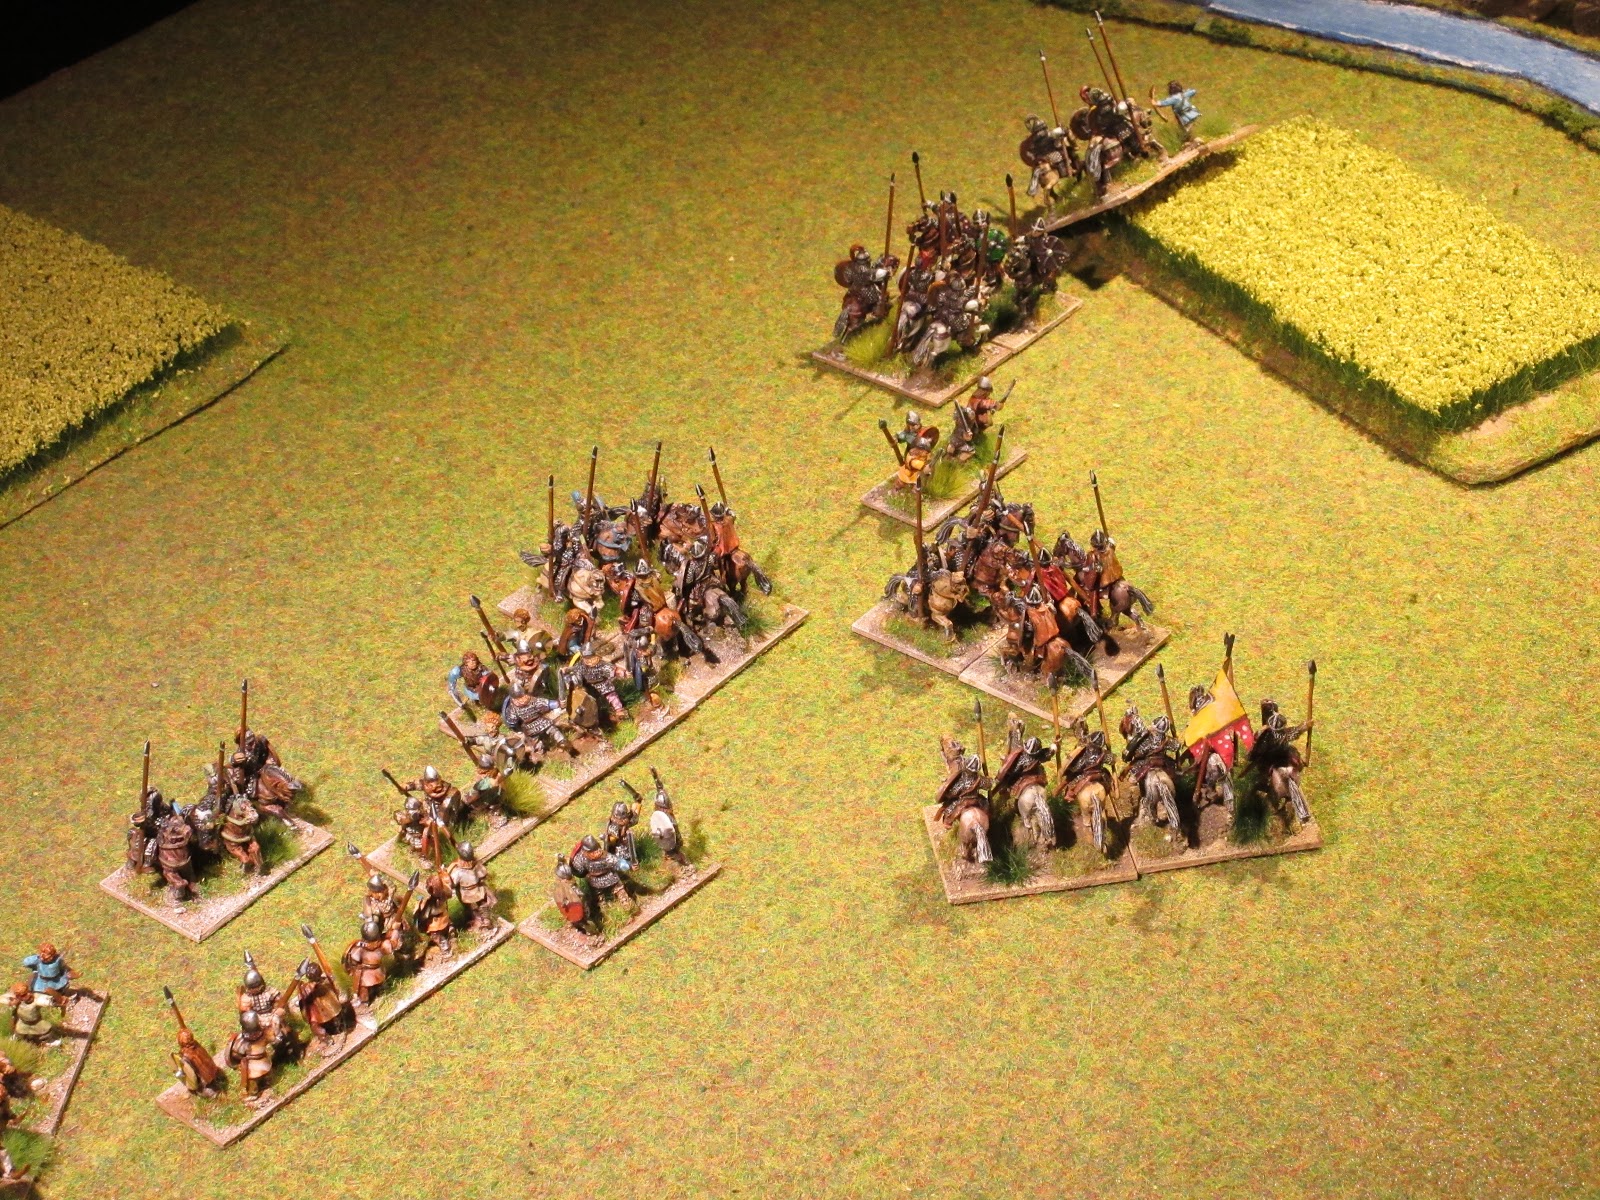
First to decamp
were the Lombards and Berengar I placed his archers on or near the hills while
his knights were interspersed among the ranks of the militia spear and to the
left, Berengar placed his loyal German faction.
In anticipation, Rudolph II deployed nearly all his
knights on the right and infantry on the left as these were better equipped to
deal with the archers located on the hills. On his right, he placed the knights
of Spoleto and Ivrea opposite Berengar’s Germans.

A cautious Berengar moved slowly forward to give time
for his archers to form up on the forward slope to the right. The Bavarians
however, advanced as one group, but eager for battle, the knights of Spoleto
and Ivrea pulled ahead of the main battle line.

The Lombard were able to move 80 paces before the
archers rained arrows on the Bavarian infantry. To Rudolph’s right, the allies
demonstrated good sense by restraining their knights and allow their
skirmishers to approach the enemy through the grain fields.

As if by command, both sides halted their advance to
await the outcome of the combat near the Santerno. Here, the Italian knights of
Spoleto and Ivrea charged the militia spear successfully destroying half of
their number while the Burgundian skirmishers repulsed the Lombard knights from
the grain fields (1 – 0).

Seeing Berengar move to contain the situation on his
left flank, Rudolph resumed his march forward as the persistent barrage of
arrows was having little effect.

Rudolph’s infantry and knights collided with the
Lombards to push most of their line back, but one body of Lombard knights were
able to break through sending some Bavarian knights recoiling. Rudolph II and
guard moved quickly to aid these troops. Disaster struck as the knights of
Spoleto succumbed to a Lombard counterattack bringing the score even (1 –
1). .
Rudolph’s quick decision to aid his centre did restore
the situation, however, elsewhere on the battlefield the number of casualties rose
as the conflict took an intensive turn (2 – 2).

The entire destruction of the Italian contingent from
Spoleto and Ivrea left Rudolph’s right flank hanging in the air. Rudolph’s
infantry were holding well against the bothersome archers and Lombard militia
giving him time to his knights nearby and destroy a unit of Lombard knights (3
– 3).

Seizing an opportune moment, Lombard knights moved
through a gap between Rudolph’s infantry line. To counter this, Thuringian
cavalry were sent by Rudolph to beat them back. This ended disastrously for the
cavalry as the Lombard the knights crushed them. Elsewhere the Bavarian knights
were rolling up the Lombard line bringing the score even (4 – 4).

The battle reached a critical moment as both sides
desperately sought to inflict a decisive blow. The Lombard knights wheeled
around to strike the Bavarian infantry rear while Lombard militia battled in
front. As fate would have it, the Bavarian infantry repulsed both Lombard
militia and knights in a heroic combat. It was now the turn of the Lombards to
feel the dance of death as Rudolph II broke their centre to claim victory (5 –
4).
Design
notes.
In this scenario, each side was given an ‘allied
contingent’ to represent German supporters of Berengar I and Italian troops
from Spoleto and Ivrea for Rudolph II. To avoid confusion, both sides kept
their original elements and designated three elements to form an allied
contingent rather that swapping elements from each other’s command. As the
battle developed, the movement restriction for allied contingents did not
handicap either side; cohesion was quickly lost after the first few turns.
The battle ended historically and was a nail-biter to
the very end. Berengar did survive the battle and in this replay, his element
and other knights pursued their opponents into the fields (rough ground)
finally destroying them. This had the unfortunate result of costing too much time
to exit the rough ground. They were in time however, to view their centre
fleeing the battlefield.
Our boards are 80cm x 80 cm for all our games and if
using a smaller board I would suggest omitting the Santerno River and placing
the two difficult hills resting on the opposite board edge. This would allow
both armies to deploy in ample room.
No comments:
Post a Comment