
356 AD benchmarks the Hunnic presence in book II of the DBA Army lists. Beginning with the eastern portion of the empire it is toward the last
quarter of the 4th century that western field armies come into
contact with them. The Hunnic list given below predates the rule of Attila
leaving the majority of Huns classed as light horse with a small quantity of
nobles classed as heavy cavalry.
Rome is initially defending their provinces and therefore make use of arable terrain; BUA (hamlet) is compulsory with difficult
hills and forest used as optional terrain features.
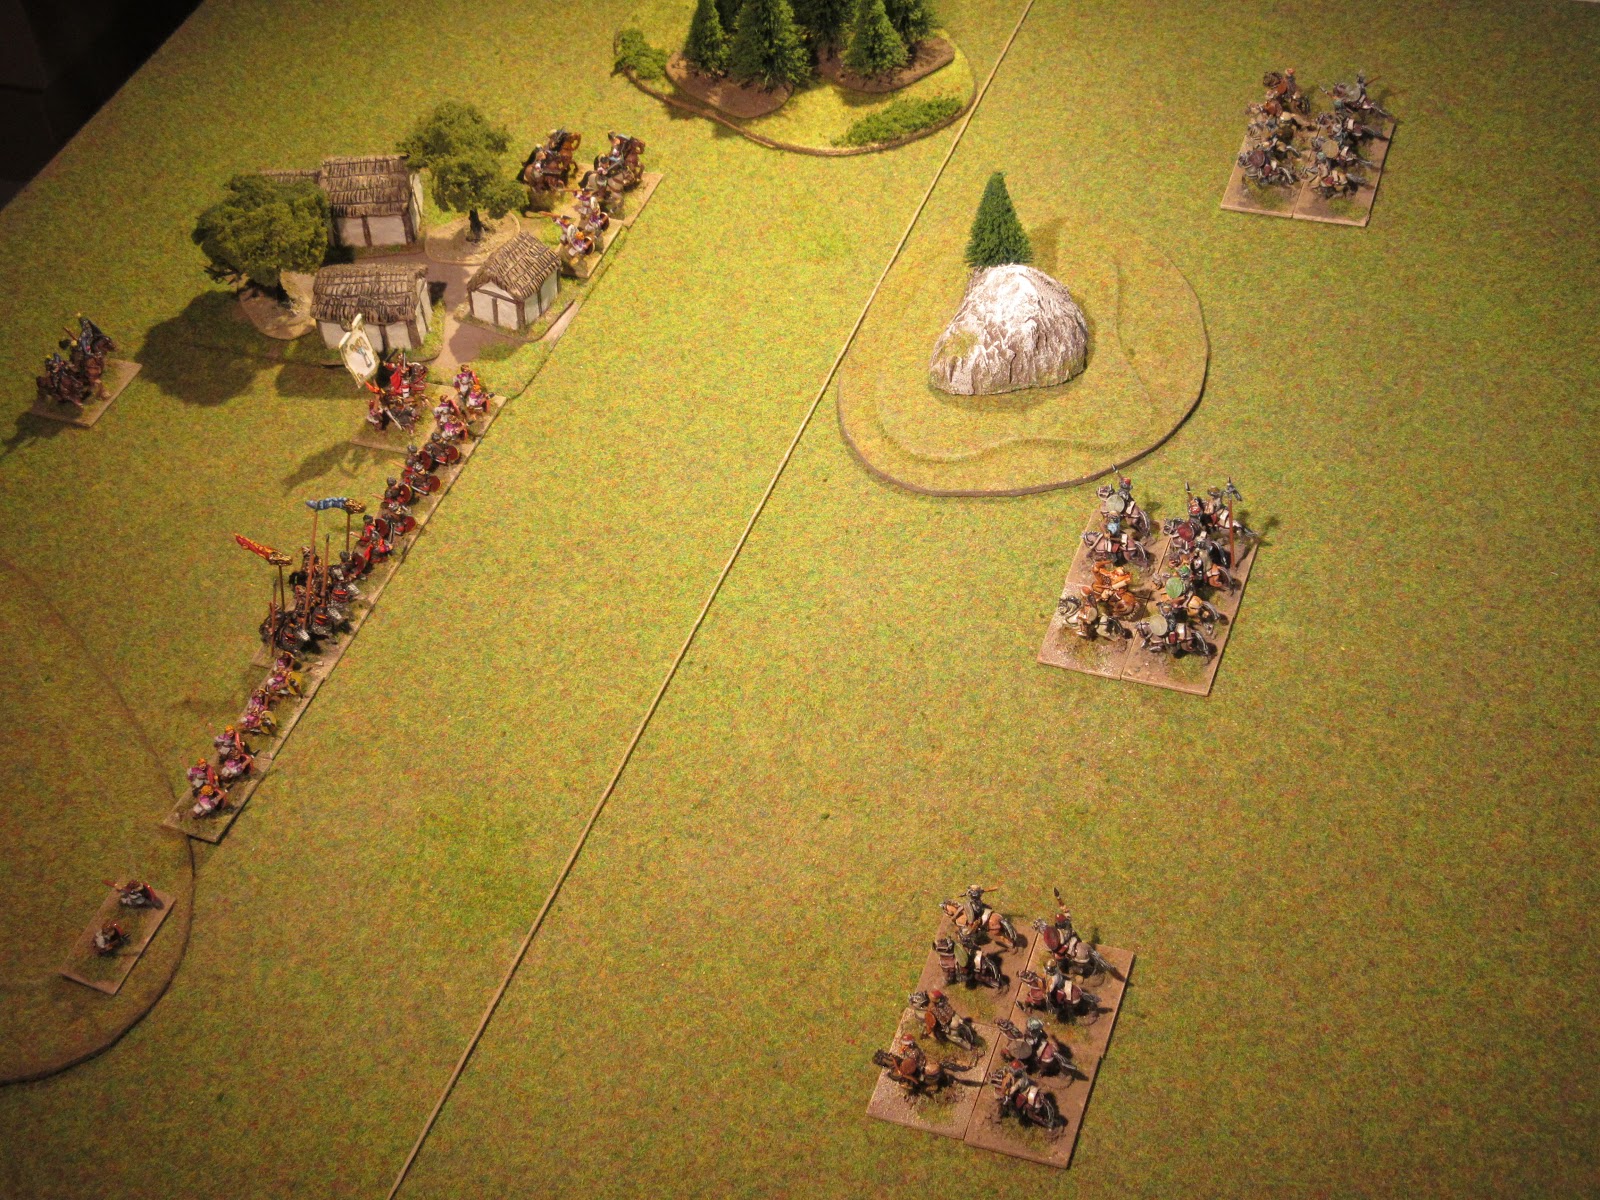
Game 1
Huns are attacking and have caught Rome on an open
plain with the scant protection but for a small hamlet. The Huns deployed their
cavalry in two major groups, both set to work on the open left flank of Rome.

To the surprise of the Huns, Rome quickly moved
forward to keep the Huns bottled in the limited area offered by the difficult
hills. The Huns respond by sending their furthest column forward to threaten the Roman cavalry.

The Huns of the central group were ably contained between the hills by
the legion and auxiliaries and this means the Roman equites would have to take the brunt of
the Hunnic attack approaching the left flank.

Hunnic arrows were finding their targets and in quick
succession the clibanarii and half the legion were broken.

Roman units were quickly sent to fill their places,
but the Huns were quick to take advantage of the gaps and isolated units. Score 4 – 1 for the Hun.

Game 2
Caught for the second time in an exposed position, the
Roman force deployed closer to camp. As before, the Huns deployed in two groups
with the majority of their cavalry positioned on the extreme right.

Taking advantage of the time needed for the flanking
column to reach battle, the army moved its infantry to seize the heights and
form a new battle line.

The legion and auxilia were not averse to taking the
action to the Hun and those infantry on the left were able to repel the Hunnic
cavalry. Meanwhile, Roman cavalry quickly dispatched two units to the ‘afterlife’.

Caught off balance, the Huns were steadily losing
ground such that their chieftain made a desperate attempt to turn the battle
around. Unfortunately, this was not to be as a further two units were destroyed
ending the battle. Score 4 – 0 for the
LIR.

Game 3
Rome was now on the offensive and took advantage of
the terrain offered to secure their flanks on the difficult hill and hamlet.
The majority of the equites were positioned on the left flank to foil any attempt
by the Huns to turn that part of the battle line.
As expected, the Huns did probe the Roman left, but
the equites deployed for that event quickly moved to counter the enemy threat.

Confident that Roman light horse and auxilia could
contain the Hunnic threat on the left, a unit of Roman heavy cavalry returned
to the centre in time to see the Huns assail the centre and right flank.

Well aimed bow and javelin by the Huns destroyed two
auxilia sending shivers down Roman spines. The gap created left the Roman
general temporarily isolated.

A second gap appeared on the Roman flank and seeing
his light horse fleeing on the left forced the Roman commander to call a
general retreat. Score 4 – 0 for the
Hun.

II/80d Hunnic 356 – 570 AD Terrain type: Steppe, Aggression 3
1 x general (Cv), 11 horse archers (LH).
Using LH with a supporting second element does have its risks.
ReplyDeleteIn combat, both elements are in an enemy’s threat zone (TZ) and in some situations have moved the supporting element out of the TZ so as to move elsewhere on the following turn.
In addition, if forced to flee, the moving element (LH) cannot interpenetrate the supporting element and is destroyed.
Cavalry armies are fun to use, but be prepared for the occasional loss.
Another rough day for the Romans!
ReplyDelete