Tuesday, 9 January 2018

Historical Match Up – Old Kingdom Egyptian vs. Early Libyan

Game 1
Having crossed the desert, Libyan raiding parties reached the delta region to reign havoc among the small Egyptian communities. The Nomarch {1} of the region assembled troops to repel the invaders and these were met in the marshland area of the Nile.


Surprised that the Libyan deployed more troops against his left flank the Nomarch ordered the re-positioning of the conscript troops.  Changing positions, the conscripts were dogged by Libyan skirmishers until held at bay by Egyptian light troops.


Through a miscommunication by the Libyan chieftain (low pips) the archers were not able to move against the Egyptian left. This delay gave the Libyan chieftain no other recourse but to order a general assault.


The Libyan assault was easily met and the battle that ensued was as brief. Total Libyan casualties quickly rose and the death of their leader broke their spirit to continue the fight. Score 4g – 1 for Egypt.


Game 2
Pursuing the Libyan raiders to their wasteland hideout, these were tracked to a hilly region dotted with thick dry brush. The Egyptians quickly deployed a battle line with all the skirmishers on the left among the hills and conscript infantry on the right. The Nomarch and archers held the centre.

The Libyans placed the majority of their troops facing the hills with archers and tribesmen holding the scrubby ground covering their left flank.


Horns signalled on the far side of the field and Libyans could be seen sprinting toward the hills. Their light troops quickly ascended the crest line with a thick column of tribesmen reaching its base.


Left to their own devices and outnumbered, the Egyptian skirmishers did their best to contain the assault. The Nomarch, having little control over the battle developing in the pass, pushed his centre and right wing forward. Signalling to the menfat positioned on the nearest hill he ordered them to support the left wing. But would they make it in time?


The fight in the pass was desperate as the superior number of Libyan skirmishers and tribesmen led by their chieftain gave the Egyptians little room to manoeuvre. A lucky javelin thrust put an end to the Libyan chieftain and other members of his guard, but despite his loss the Libyans continued the battle.


The menfat, moving off the crest line arrive in time to save the last survivors. By now, the Libyans aware that their chieftain number two had been slain continued to the fight. Libyan archers held the Egyptian centre at bay while the tribesmen on the left awaited the attack by the conscript infantry.


The battle had reached a turning point when the Libyans lost further casualties and so fled the field.  
Score 5g – 4 (+horde) for Egypt.


Game 3
Continuing the pursuit of the Libyan, the gods smiled on the Nomarch as the enemy were caught again on open ground. Securing the heights on its right, the Egyptians formed their battle line with the conscript infantry on the left with the Nomarch, his guard and the archers in centre.

The Libyans faced the Egyptians with their extended battle line equalling that of the Egyptians.


The Libyans started the battle having their right wing encircle the Egyptian left. It was unknown if the direct route taken by the Libyans was meant to goad the Egyptians into action, but the Nomarch held his troops in check, but did alert the menfat held in reserve to expect the enemy on the open flank.


The battle soon erupted on both flanks leaving both centres cautiously eyeing one another.  The Libyans were the first to incur casualties (1 – 0).


Casualties for the Libyan began to rise as arrows found their mark and menfat cleaved holes in the Libyan battle line. (3 – 0).


The final blow came when the menfat widen the gap between wings by bringing down their opponents to decide the battle. Score 4 – 0 for Egypt.


{1} NomarchThe territorial divisions or province of Egypt were called sepat or nome in Ancient Greek. Each sepat was ruled by a heritapaá or nomarch who was also responsible for the security of the territory. During the Old Kingdom period nomes were autonomous city-states eventually becoming unified by the rule of Menes (First Dynasty). 

Saturday, 6 January 2018

Early Elamite Army (3000 BC – 2100 BC)

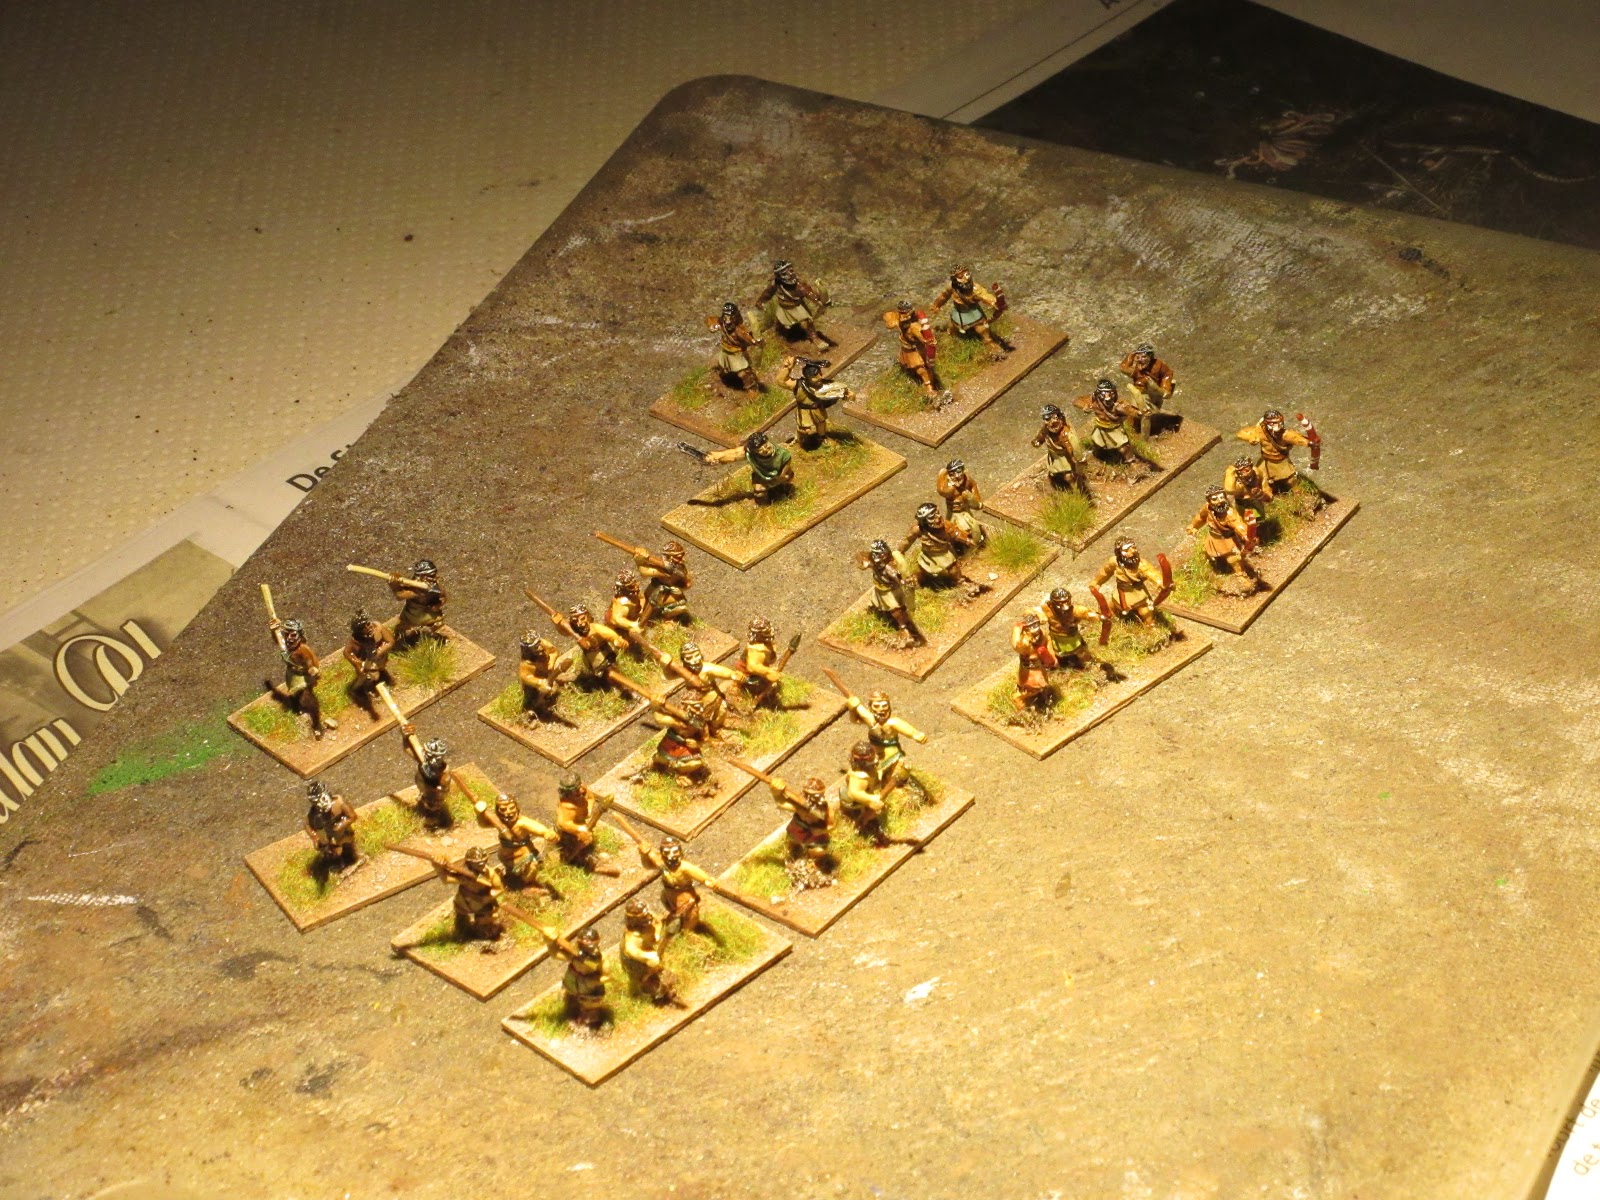
Listed as Book I, 5a and 5b in the DBA army lists, the Early Elamites were constantly at war with the Sumerian. I built this army around the number of excess archers that remained in my collection.  The army is not one I would consider a ‘killer army’ but it does provide a player with a number of interesting challenges to overcome.

It can comprise of 100% archers (3Bw) but some may prefer the presence of skirmishers (Ps) to augment the army. I prefer their use as they can impede the progress of enemy so archers may shower them with arrows.  

The figures are Old Glory Amorites which are packaged half javelinmen and half archers. One pack was sufficient to fulfil the ‘a’ list, but I also found the javelin figures could be converted to ‘axes’  giving me the needed elements of blade (3Bd) for the ‘b’ sub-list. Other bowmen and chariot crew formed the two elements of ‘household’ retainers armed with bow (4Bw).

In the photo you will see the twelve elements that make up the 'a' sub-list. The WRG publication ‘Armies of the Ancient Near East 3000 BC to 539 BC by Stillman and Tallis describe Elamite fashion as progressing through three stages of evolution; being near naked, to wearing a kilt and finally a long tunic. The latter are worn by the household retinue (4Bw) of the ‘b’ sub-list while the remainder are in kilt.


Wednesday, 3 January 2018

Historical Match Up – Old Kingdom Egyptian vs. Bedouin

Game 1
Returning from a military exercise on the northern frontier, Pharaoh had caught sight of an Ammu Bedouin raiding party plundering a coastal village near Joppa. The Bedouin hastily formed up between the village and marsh posting auxiliaries further to their left along the beach (Littoral terrain).

Pharaoh in centre formed a battleline with the menfat and archers to either side and to contest the stretch of beach posted skirmishers on that flank. The conscripts with the support of skirmishers formed on the left flank to deal with any threat issuing from the village. 


As expected, Bedouin skirmishers moved out of the village to threaten Pharaoh’s left and demonstrating their eagerness for battle quickly engaged the Egyptian skirmishers. The Bedouin centre kept pace with their archers as they were showering the Egyptian line with their arrows. 


The Egyptian left and right flanks were steadily retreating but in the centre Pharaoh and the menfat were cutting through the Bedouin line, 2 – 1 for Egypt.


The menfat capitalising on their breakthrough turned on the Bedouin archers to cut them down. Pharaoh, in his pursuit confronted their chieftain but was flanked on both sides by Bedouin tribesmen. Egyptian archers proved ineffective at supporting their leader, but by the gods, Pharaoh cleaved his way through to slay the Bedouin chieftain. Seeing their leader slain, the Bedouin fled. Score 5g – 1 for Egypt.


Game 2
Pursuing the Bedouin to their tribal lands (Dry), Pharaoh caught the tribesmen on open ground between hilly and rocky terrain. All the skirmishers were formed on the right flank to take advantage of the high ground with the main army formed up at the base of the hill; conscripts on the right, menfat on the open flank with Pharaoh in the centre flanked by his archers.

The Bedouin deployed in front of rocky ground with their right flank echeloned back.


As the lines advance, it was obvious that the Bedouin would contest possession of the hill before launching their main assault on the Egyptian line. Pharaoh, confident that the light troops were sufficient to contain any threat to the heights moved the menfat further forward.


The battle now became general with combat taking place on both flanks and centre right. Pharaoh and his archers were keeping the tribesmen to their front at bay with their archery fire. Elsewhere, the conscripts were pushing their enemy back while on both flanks the Bedouin were losing casualties. In desperation, the tribesmen launched an attack on Pharaoh and his supporting archers.


It was the concentration of strength in the Egyptian centre that turned the battle as gaping holes appeared along the battle line. Fearing further losses, the Bedouin chieftain called for a retreat. Score 4 – 2 for Egypt.


Game 3
The Bedouin were encountered again in hilly country and offered battle by forming their line along the slope of a hill to extend to the open plain on their left. Pharaoh having to contend with difficult hills and rocky ground changed from his normal battle deployment to adapt o flexible formation. Skirmishers held the heights and rocky ground near its base, while archers covered the open ground between the two. On the right flank, Pharaoh would lead the conscripts and menfat in an attempt to turn the Bedouin left.


Catching the Egyptians by surprise, the Bedouin moved quickly to contest the heights while moving the tribesmen against the skirmishers holding the rocky ground. The remainder of the Bedouin were content to slowly move up with their archers giving covering fire.


The situation became desperate as causalities on both sides were having their effect (2 – 2). Seeing the threat to the archers, the menfat (3Bd) were moved to the right. Enemy tribesmen quickly filled in the vacated spot. On the Egyptian left, the archers were proving their worth by clearing any further attempt to take the heights. There remained only the conscripts who have yet to have their weapons taste blood.


Encouraging the conscripts to do their part, Pharaoh joined their attack on the enemy left. Together with the menfat, the entire Bedouin left was crushed. Seeing the heights still held by the Egyptians and his left flank destroyed, the Bedouin chieftain called his tribesmen to retreat. Score 4 – 3 for Egypt.


Footnote

The three successive victories by Egypt were all the more remarkable as they were slightly under strength. The army list calls for four archer elements (4Bw) and by a sloppy keystroke had one pack delivered in place of two. That will be rectified soon. For these battles, an extra skirmisher (Ps) did double duty and to my surprise, the difference in numbers had little effect.

Wednesday, 27 December 2017

Old Kingdom Egyptians

These 15mm figures are Gladiator miniatures, now offered by Black Hat Miniatures UK, were purchased a few weeks ago. I am very impressed with them as they are superb and well detailed figures. Each infantry type comes in different poses and for gamers who like mixing manufacturers, they are similar in height to Old Glory, but bases are not quite as thick.

Further, the metal is not as soft as that used by Old Glory but I was able to separate weapons from figures to better animate the pose. In DBA 3, I/2a the Early Egyptian (3000 BC – 1690 BC) lists all infantry with the ‘b’ sub-list introducing the chariot for Pharaoh or the usurper to ride in. Other than the command element, the army lists are identical offering the same options.


The camp in the background is a simple embankment made form Milliput and covered with a white glue and sand mix. Inhabiting the camp are extra figures supplied from the Old Kingdom Egyptian command pack. 


Black Hat Miniatures will return after the holiday and I plan to purchase more Biblical figures and add the Hyksos, Nubian and a 2nd Old Kingdom Egyptian to the collection. The second command of Egyptians is added so civil wars could be played out as was prevalent during the period of the Old and Middle Kingdom. Alternatively, the two Egyptian commands can be paired together to fight the Hyksos with Libyan allies for a double sized battle. 

Sunday, 24 December 2017

Village - Old Kingdom Egyptian

After completion of the three Biblical armies I decided to construct an ancient Egyptian village before my next order of Biblical figures arrive. As with other BUA in my collection, each house is based separately to allow its removal when troop movement through the built up area is needed. 

These were relatively easy to construct. Using pink foam board as its core, each block was glued to a base made of triplex basswood (1.2 mm). This is then covered with Milliput and with an old toothbrush the walls and roof are given a texture, followed by adding the windows and doors. 


Given an undercoat of mat white, the walls were painted an earth colour and later dry brushed white. This last step was lightly done to give the buildings a weathered and uneven look. The village is inspired by the game movie – Assassin’s Creed Origins, were many of the buildings have decorative trim around its door and windows. As to what colour this should be is still up for debate, but which ever colour is chosen, this will also have a faded look to it. 


The answer will no doubt come after the village has been in use for a number of games, but for now the village is ready for use. Now I can begin painting the Old Kingdom Egyptians. 

Tuesday, 19 December 2017

A Biblical Refurbishment (project)

In one of those rare moments between fighting historical games, I wanted to do some painting but found I had no unpainted lead in house. You see, I am at a fortunate point with the hobby that all my collections are painted so this frees me to pursue the fighting of battles, design campaigns, and if needed write variant rules to use with DBA 3. 

After the recent sale of a dozen armies, I kept stumbling across a box of Biblical extras from collections which had long ago been sold. I had seriously thought about trashing the lot as these were all painted in a very old style. After taking stock of the figures I had enough to make three Biblical armies. If you are acquainted with Old Glory figures, you are aware many of their figures have weapons held close to their bodies or head. Cutting the weapon free can be done, but this requires a good dose of patience. 


The project took about two weeks to complete, but as you can see from the photos, the extra work was worth it. All javelins and bow are positioned to make them look ‘lively’ and each army is painted with a theme colour as the figures are basically identical.


I/6a Early Bedouin
Their skin tone is bronzed in comparison to the other two. Their kilts are darker compared to the others and I have given them leather headbands.

Before:

After: 


I/7a Early Libyan
Skin tone is a lighter shade than the Bedouin. Cloaks are painted in solid colour with contrasting trim. Feathers are all white with the exception of the chieftain’s element which are red. There are extra bow elements if one wishes to use the option.

Before:


After: 


I/15 Later Amorite    
These represent a wealthier group of warriors and I have therefore painted them with lighter coloured kilts, the majority of which are bleached. Javelins have been converted to war axes and sickle swords to make five elements of blade. The blue serves as a theme colour appearing on the trim and waist band. The platform car was given extra mules from the Colonial baggage set and the car is constructed from a limber covered with triplex wood.


In the two weeks it took to refurbish these I have placed an order for Black Hat Old Kingdom Egyptians which dates the collection to a pre-chariot era. I have given some thought to expanding the collection by adding Nubian and Hyksos, but this idea will be placed on the back burner for the moment. 

After painting the Old Kingdom Egyptians, I will construct an appropriate looking hamlet. I found the Assassin's Creed Origins a good source of inspiration. 

Cheers, 

Tuesday, 12 December 2017

Later Imperial Roman vs. the Suevi

Like the Burgundi, the Suevi have as home terrain 'forest' until 406 AD. That year benchmarks their migration through Gaul and Hispania giving them use of arable terrain. In this series, the Greuthingi serve as allies. 

The selection of terrain is similar as with the previous matches, but marsh is now added to the optional selections.
  
Game 1
Rome secured their deployment having both flanks secured with woods; each held by auxilia and skirmishers. The legion positioned in the centre had the support of the clibanarii on its right and the remainder of the cavalry formed an ample reserve.

Facing them, the Suevi placed all its infantry to form a strong right flank and in the centre were all the archers with the Greuthingi allies protecting their left.


The Suevi warband were given the primary task to clear the wood to their front. The legion and auxilia wheeled their formation to meet the warband threat. This movement by the legion appeared to expose their flank, but as the gap widen, the reserve cavalry could be seen moving forward. In that same instant, dust clouds could be seen forming on the left flank announcing the arrival of Roman light horse.


The combat on the Roman left became critical as half the legion fell to the Suevi fury. The arrival of the Roman light horse prompted the Suevi chieftain to hasten his Greuthingi allies into action.


To counter the barbarian breakthrough on the left, Roman heavy cavalry crashed into the dense column of infantry. On the right, the light horse surprised a unit of Greuthingi cavalry. The nobles were saved by the timely arrival of Suevi skirmishers. The clibanarii, now exposed, became victim to Suevi archery leaving the Roman commander to call a retreat. Score 5 – 3 for the Suevi.


Game 2
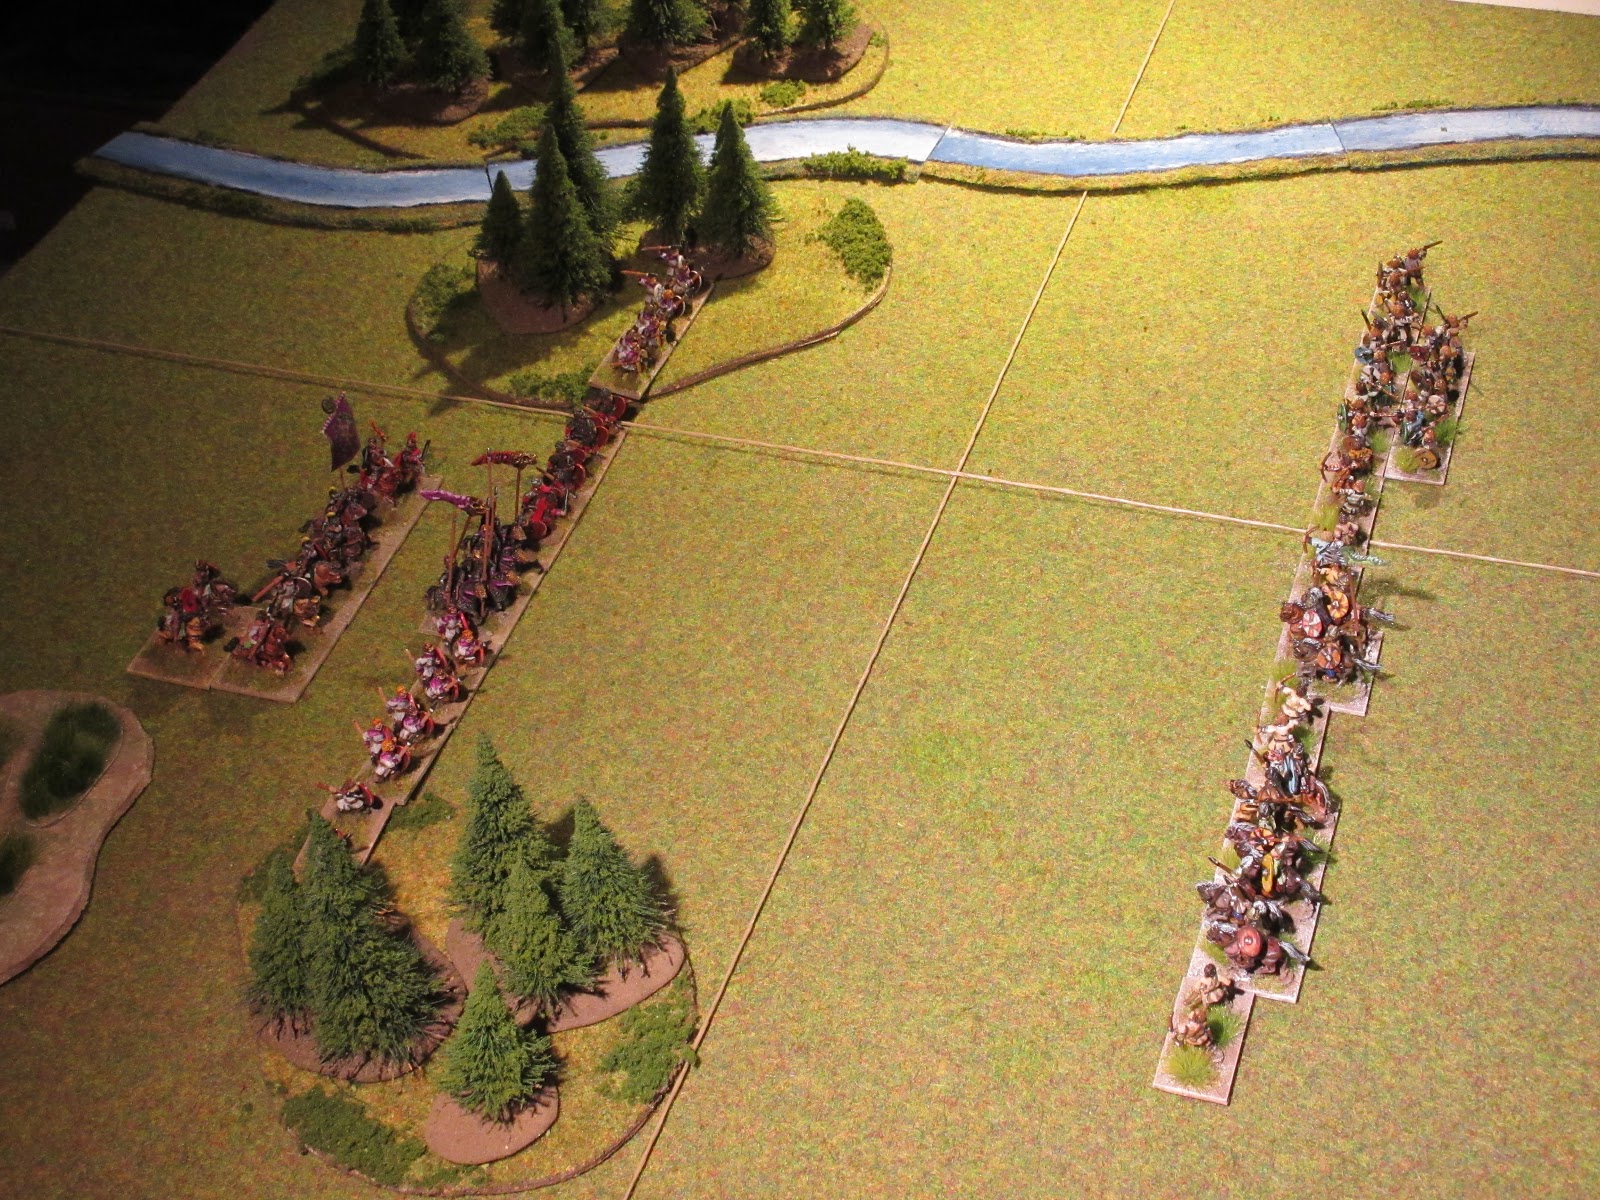
Rome as the defender was caught in the open with only a river and marsh to cover their right flank. The Suevi could be seen deploying their dense columns into a battle line while on the opposite bank, Suevi archers could be seen moving forward into position.


Rome took advantage of the restricted ground and quickly moved forward; this would also lessen the chance of casualties caused by archer fire.


Dense columns of Suevi warriors hurled themselves at the legion as Greuthingi cavalry attacked the supporting unit of clibanarii. Either the wind or dust clouds were a problem as Suevi archery proved ineffective.  


The inconvenience of the weather did not last long, as Suevi archers quickly found their mark and the barbarian warband obliterated the legion leaving the Roman command stunned. Score 4 – 2 for the Suevi.


Game 3
Rome deployed in two lines using the woods to anchor their right. The lines were formed oblique to the Suevi deployment. The Suevi positioned their warband columns facing the legion and to their right the Greuthingi mounted with the Suevi archers deployed on the extreme right.


Maintaining a steady advance was difficult as the Greuthingi were eager to attack and so the Suevi archers had to quickly move forward or lose targets to an overeager ally.


As was planned, the earlier deployment in oblique lines forced the Suevi to commit piecemeal attacks. The attempt to clear the wood by Suevi skirmishers and warband failed leaving the dense columns to other option but to move forward. The Greuthingi rushed forward seeing the auxilia with no cavalry support; they had encircled the Suevi line and were now in a position to attack.


After a few desperate moments, the legion held their ground against the Suevi warriors and their chieftain, even the auxilia held their own against the Greuthingi cavalry, but would the light horse make their presence felt?


The Suevi chieftain, in desperation, attacked the Roman commander who was quickly assisted by a unit of skirmishers. The chieftain held his own against odds, but the field around him became vacant of friendly troops. With nearly all his infantry gone, he called for a retreat. Score 4 – 3 for the LIR.


II/72c  Suevi 250 – 584 AD Terrain Type: Forest until 406 AD, then Arable, Aggression 3
1 x general (3Kn), 8 x warriors (4Wb), 2 x archers (3Bw or Ps) or 4Wb if Frankish, 1 x javelinmen (Ps).